Making a congratulations balloon bouquet at home is fun and easy. It’s a great way to celebrate birthdays or big events. This DIY project helps you be creative and save money. Store-bought congratulations balloons bouquets can cost $30 or more. Making your own with balloon kits or bulk balloons costs less. It’s also a fun way to highlight someone’s age or event. Whether it’s a graduation, new job, or other milestone, your handmade congratulations balloon bouquet will make the day extra special.
Key Takeaways
Collect all supplies before making your balloon bouquet. You’ll need balloons, a pump or helium tank, ribbon, weights, scissors, and extra decorations if you want.
Pick a theme or colors to match your bouquet. Make it fit the event, place, or season for a nice look.
Try smart ways to keep balloons from deflating quickly. Keep them cool and use Hi-Float for latex balloons.
Materials and Tools for a DIY Balloon Bouquet
Before you start your balloon bouquet, gather all the materials needed. Having everything ready makes the process smoother and more enjoyable. Here’s what you’ll need:
Balloons in various sizes, colors, and shapes
Balloons are the stars of your bouquet. Choose a mix of colors, shapes, and sizes to match your theme. For example, a number balloon bouquet is perfect for a birthday or anniversary. You can also include heart-shaped or star-shaped balloons for a fun twist. The variety adds depth and makes your balloon bouquet stand out.
Balloon pump or helium tank
Inflating balloons can be tiring without the right tools. A balloon pump is a great option for air-filled balloons. If you want your balloons to float, a helium tank is the way to go. Helium makes the balloons lighter than air, so they’ll float beautifully. Renting a helium tank can also save you money compared to hiring professionals.
Ribbon or string for securing balloons
Ribbons or strings are essential for tying your balloons together. They also add a decorative touch to your bouquet. You can use colorful ribbons to match your theme or keep it simple with clear strings.
Balloon weights or a sturdy base
To keep your bouquet in place, you’ll need a weight or base. Balloon weights are easy to find and come in various designs. If you’re making a table centerpiece, a sturdy base like a vase or foam block works well.
Scissors and clear tape or glue dots
Scissors help you cut ribbons to the right length. Clear tape or glue dots are handy for attaching balloons or decorations. They’re small but make a big difference in keeping everything secure.
Optional decorations like glitter, confetti, or vinyl decals
Want to take your balloon decoration to the next level? Add glitter or confetti inside clear balloons for a sparkling effect. Vinyl decals are perfect for personalizing your congratulations balloons with names or messages. These little details make your bouquet truly unique.
With these materials, you’re all set to start your DIY project. Whether it’s for a birthday, graduation, or any celebration, your balloon bouquet will be a hit!
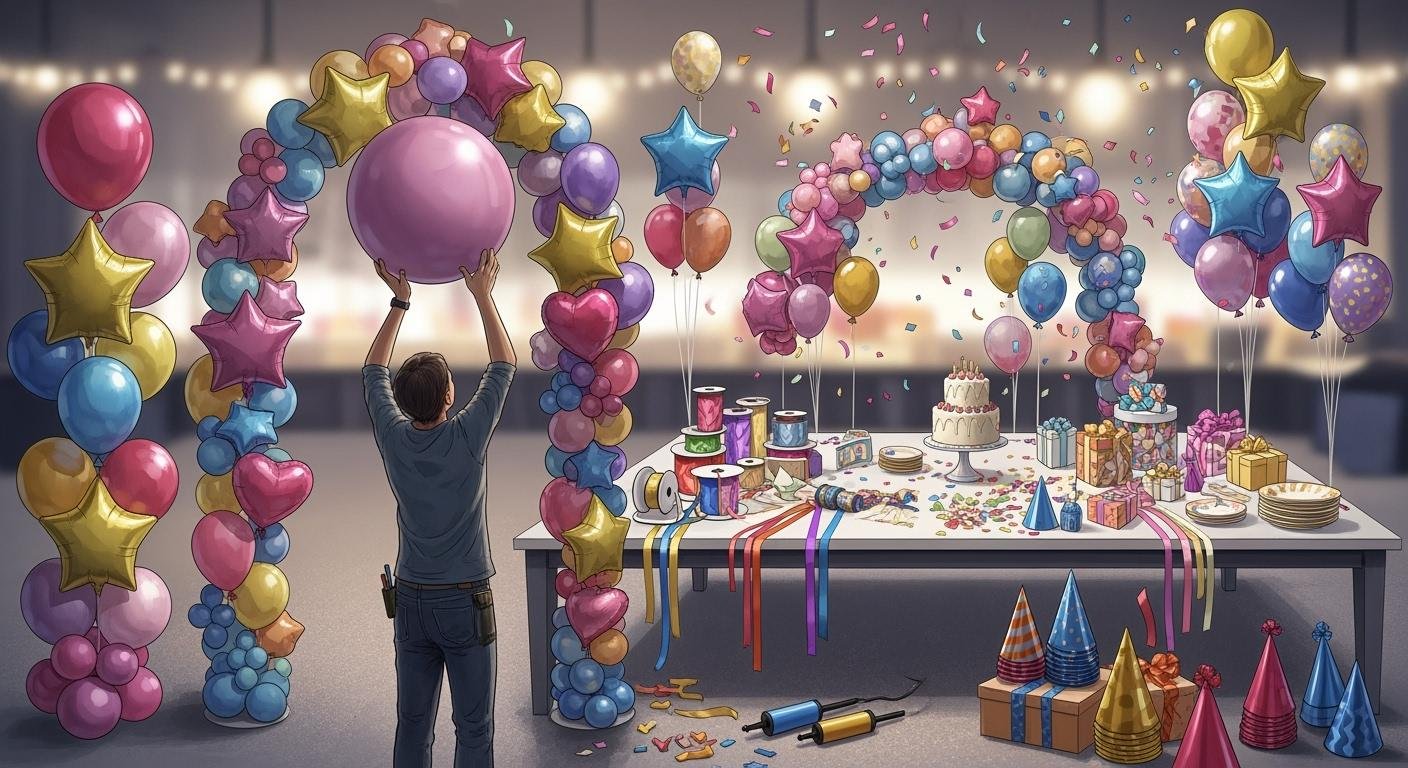
How to Make a Balloon Bouquet: Step-by-Step Instructions
Step 1: Choose a theme or color scheme
Start by deciding on a theme or color scheme for your balloon bouquet. This sets the tone for your project and ensures everything looks cohesive. Here are some easy steps to create the perfect theme:
Match the event’s theme. For example, use blue and white for a beach party or soft pastels for a baby shower.
Consider the venue. If the room has neutral tones, bright balloons will pop.
Reflect the season. Pastels work well for spring, while metallics shine during winter.
Mix and match. Combine shades or contrasting colors for a dynamic look.
Step 2: Inflate the balloons to the desired size
Inflate your balloons carefully to avoid popping them. Use a balloon pump for air-filled balloons or a helium tank if you want them to float. To make your balloons last longer:
Use Hi-Float for latex balloons to extend their floating time.
Step 3: Tie off the balloons securely
Once inflated, tie each balloon tightly to prevent air or helium from escaping. Double-knot the ends for extra security. If you’re using helium, make sure the knots are firm to keep the balloons afloat.
Step 4: Create clusters by pairing balloons together
Group your balloons into clusters of two or three. This makes it easier to arrange them later. You can mix different sizes and shapes, like adding a number balloon bouquet to highlight a birthday or anniversary.
Step 5: Arrange the balloons into a balanced bouquet
Now it’s time to arrange your clusters into a bouquet. Place larger balloons in the center and smaller ones around them. Adjust the height of each balloon to create a balanced look.
Step 6: Secure the bouquet with ribbon or string
Tie the clusters together using ribbon or string. Wrap the ribbon tightly around the balloon necks to hold them in place. You can also use clear tape or glue dots for extra stability.
Step 7: Attach the bouquet to a weight or base
To complete your number balloon bouquet or any other design, secure it to a weight or base. Fill a container with sand or stones for stability, then tie the ribbon to it. Add decorative touches like smaller balloons or trinkets to the base for extra flair.
Step 8: Add finishing touches and decorations
Finally, personalize your bouquet with decorations. Add glitter or confetti inside clear balloons for sparkle. Use vinyl decals to write a message like “Congratulations!” or “Happy Birthday.” These little details make your balloon bouquet truly special.
With these step-by-step instructions, you now know how to make a balloon bouquet that’s perfect for any celebration. Whether it’s a birthday, graduation, or another milestone, your DIY creation will wow everyone!
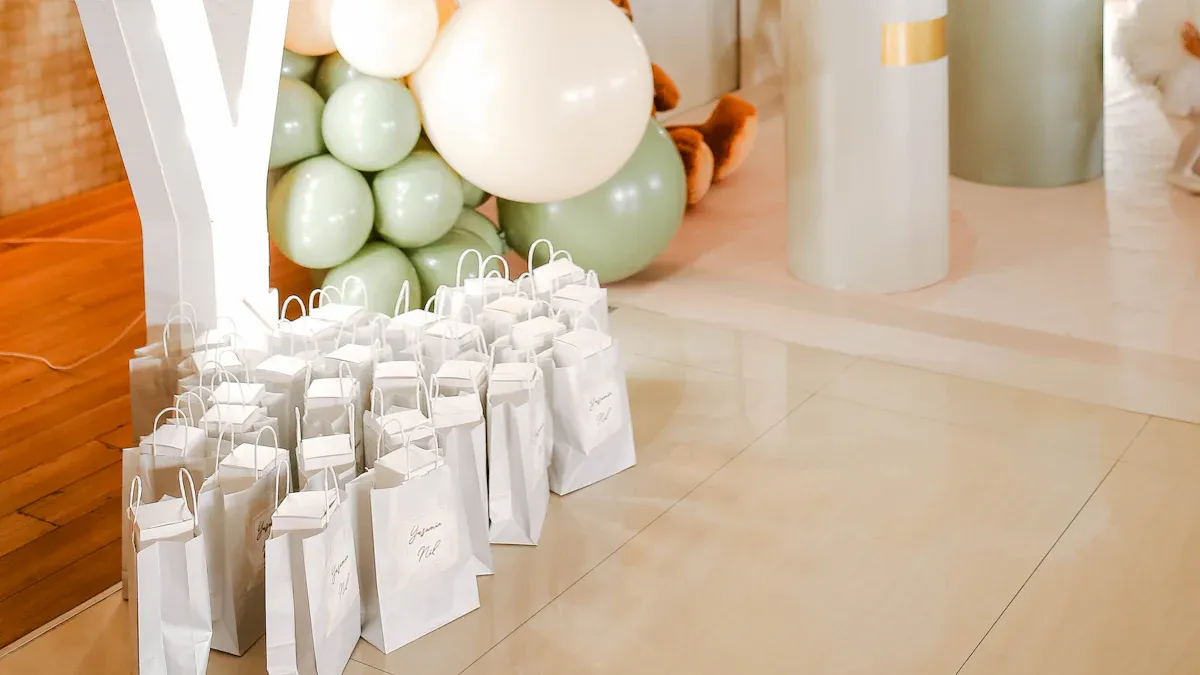
Customization Ideas for Your Congratulations Balloons
Add glitter or confetti inside clear balloons
Want your balloons to look extra special? Put glitter or confetti inside clear balloons. When popped, they fill the room with colorful confetti. These are great for birthdays or parties needing sparkle. Match the confetti colors to your theme, like gold for fancy events or rainbow for fun. They’re not just pretty but can also be used as party favors or in games. This simple idea makes your balloon bouquet unforgettable.
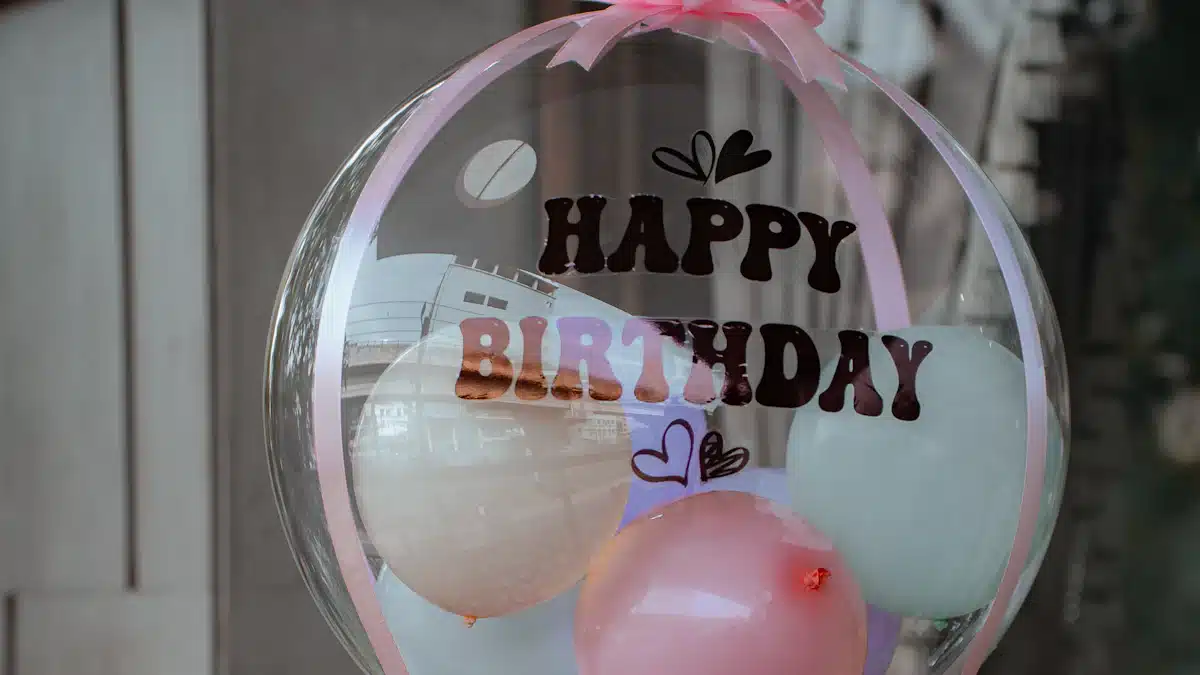
Use vinyl decals for personal messages
Make your balloons unique with vinyl decals. Add names, dates, or messages like “Congrats!” or “Happy Birthday!” to your balloons. This makes your bouquet feel personal and thoughtful. You can also use decals on number balloons to celebrate milestones like birthdays or anniversaries. It’s an easy way to show you care about your DIY project.
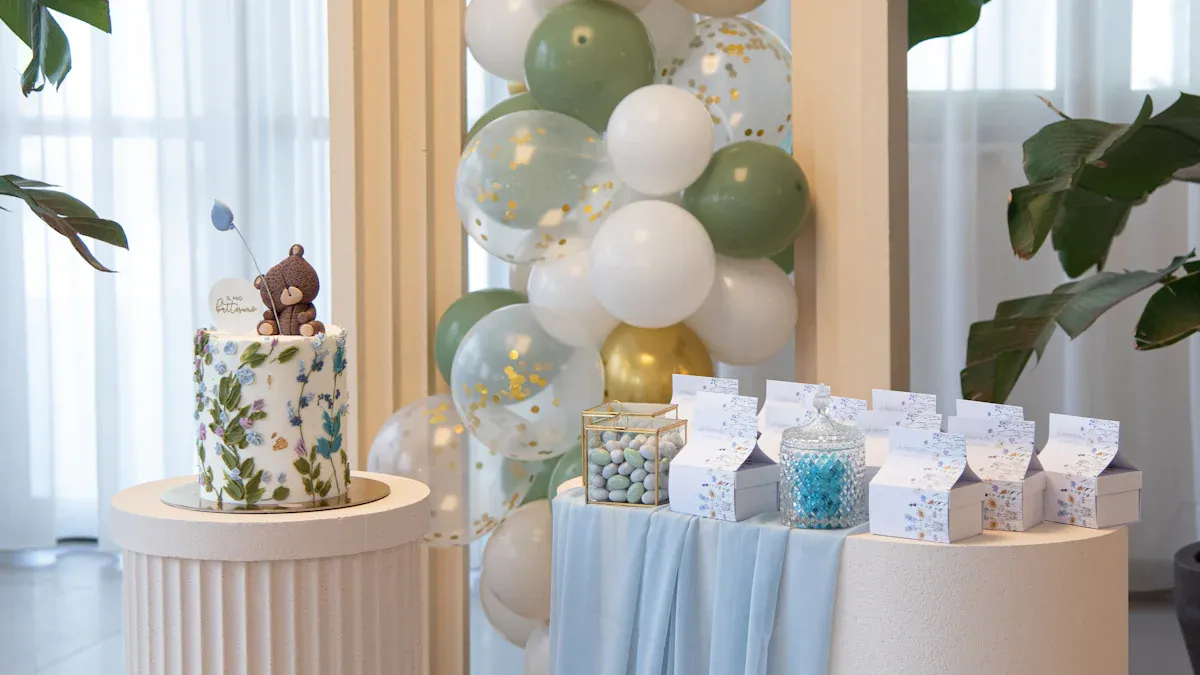
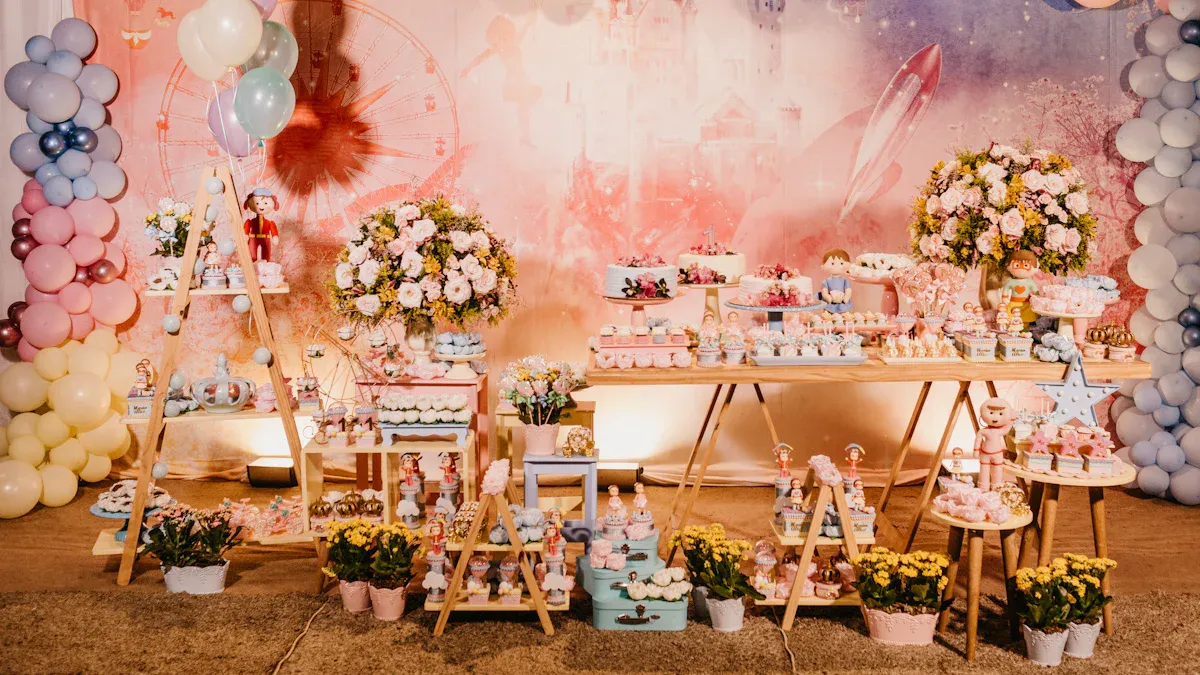
Add themed decorations like stars or flowers
Themed decorations make your bouquet match the event perfectly. For a beach party, use blue balloons with starfish or palm leaves. For a princess party, try pink and purple balloons with crown decorations. These small details make your bouquet look special and complete.
Mix balloon shapes and sizes for variety
Using different balloon shapes and sizes makes your bouquet more interesting. Combine round balloons with heart or star-shaped ones. Add a number balloon to highlight an age or year. This creates a fun and balanced look. Finish your bouquet with smaller balloons or themed decorations for a polished touch.
With these ideas, you can make your balloon bouquet stand out. Whether it’s a birthday, graduation, or any celebration, these tips will help you create amazing decorations everyone will love.
Troubleshooting Tips for Your Balloon Bouquet
How to make a balloon bouquet without helium
No helium? No problem! You can still create a stunning balloon bouquet that looks like it’s floating. Here are some creative ideas:
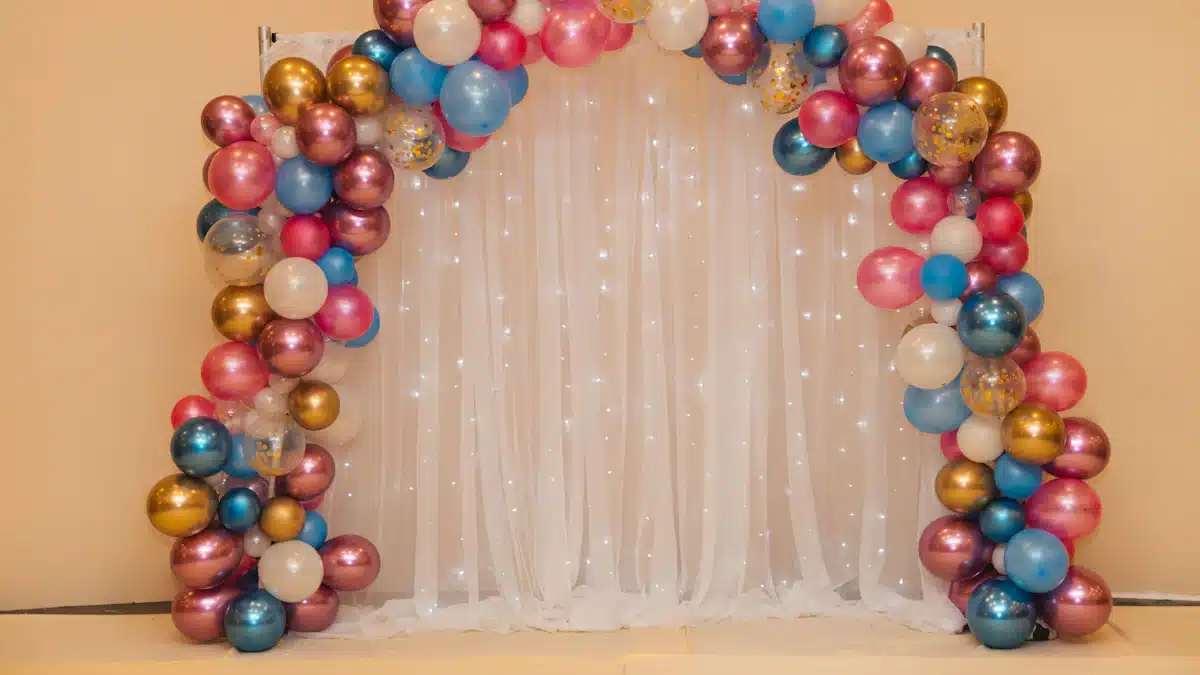
Build a balloon arch. Use a frame or stand to support your balloons and give them a floating effect.
Create a centerpiece. Tie balloons together and secure them to a sturdy base like a vase or foam block.
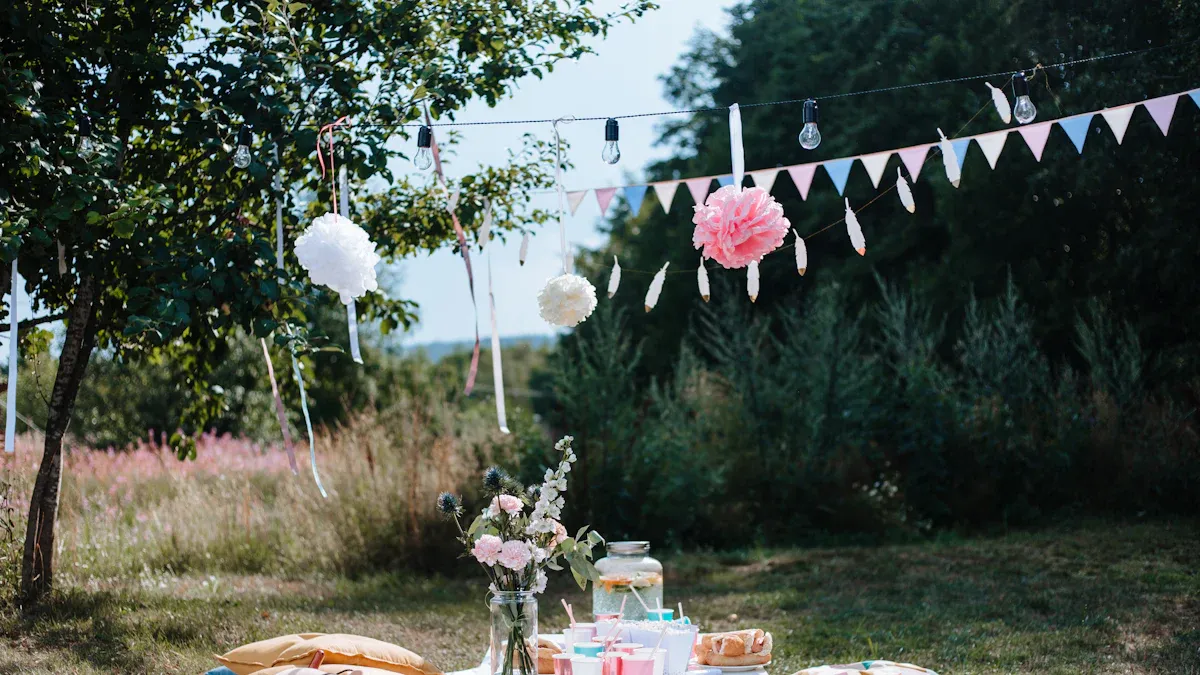
Hang balloons on the wall. Use clear tape to attach them and make it look like they’re floating.
Try a balloon wall. Tie balloons together and arrange them on a wall for a dramatic display.
Use thin strings. Hang balloons from the ceiling with fishing line to create a hovering illusion.
These methods work great for any event, whether it’s a birthday or a celebration with congratulations balloons.
Tips to keep balloons inflated longer
Want your balloons to last through the party? Follow these tips:
Store them in a cool, ventilated area before use.
Keep them away from direct sunlight and heat.
Use Hi-Float® inside latex balloons to extend their floating time.
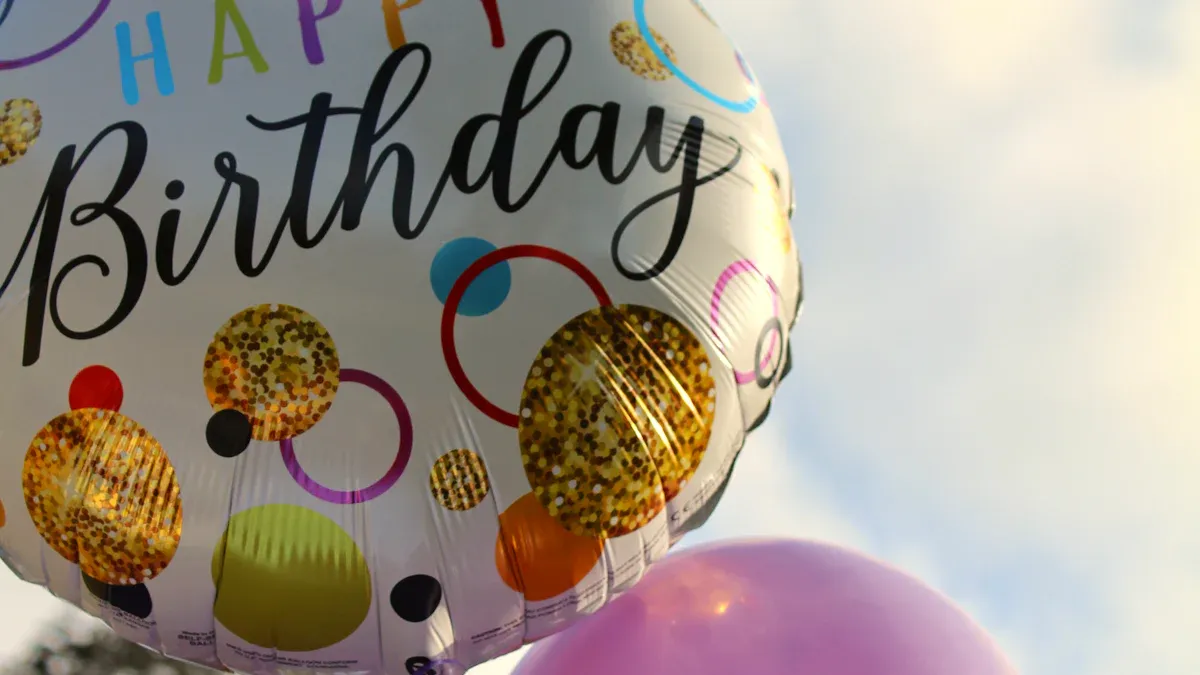
Choose Mylar or foil balloons for better durability.
Inflate balloons partially to prevent them from popping in warm weather.
For extra protection, store balloons in clear plastic bags until you’re ready to use them. This keeps them safe from punctures and helps maintain their condition.
Fixing uneven or lopsided arrangements
If your balloon arrangement looks off, don’t worry! You can fix it easily:
Adjust the height of each balloon by shortening or lengthening the ribbons.
Rearrange the clusters to balance the bouquet visually.
Use clear tape or glue dots to hold balloons in place.
Add smaller balloons to fill gaps and create a fuller look.
Take a step back and check your bouquet from different angles. Small tweaks can make a big difference!
Preventing balloons from popping or deflating prematurely
Nothing ruins a party faster than popped balloons. Here’s how to avoid it:
Don’t overinflate. Leave some space for the balloon to expand.
Keep balloons away from sharp objects and rough surfaces.
Use light-colored balloons to reduce heat absorption.
Store balloons in a pet-free room to prevent accidental punctures.
By following these tips, your balloon bouquet will stay intact and look amazing throughout your celebration.
With these troubleshooting tips, you’ll know how to make a balloon bouquet that’s perfect for any occasion. Whether it’s a vinyl balloon bouquet or a number balloon bouquet for a birthday, your DIY project will shine!
Give this DIY project a shot! Creating your own congratulations balloon bouquet is a fun way to celebrate and show someone you care about. You’ll enjoy picking balloons and adding special details. Plus, your friends or family will love the thought you put into it. Share your designs and let everyone celebrate together!
FAQ
How do I store leftover balloons for future use?
Keep unused balloons in a cool, dry place. Avoid direct sunlight or heat. Store them in airtight bags to prevent damage and maintain their elasticity.
Can I make a balloon bouquet without special tools?
Yes! You can inflate balloons by mouth or use a hand pump. Tie them with string and secure them to a heavy object for stability.
What’s the best way to transport a balloon bouquet?
Place the bouquet in a large plastic bag to protect it. Keep it upright in your car and avoid sharp objects or extreme temperatures during transport.