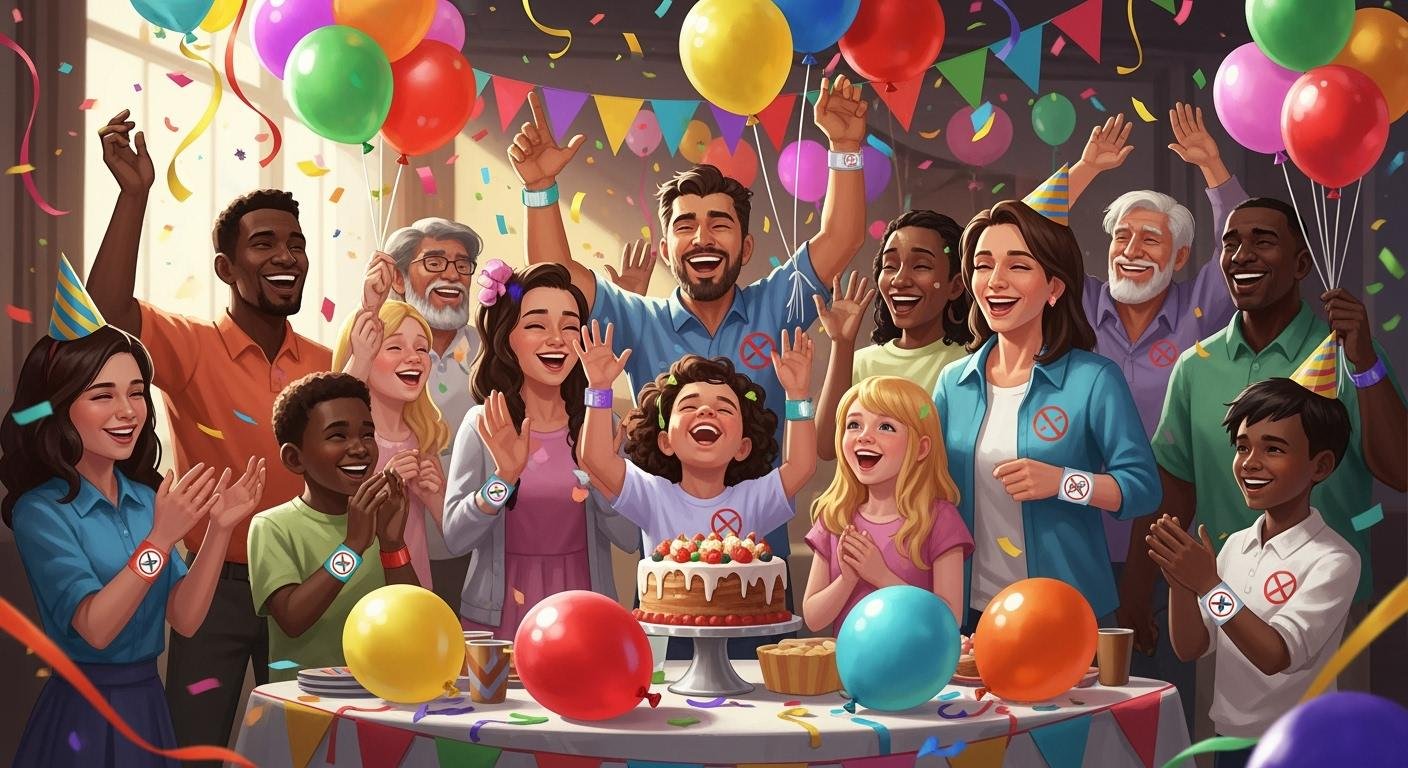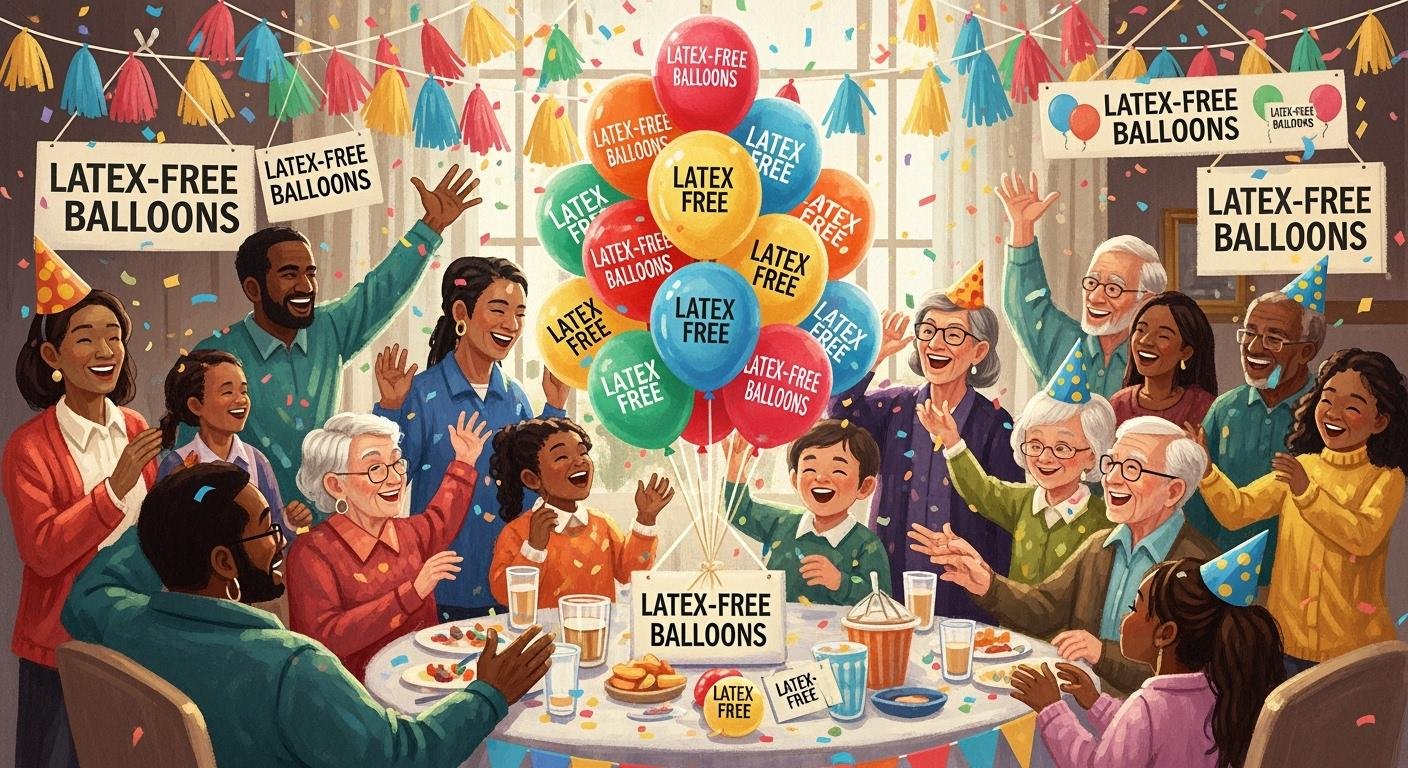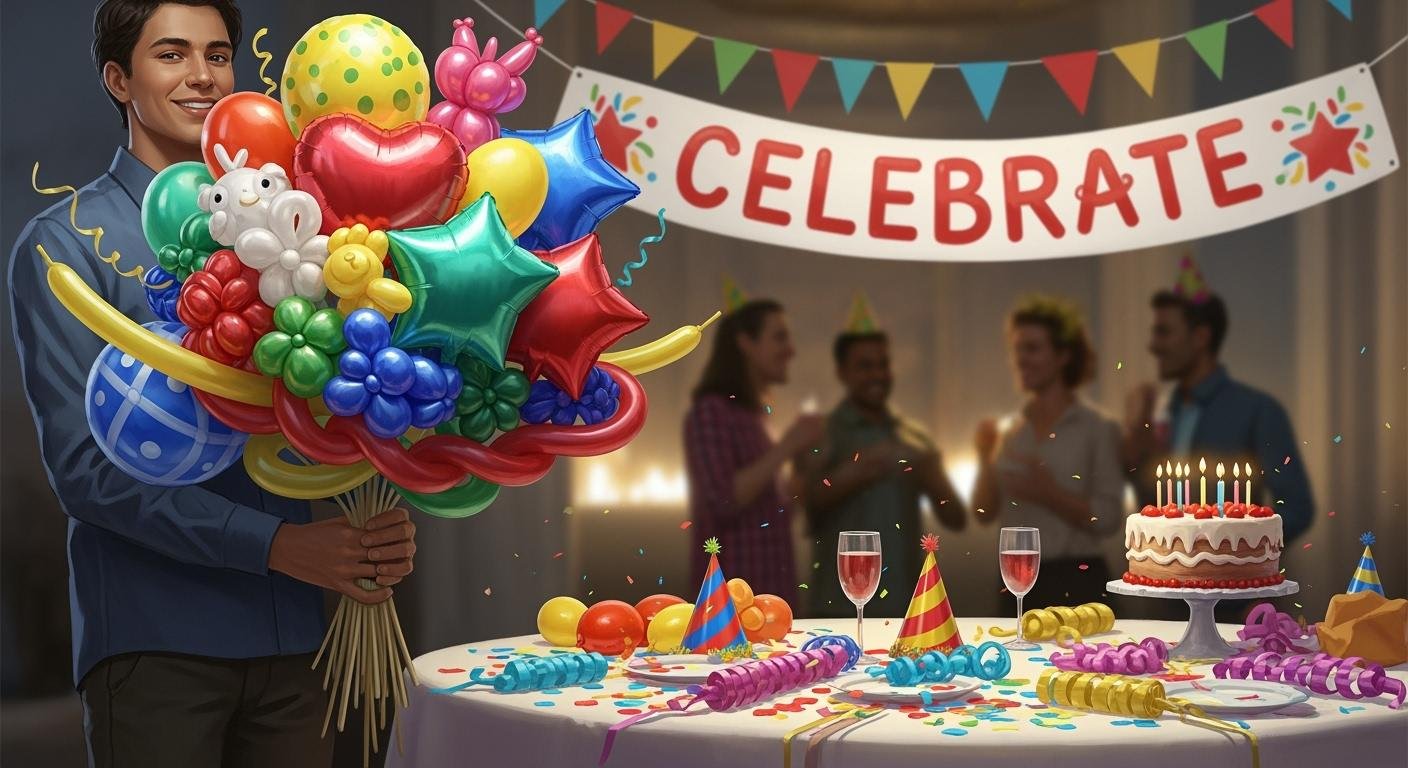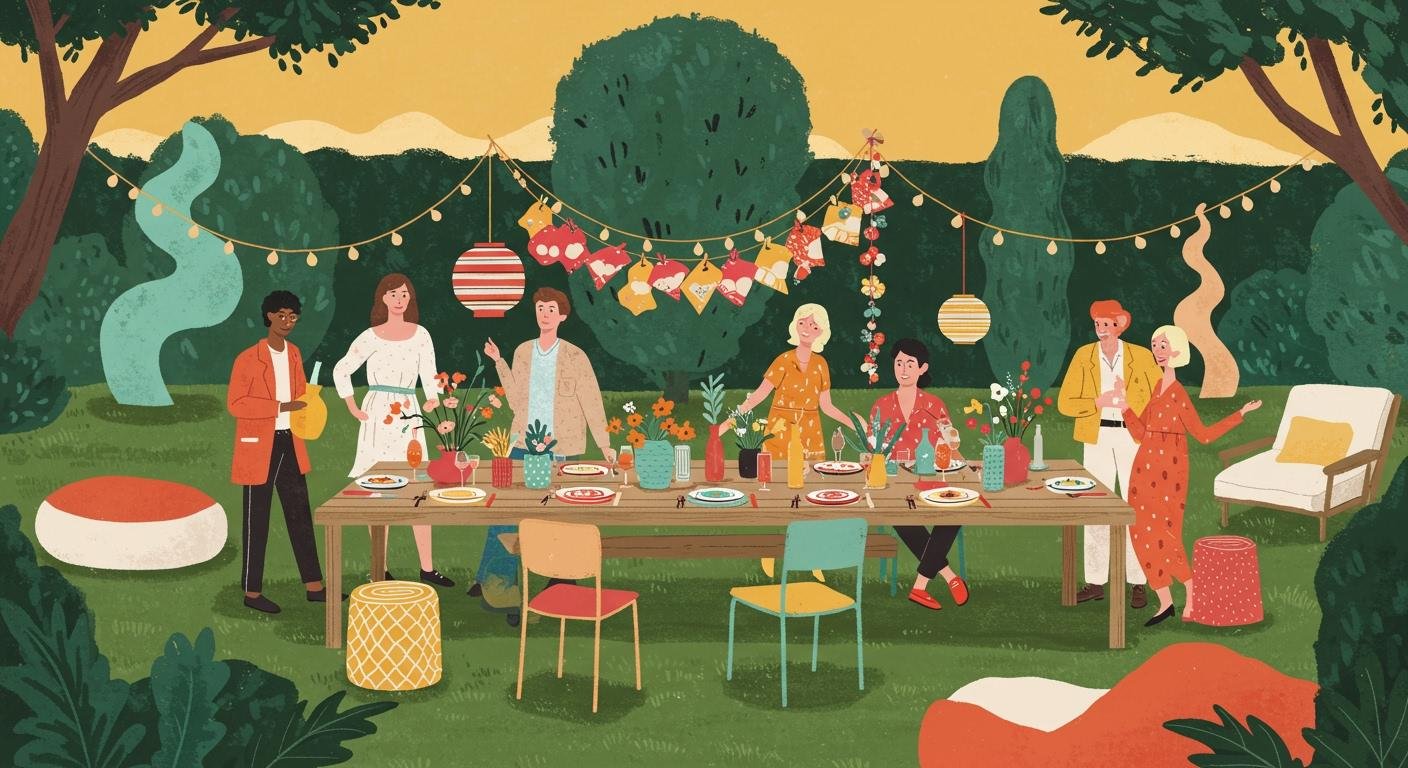
Balloon decoration, especially balloon garlands, is becoming super popular at birthday parties! They’re more than just decorations; they make a big statement. With custom designs trending, you can match any party theme. Whether you’re new or experienced, making a balloon garland as part of your balloon decoration is fun and easy.
“Social media and DIY fans inspire more creative and bold balloon designs.“
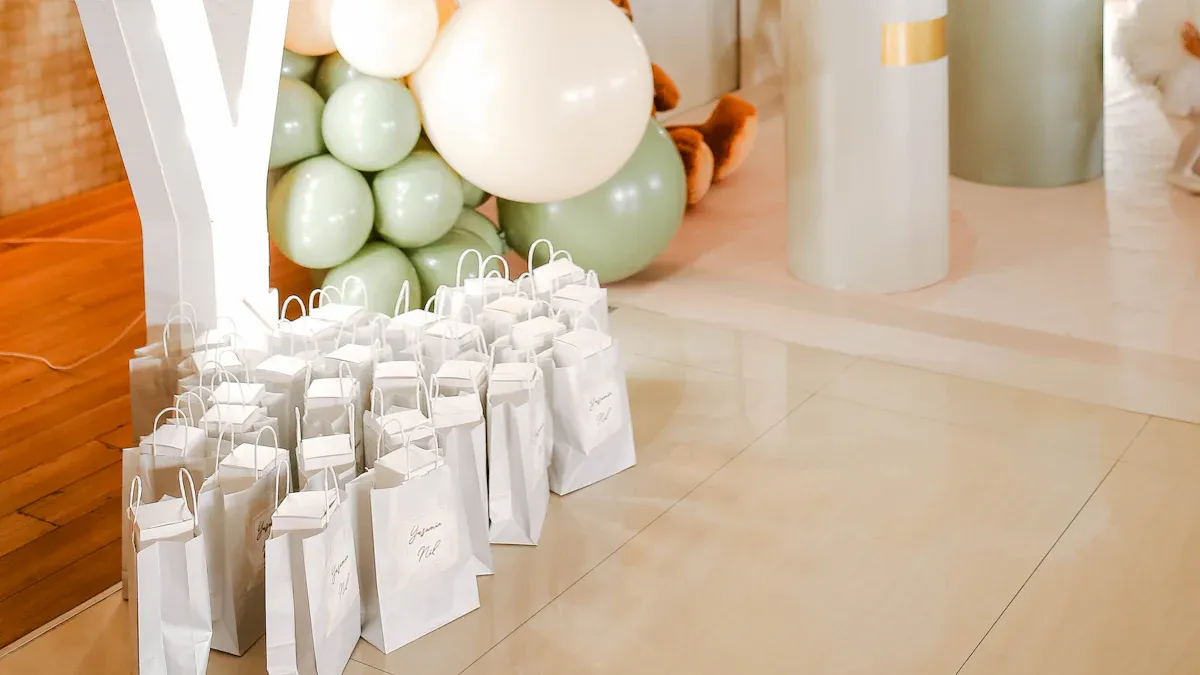
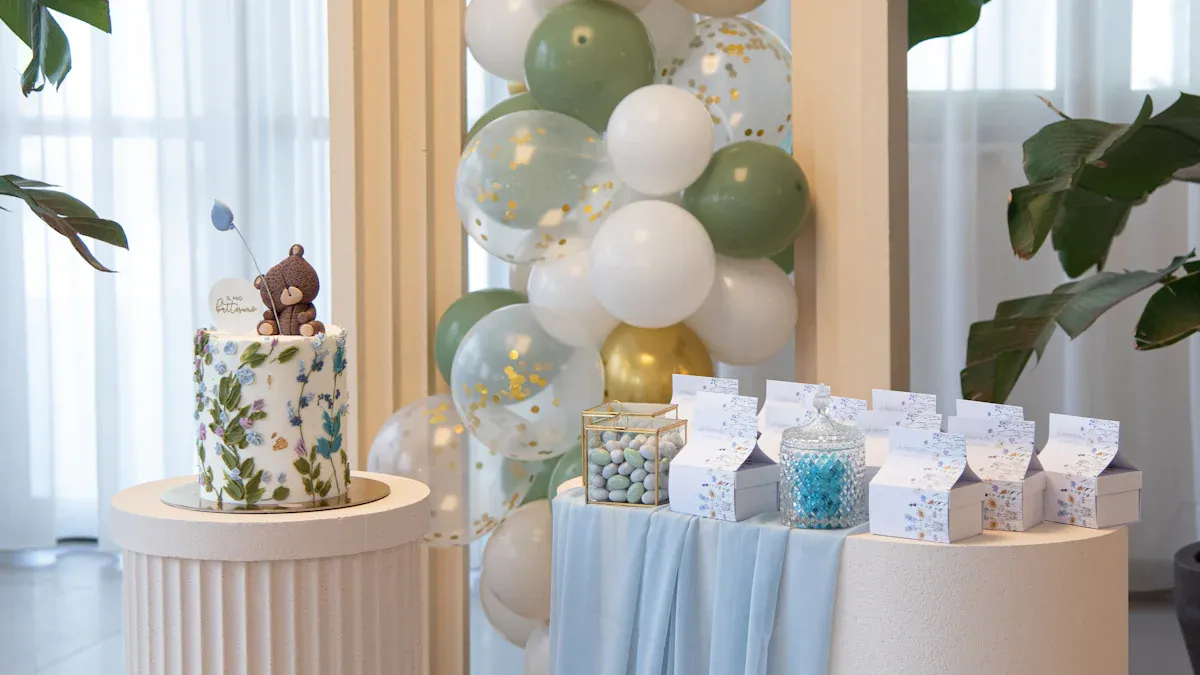
From bright colors to soft neutral shades, balloon garlands in your balloon decoration show your creativity. Add confetti balloons or tassels for extra style, and make your party amazing!
Key Takeaways
Use an electric balloon pump to blow up balloons faster. It saves time and makes it easier for everyone.
Combine balloons of different sizes and colors for variety. This makes the garland look more fun and exciting.
Decide the shape and colors of your garland early. Matching colors to your party theme makes it look better.
Materials and Tools for Your DIY Balloon Garland
Making a beautiful balloon garland starts with the right supplies. Here’s a simple list to help you get started easily.
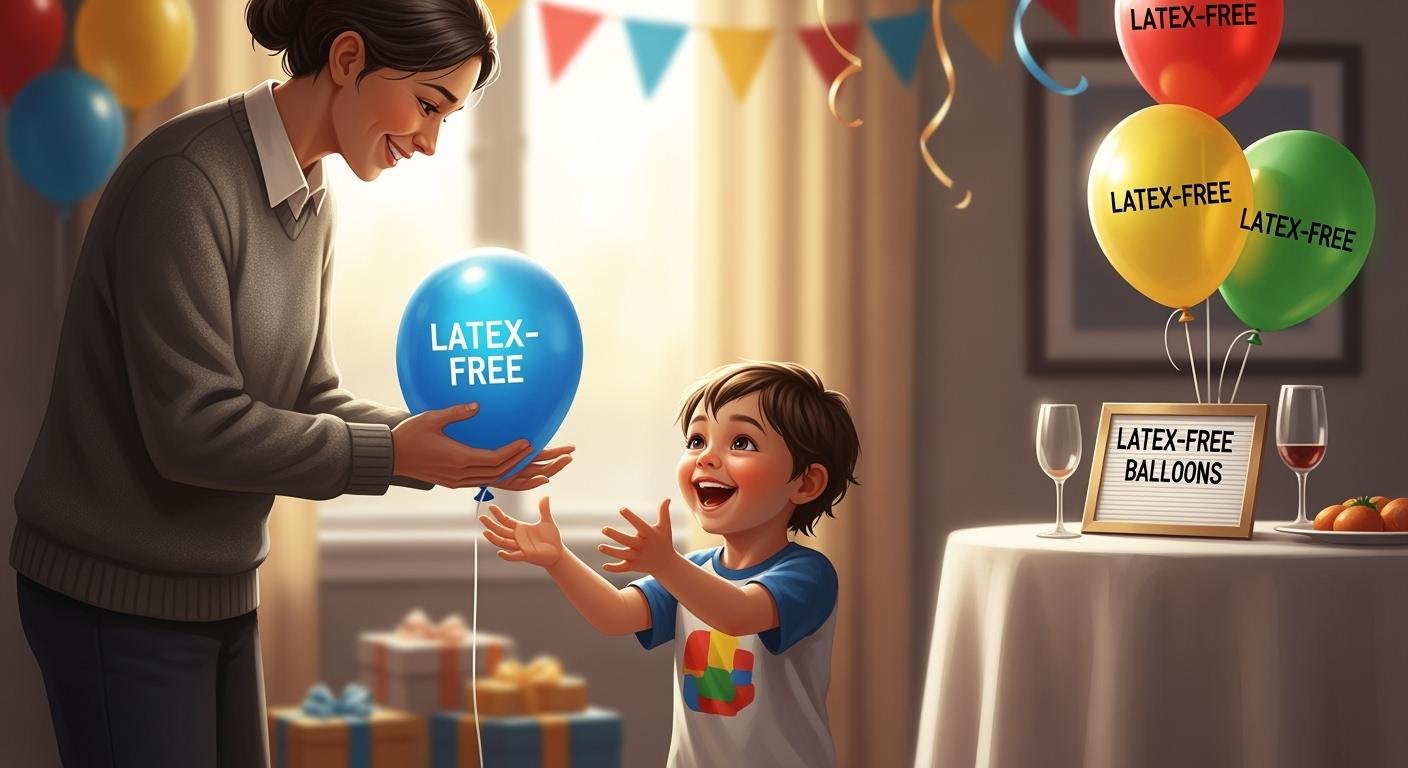
Balloons in different sizes and colors
Balloons are the main part of your garland. Use small, medium, and large balloons for variety. Pick colors that match your party or try bold combinations. Confetti-filled balloons can add extra fun. Mixing sizes and colors makes your garland stand out.
Balloon decorating strip
This strip is super helpful for beginners. It has holes to attach balloons easily. It makes building your garland simple and gives it a neat look.
Electric balloon pump
Blowing up balloons by hand takes too much time. An electric pump works fast and saves energy. It inflates balloons evenly and keeps your hands from getting tired.
Adhesive hooks or clear tape
These help you hang your garland securely. Use hooks for walls or tape for small fixes. Both are easy to use and won’t damage surfaces.
Optional decorations like greenery, flowers, or ribbons
Want your garland to look extra special? Add greenery or flowers for a fancy touch. Fairy lights add sparkle, and ribbons or themed balloons make it personal. These extras make your garland one of a kind.
With these supplies, you’re ready to follow the diy balloon garland tutorial and create amazing decorations! 🎈
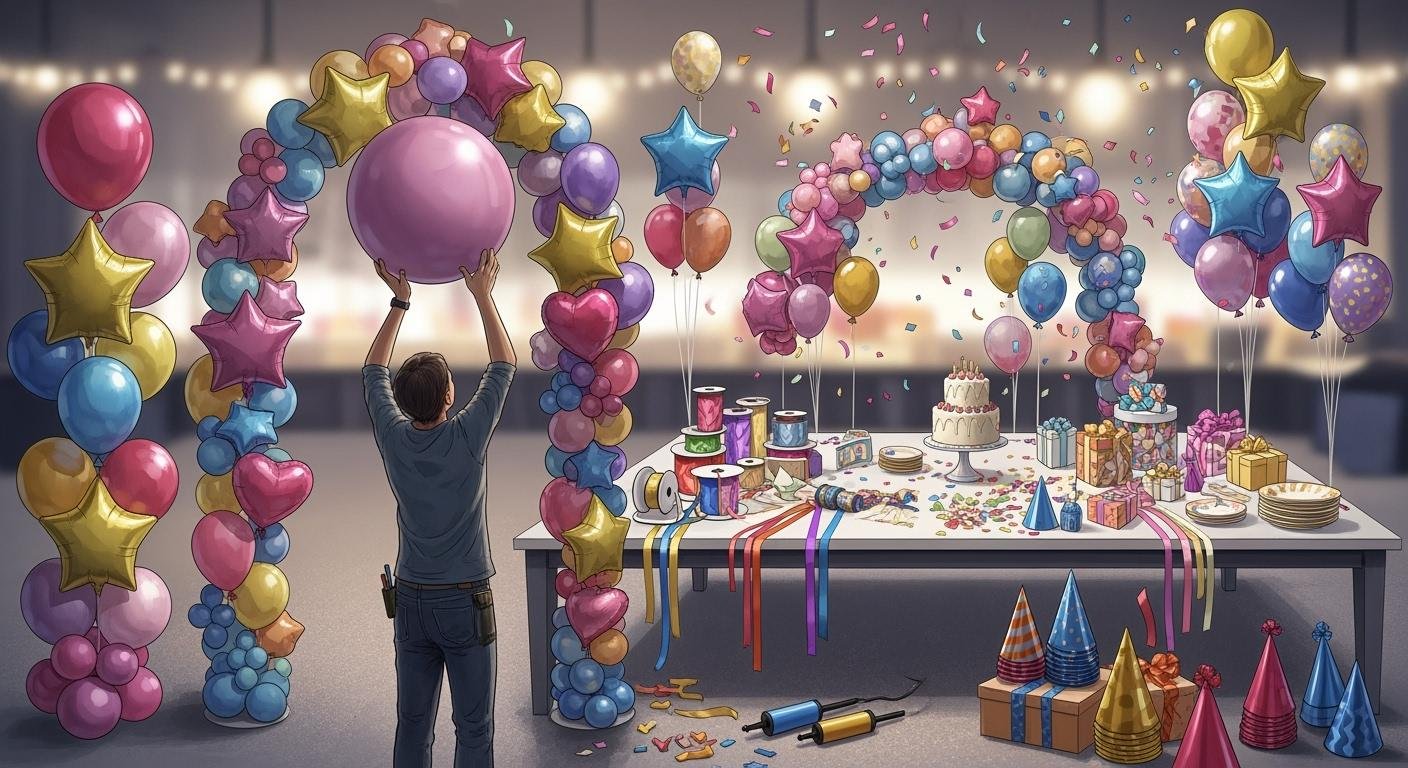
How to Make a Balloon Garland: Step-by-Step Guide
Creating a balloon garland might seem tricky, but it’s actually simple when you follow these step-by-step instructions. Let’s dive in and get started!
Step 1: Inflate the balloons
Start by inflating all your balloons. Use an electric pump to save time and effort. Blow up balloons in different sizes—small, medium, and large—to give your garland a dynamic look. Don’t worry about sorting them by color just yet. Be careful not to overfill the balloons, especially if it’s a warm day. For a nice rounded shape, gently press the balloon to release a little air before tying it off. If you want an organic style, try inflating balloons in pairs or clusters.
Step 2: Attach balloons to the decorating strip
Now it’s time to learn how to use a balloon garland strip. Take your decorating strip and start inserting the tied ends of the balloons into the holes. Alternate sizes and colors as you go to create a balanced design. For beginners, this step is super easy with the strip—it keeps everything secure and neat. If you’re working outdoors, consider using sand weights to keep the garland stable.
Step 3: Plan the shape and hang the garland
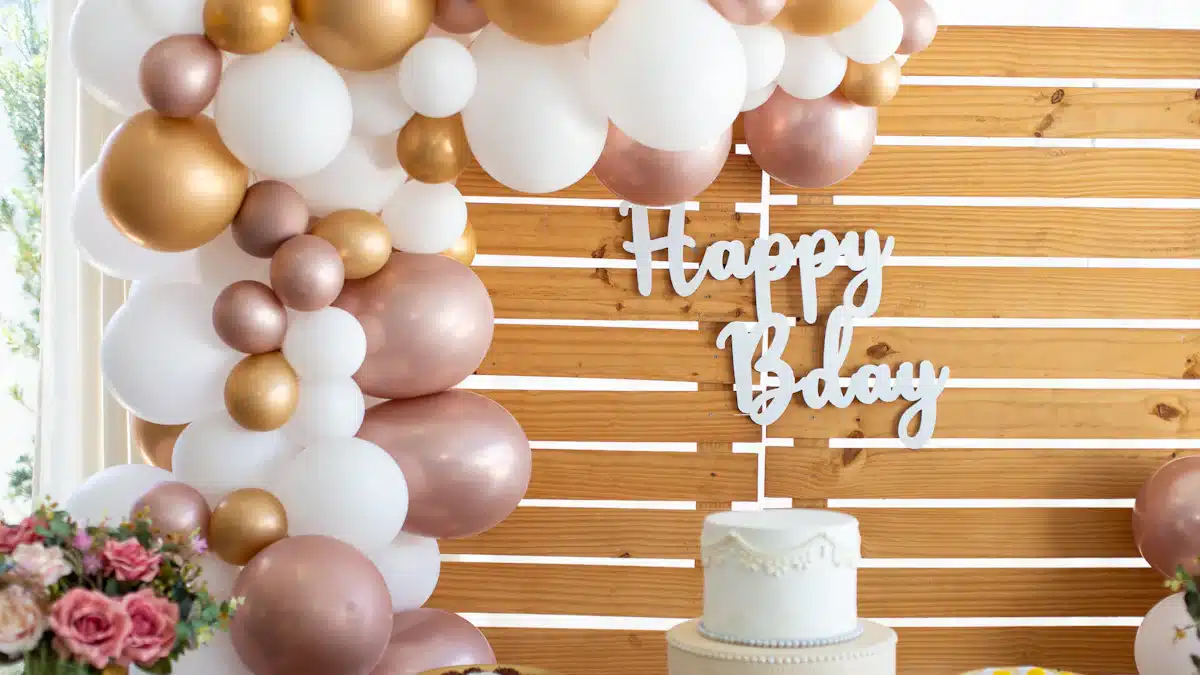
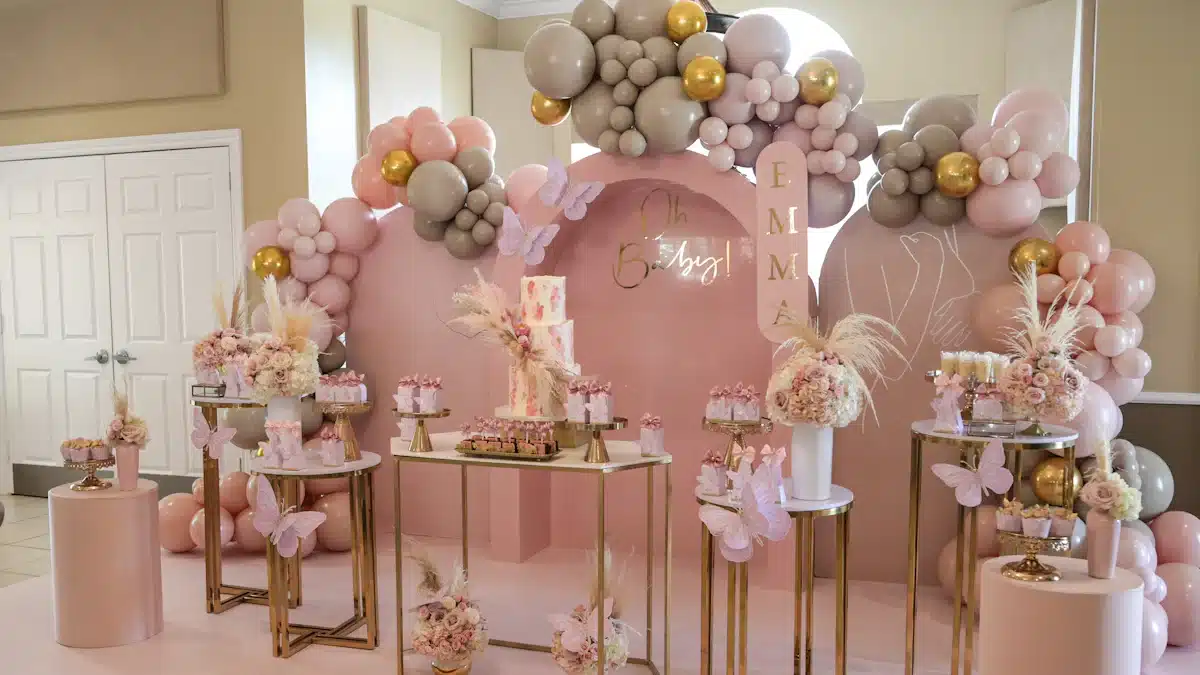
Before hanging, decide on the shape of your balloon garland. You can go for a classic arch, a cascading design, or even a whimsical spiral. Use adhesive hooks or clear tape to attach the garland to your wall or backdrop. For a polished look, cluster balloons in groups of three to five to create focal points. If you’re wondering how to hang balloon garlands securely, make sure to distribute the weight evenly to prevent sagging.
Step 4: Fill gaps with smaller balloons and add decorations
Once your garland is up, step back and check for any gaps. Use smaller balloons to fill these spaces and add volume. Balloon glue dots work great for attaching these extras. Want to take it up a notch? Add greenery, flowers, or ribbons for a unique touch. You can even weave fairy lights through the garland for a magical glow. These little details make your balloon garland truly stand out.
With these steps, you now know how to make a balloon garland that’s perfect for any celebration. This diy tutorial is beginner-friendly and guarantees stunning results every time!
Tips for Amazing Balloon Decorations
Making a balloon garland that impresses is easier than you think. These beginner-friendly tips will help you create a beautiful decoration for any birthday party.
Don’t overfill balloons to avoid popping
Balloons can pop if they’re too full, especially in heat. Stop inflating when the balloon feels almost tight. Slightly underfilled balloons last longer and look rounder. This simple trick keeps your garland looking great all day.
Use an electric pump to save time
Blowing up balloons by hand takes too long and is tiring. An electric pump makes it faster and easier. Here’s why it’s helpful:
Benefit | Why It Helps |
|---|---|
Quick Setup | Speeds up the process, saving lots of time. |
Team-Friendly | Lets more people help, making it faster to finish. |
Less Stress | Makes inflating balloons simple and less overwhelming. |
An electric pump is perfect for beginners. It’s the best way to quickly prepare your garland.
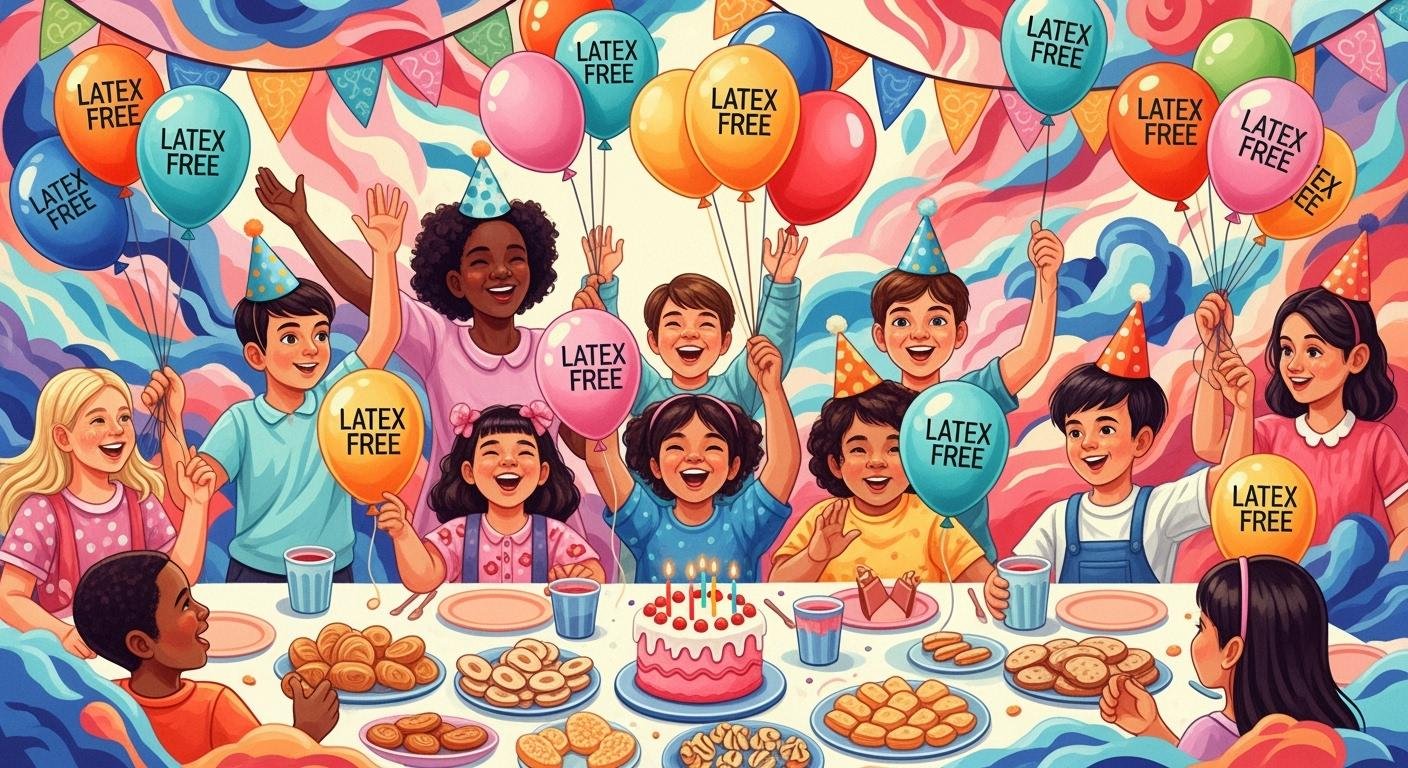
Use different balloon sizes for variety
Mixing balloon sizes makes your garland more interesting. Combine small, medium, and large balloons for a cool design. Group balloons of different sizes together for a fun look. Try different styles until you find one you love.
Plan colors and layout ahead of time
Picking the right colors can make your garland stand out. Here are some tips:
Match colors to the party theme, like pastels for a baby shower or bright colors for a fun vibe.
Think about the venue’s colors so your garland fits the space.
Use trendy shades like metallics or soft pastels.
Combine similar colors or mix opposites for a bold look.
Add neutral tones to balance bright colors.
Decide where to hang your garland and choose a shape that works. Whether it’s an arch, spiral, or cascade, planning helps your garland look neat and professional.
With these easy tips, making a balloon garland is fun and simple. Follow this guide, and you’ll have a stunning decoration ready for your party! 🎈
Creating a balloon garland is a fun way to decorate. It’s simple, even for beginners, and you can pick colors and sizes. Match it to your party theme for a perfect look. Making your own garland can also save money compared to buying one.
You can make your designs unique! For example:
Customization Type | Example Description |
|---|---|
Theme-Based Garlands | Use green and brown balloons for a jungle theme. Add animal balloons for fun. |
Try adding letters, numbers, or special balloons to make it personal. Once you finish, show it off to friends and inspire them too! 🎉
FAQ
How long does it take to make a balloon garland?
It usually takes about 1-2 hours. The time depends on the size of your garland and how many balloons you use.
Can I make a balloon garland the day before the party?
Yes! Inflate the balloons the day before. Keep them in a cool, dry place to prevent popping or deflation.
What’s the best way to transport a balloon garland?
Gently fold it into a large bag or box. Avoid sharp objects and heat during transport to keep it intact. 🎈