A balloon arch can transform any event into something truly special. Whether it’s a wedding, birthday party, or even a corporate meeting, these vibrant decorations always steal the show. Making your own balloon arch isn’t just budget-friendly—it’s also a chance to get creative. You can customize the colors, shapes, and even add unique touches like flowers or LED lights. Plus, there’s nothing quite like the satisfaction of seeing your homemade balloon arch become the centerpiece of your celebration. Ready to elevate your party decorating skills? Let’s dive into this ultimate guide!
Key Takeaways
Pick a theme and colors that fit your event. This sets the tone and makes your decorations stand out.
Choose the right size and shape for your balloon arch. Small arches work for photo spots, while big ones are great for entrances.
Gather materials like balloons, a pump, and a strong frame. The right tools make building the arch easier.
Blow up balloons carefully and group them into clusters. Use different sizes to make your arch look more interesting.
Add extras like flowers or lights to make it special. These details make your arch unique and unforgettable.
Planning Your Balloon Arch
Choosing a Theme and Color Scheme
Before you start building your balloon arch, think about the theme and colors that will match your event. The right theme sets the mood and makes your decoration stand out. For example, a tech launch might look sleek with metallic balloons, while soft pastels work beautifully for a charity gala.
When picking colors, consider the emotions they convey:
Red brings energy and excitement, perfect for product launches.
Blue feels professional and trustworthy, great for corporate events.
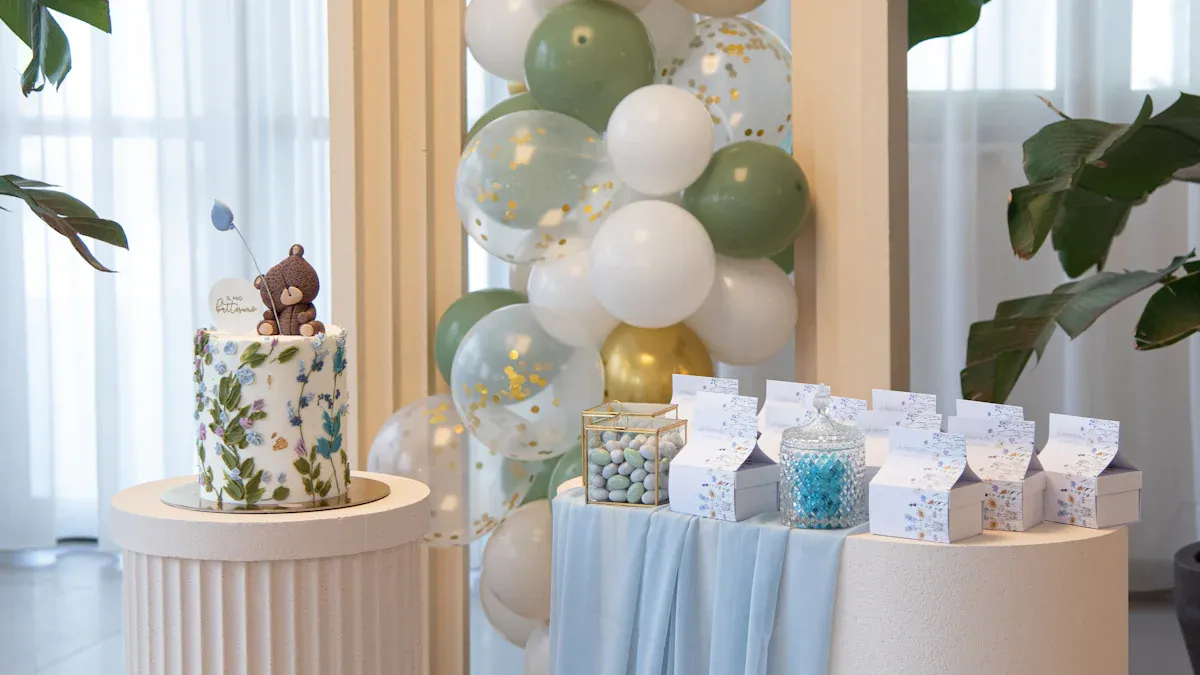
Green symbolizes health and nature, ideal for eco-friendly themes.
Yellow adds cheerfulness, making it perfect for lively celebrations.
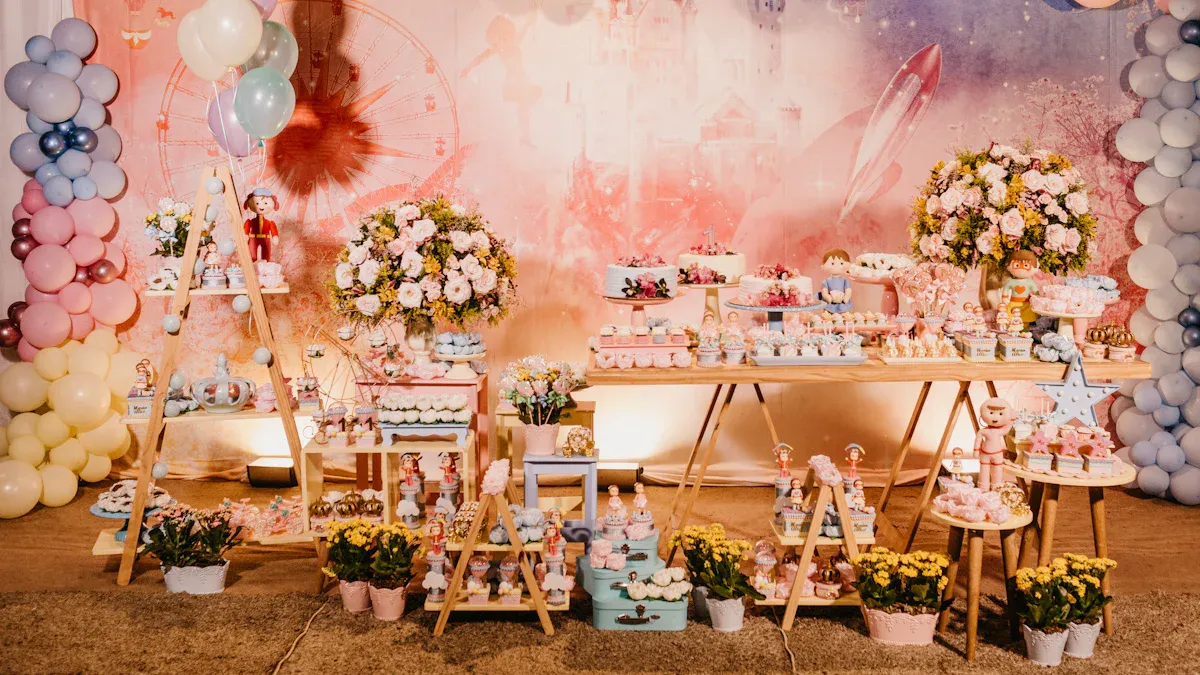
You can also try popular combinations like orange, green, and pink for a fiesta vibe or black, white, and gold for an elegant touch. Matching your balloon arch to your event’s theme creates a cohesive and polished look.
Deciding on the Size and Shape
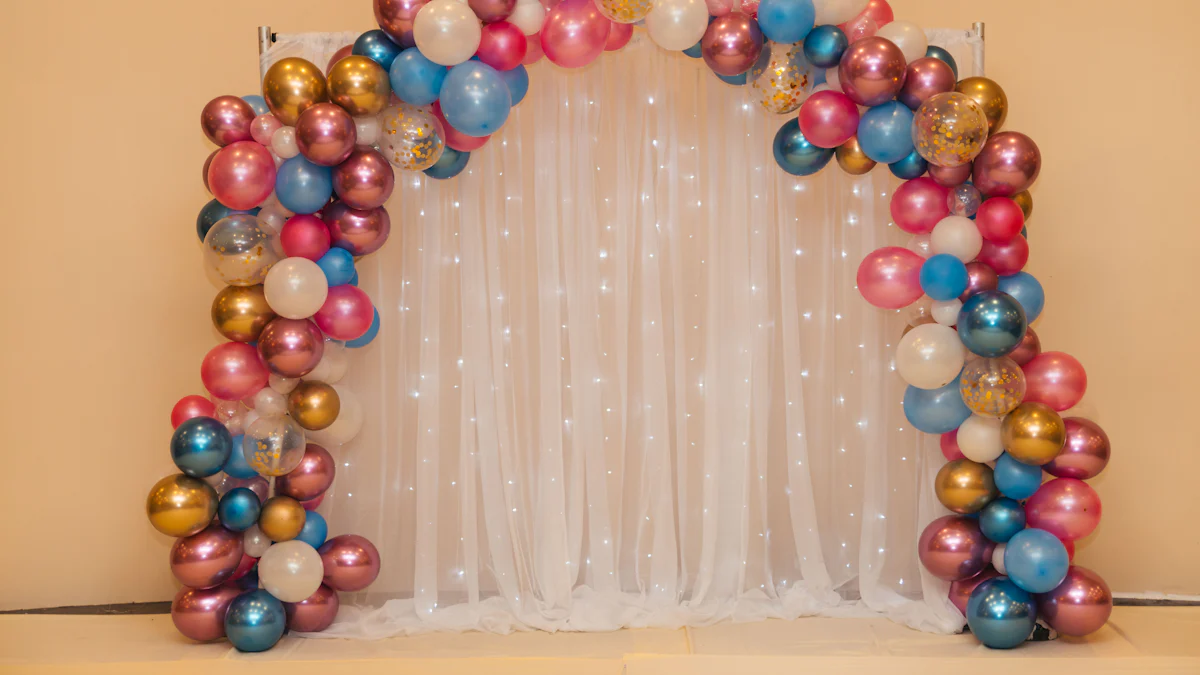
The size and shape of your balloon arch depend on your venue and purpose. A small arch works well for photo booths, while a large one makes a stunning entrance. Shapes also play a role in setting the tone. A classic arch with a uniform look suits weddings and formal events. Organic arches, with their free-flowing design, are trendy and perfect for modern celebrations. For something playful, a spiral arch adds a sense of motion and fun.
Types of Balloon Arches
Basic Balloon Arch
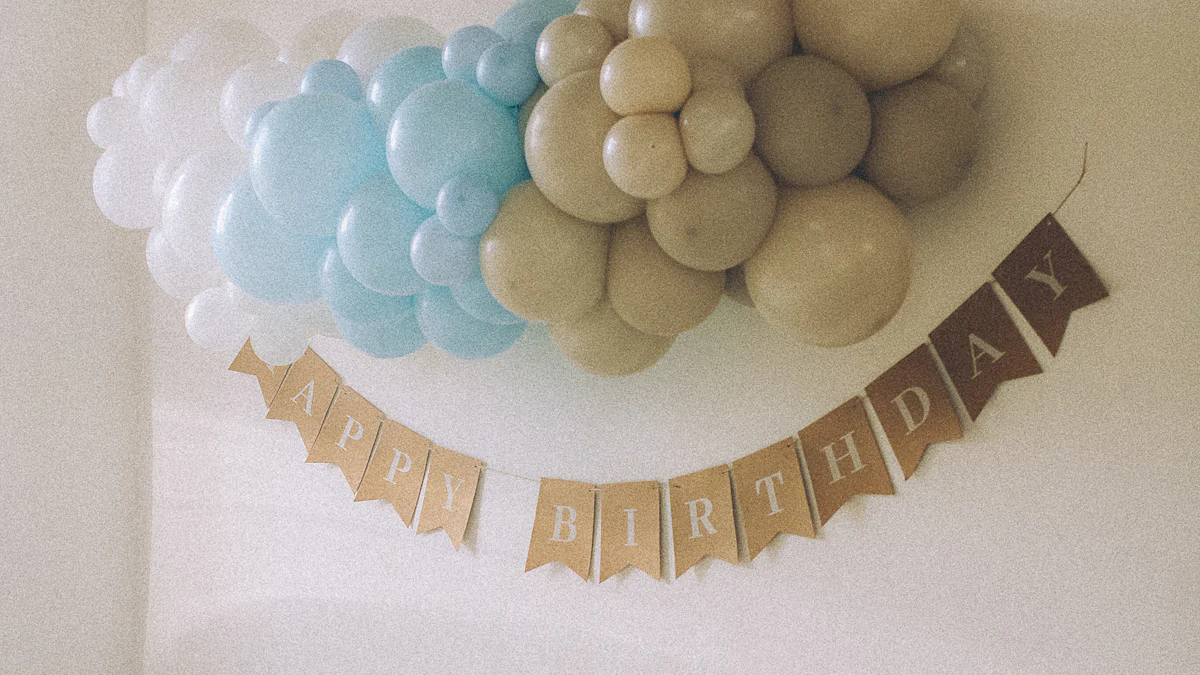
A basic balloon arch is simple yet effective. It uses balloons of the same size, creating a clean and uniform appearance. This type is perfect for formal events or when you want a timeless look.
Organic Balloon Arch
If you’re aiming for a fancy balloon arch, the organic style is your go-to. It mixes balloons of different sizes, giving it a natural and artistic feel. This type is versatile and works well for weddings, baby showers, or any event where you want a modern touch.
Floating Balloon Arch
A floating balloon arch adds a magical element to your event. It uses helium-filled balloons tied to a fishing line, creating the illusion of a floating garland. This style is perfect for outdoor celebrations or when you want to wow your guests with something unique.
Setting a Budget and Timeline
Creating a balloon arch doesn’t have to break the bank, but setting a clear budget is key. Start by thinking about all the costs involved. While balloons themselves are usually affordable, other factors can add up quickly. Here’s what you should keep in mind:
Labor Costs: If you’re hiring help, this will likely be one of your biggest expenses.
Special Requests: Need expedited delivery or planning your event during a holiday? These extras often come with additional charges.
Materials and Tools: Don’t forget to include items like balloon pumps, decorating strips, or a sturdy frame.
Customization: Adding flowers, LED lights, or other decorative elements can increase your total cost.
To stay on track, use a simple formula to calculate your expenses. Add up all your costs, then include a little extra for unexpected needs. This way, you’ll avoid surprises and stick to your budget.
Once you’ve nailed down your budget, it’s time to think about your timeline. How much time do you need to plan and assemble your balloon arch? If you’re new to this, expect to spend about 1-2 hours putting it together. Most of that time will go into inflating the balloons. To make things easier, consider using an electric balloon pump—it’s a real time-saver!
Planning ahead is your best friend here. Give yourself enough time to gather materials, practice if needed, and assemble the arch without feeling rushed. If your event is outdoors, check the weather forecast and plan for any adjustments. With a solid budget and timeline, you’ll be ready to create a stunning balloon arch that fits your vision perfectly.
Materials and Tools for a Homemade Balloon Arch
Creating a homemade balloon arch is easier when you have the right materials and tools. Let’s break down everything you’ll need to make your balloon decor project a success.
Essential Materials
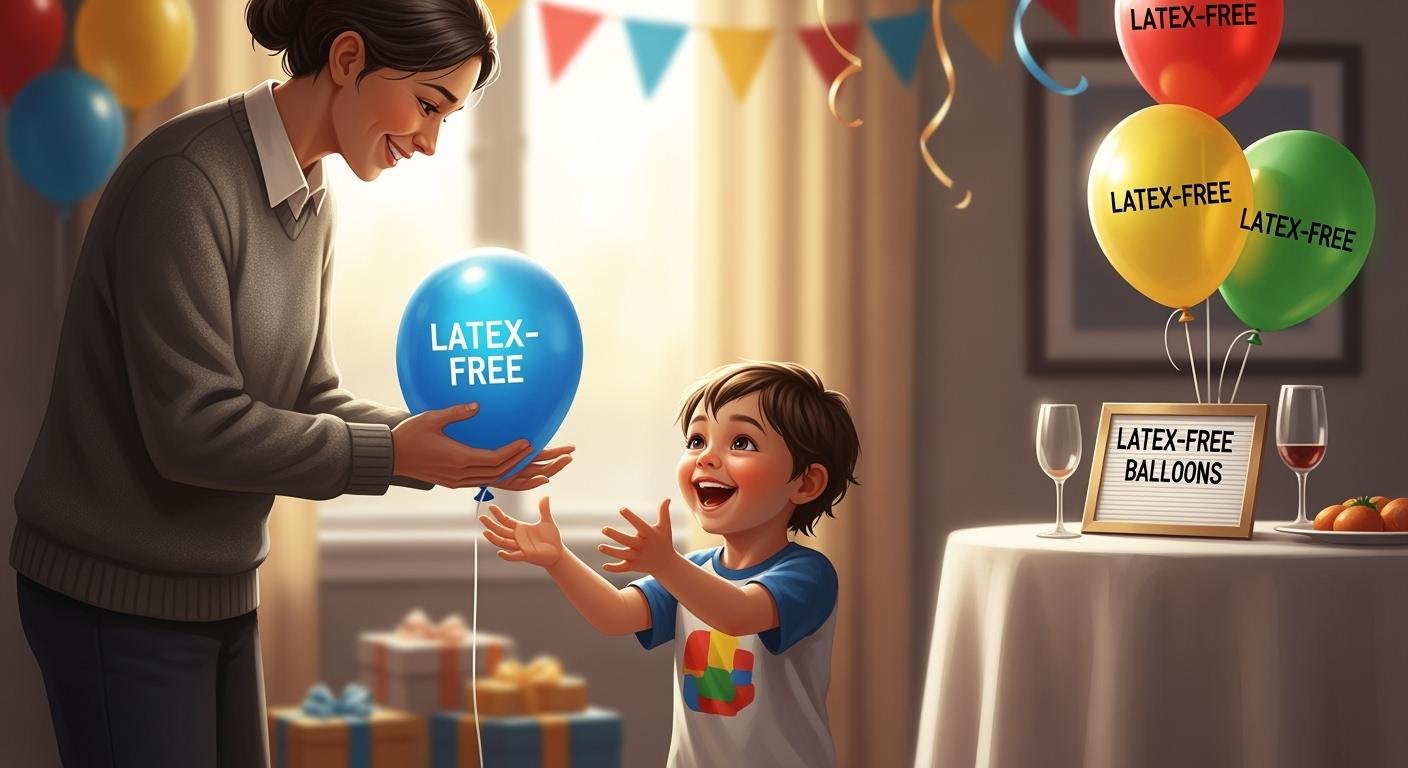
Balloons in Various Sizes and Colors
Balloons are the star of your balloon arch! You’ll need a mix of sizes and colors to create depth and visual interest. For a basic balloon arch, stick to one or two sizes. If you’re going for a fancy balloon arch, include smaller balloons to fill gaps and larger ones for a dramatic effect. You can find balloons in solid colors, metallic finishes, or even fun patterns at party supply stores or online.
Balloon Pump (Manual or Electric)
Inflating dozens of balloons by hand can be exhausting. A balloon pump will save you time and energy. Electric pumps are faster and ideal for larger projects, while manual pumps are budget-friendly and portable.
Balloon Decorating Strip or Fishing Line
To hold your balloons together, you’ll need a balloon decorating strip or fishing line. The strip has pre-made holes for easy balloon attachment, while fishing line offers flexibility for custom shapes. Both options are affordable and widely available in balloon arch kits or craft stores.
Frame or Base for Stability
A sturdy frame or base is essential for keeping your balloon arch upright. You can use rods, PVC pipes, or even a wire frame. For outdoor setups, add a balloon weight or sandbags to prevent your arch from tipping over.
Optional Add-ons for Customization
Decorative Elements (e.g., Flowers, Greenery, Ribbons)
Want to take your balloon decor to the next level? Add flowers, greenery, or ribbons to match your event’s theme. These elements can be tucked between balloons or attached with glue dots for a polished look.
LED Lights for Extra Flair
LED lights can make your balloon arch glow, especially for evening events. Wrap the lights around the frame or weave them through the balloons for a magical effect.
Anchors or Weights for Outdoor Use
If your event is outdoors, you’ll need anchors or weights to keep your arch stable. Balloon weights, sandbags, or even heavy flower pots can do the trick.
Tools for Assembly
Scissors
You’ll need scissors to cut string, fishing line, or ribbons. They’re also handy for trimming any excess material.
Glue Dots or Double-Sided Tape
Glue dots or double-sided tape help secure balloons and decorative elements in place. They’re easy to use and won’t damage your balloons.
Zip Ties for Securing Balloons
Zip ties are great for attaching balloons to the frame or base. They’re strong, reliable, and easy to tighten.
With these materials and tools, you’ll be ready to create a stunning balloon arch that wows your guests. Whether you’re aiming for a simple design or a fancy balloon arch, having the right supplies makes all the difference.
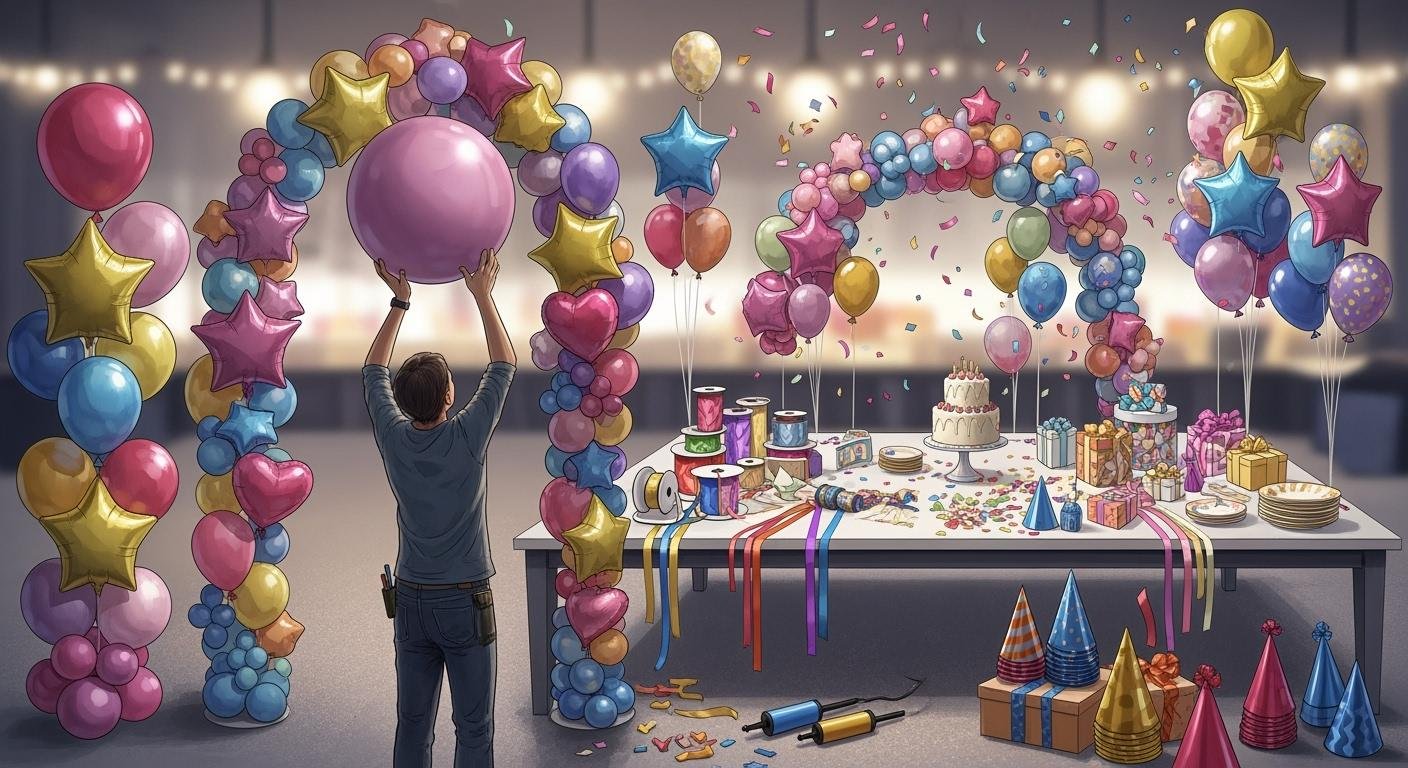
How to Make a Balloon Arch: Step-by-Step Instructions
Step 1: Inflate the Balloons
The first step in this step-by-step guide is to inflate the balloons. This might seem simple, but doing it right makes a big difference. Use a balloon pump—either manual or electric—to save time and energy. Inflating balloons by mouth can be tiring and inconsistent. A pump ensures each balloon is evenly filled, which helps them last longer.
Here’s a tip: Inflate the balloons slowly. This allows the latex to stretch evenly, making them more durable and less likely to pop. If you’re using balloons of different sizes, inflate them to their intended size for a balanced look. Once inflated, tie a secure knot at the end of each balloon. You’re now ready to move on to the next step!
Step 2: Create Balloon Clusters
Balloon clusters are the foundation of your balloon arch. They give it that full, professional look. Follow these simple steps to create clusters:
Inflate and pair your balloons. Tie two balloons together at their knots.
Twist two pairs together to form a rounded cluster of four balloons.
Repeat this process to make more clusters.
For a cohesive design, use balloons of similar sizes within each cluster. If you’re going for an organic balloon arch, mix in smaller or larger balloons to add variety. Once you’ve created enough clusters, you’re ready to start building your arch.
Step 3: Attach Balloons to the Frame or Strip
Now it’s time to attach the balloons to your frame or decorating strip. This step brings your balloon arch to life! If you’re using a balloon decorating strip, insert the tied ends of the balloons into the pre-made holes. Space them evenly for a clean look or cluster them tightly for a fuller effect.
If you’re working with a frame, clamps are a great option for securing the balloons. They hold everything in place and keep your arch looking neat. For outdoor events, consider adding sand weights or anchors to keep the frame stable. You can also use hooks, Velcro strips, or binder clips, depending on your setup. Once all the balloons are attached, step back and admire your progress. Your homemade balloon arch is starting to take shape!
Step 4: Fill Gaps and Add Layers
Now that your balloon arch is taking shape, it’s time to fill in those gaps and add layers for a polished, professional look. This step is where your creativity shines!
Start by using the largest balloons as the foundation. These create the structure and give your arch its overall shape.
Next, grab smaller balloons to fill any empty spaces. Use glue dots to attach them securely. Smaller 5-inch balloons work perfectly for this.
For an even more cohesive design, create “quad clusters.” Tie four small balloons together and tuck them into the garland. This adds depth and texture.
Take a step back and check your arch from all angles. Adjust the balloons as needed to ensure an even appearance. Mixing balloon sizes and colors creates a dynamic, layered effect. You can also incorporate larger balloons as focal points to draw attention to specific areas.
Pro Tip: Stick to your chosen color palette to maintain a cohesive look. A mix of complementary colors and textures can make your balloon arch truly stand out.
Once you’ve filled all the gaps, your arch will look full and vibrant. This step is key to achieving that “wow” factor your guests will love!
Step 5: Add Finishing Touches
The final step in this step-by-step guide is all about adding those extra details that make your balloon arch unique. Think of this as the cherry on top!
Adjust the placement of balloons to create a balanced and eye-catching design. Don’t be afraid to experiment until it feels just right.
Add greenery, flowers, or ribbons to match your event’s theme. These elements can be tucked between balloons or attached with glue dots.
For a modern twist, include metallic or confetti-filled balloons. These add sparkle and texture to your arch.
Hosting an evening event? Wrap LED or fairy lights around the arch for a magical glow.
Thematic props can also personalize your arch. For example, a baby shower could feature tiny stuffed animals, while a wedding arch might include elegant drapery. Combining different balloon sizes and colors enhances the overall design, giving it a dynamic and professional appearance.
Quick Tip: If you need to hang the garland outdoors, secure it with weights or anchors to keep it stable.
With these finishing touches, your balloon arch will look like it was crafted by a pro. You’ve now mastered how to make a balloon arch that’s sure to impress!
Tips for a Professional-Looking Balloon Arch
Preventing Balloons from Popping
Nothing ruins balloon decor faster than balloons popping unexpectedly. To avoid this, start by choosing high-quality latex balloons. These are thicker and less likely to burst. When inflating, don’t overfill the balloons. Leave a little room for the latex to expand, especially if your event is outdoors where heat can cause balloons to expand further.
Keep your balloon arch away from sharp objects or rough surfaces. If you’re setting up outside, place the arch in a shaded area to protect it from direct sunlight. Sunlight can weaken the latex and make it more prone to popping. For added protection, consider using a weather shield or UV-resistant spray. These small steps can make a big difference in keeping your balloon arch intact throughout the event.
Ensuring Stability and Durability
A stable balloon arch is key to a successful display, especially for outdoor events. Start by using a sturdy frame, like a metal or PVC pipe structure. Attach weights to the base to keep the arch steady, even in windy conditions. Sandbags or heavy flower pots work well for this.
For durability, invest in premium balloons that can withstand environmental elements. Check the arch periodically during the event for any signs of deflation or damage. If you’re hosting outdoors, keep the arch in a protected area to reduce exposure to wind and rain. These tips and tricks for a successful balloon arch will ensure your creation stays picture-perfect all day long.
Customizing for Different Events
Customizing your balloon arch to match the event theme makes it extra special. For weddings, a classic arch with soft colors like white, blush, or gold adds timeless beauty. Organic arches, with varying balloon sizes and touches of greenery, are perfect for modern or whimsical themes.
For birthdays or themed parties, let your creativity shine! Use bold colors and fun shapes to match the vibe. A superhero party might feature red, blue, and yellow balloons, while a fairy-tale wedding could include pastel shades and floral accents. Incorporate props like ribbons, LED lights, or confetti-filled balloons to make your arch stand out.
No matter the event, choose a color scheme that complements the theme. Mixing balloon sizes and textures adds depth and visual appeal. With these ideas, your balloon arch will be the highlight of any celebration!
Storing and Transporting Your Balloon Arch
Once your balloon arch is ready, you’ll want to keep it looking fresh until the big event. Proper storage and transportation are key to maintaining its quality. Here’s how you can do it like a pro.
First, store your balloons in a cool, dry place. Heat and sunlight can weaken the latex, causing balloons to fade or pop. A dark room works best to prevent any damage. If you’ve already assembled the arch, tie the balloons securely to minimize air loss. You can also use a shine solution to keep them vibrant and photo-ready.
When it’s time to transport your arch, break it down into smaller clusters. Large plastic bags are perfect for carrying these clusters while protecting them from dirt or sharp objects. Label each bag to make reassembly quick and stress-free. If you’re driving, keep the vehicle cool with air conditioning. Heat can cause balloons to expand and burst, so a chilled environment is your best friend.
During transport, avoid placing the balloons near anything sharp or rough. A little extra care goes a long way in keeping your arch intact. Once you arrive, reassemble the clusters and make any final adjustments. With these tips, your balloon arch will look just as stunning at the venue as it did when you created it.
Pro Tip: Replace any sagging balloons before the event to maintain a polished look. A quick touch-up can make all the difference!
Troubleshooting Common Issues
Even with careful planning, things don’t always go as expected. But don’t worry—most balloon arch problems have simple fixes. Let’s tackle some common issues you might face.
If your arch looks uneven, symmetry might be the culprit. Divide the arch into sections and mark the center of each. Work outward from the middle, spacing the balloons evenly as you go. This method ensures a balanced and professional appearance.
Sometimes, the arch doesn’t match your vision. Maybe the colors feel off, or the shape isn’t quite right. Step back and identify what’s bothering you. Adjust the placement of balloons or add more layers to fill gaps. If needed, don’t hesitate to start over. It’s better to take the time to get it right than to settle for something less than perfect.
Popping balloons can also be a headache. To prevent this, use high-quality latex balloons and avoid overinflating them. Keep the arch away from sharp objects and direct sunlight. If a balloon does pop, replace it with a new one to maintain the arch’s fullness.
Quick Fix: If you notice deflated balloons during the event, bring a small pump and extra balloons for on-the-spot repairs. A little preparation can save the day!
With these troubleshooting tips, you’ll be ready to handle any hiccups and keep your balloon arch looking flawless.
Creating a balloon arch is a rewarding way to elevate your event decor. With just a few materials and some creativity, you can craft a stunning centerpiece that wows your guests. Start by gathering your supplies, setting up a sturdy frame, and filling it with vibrant balloons. Add personal touches like flowers or ribbons to make it uniquely yours.
Balloon arches are versatile and fit any celebration, from birthdays to weddings. Even if it’s your first time, this guide gives you all the tips and tricks you need to succeed. So why wait? Dive into your project today and enjoy the fun of building a balloon garland that’s sure to impress!
Inspiration Tip: Use fishing line and Command hooks to secure your arch, and weave in flower garlands for extra flair. These small details can make your design truly unforgettable.
FAQ
How long does it take to make a balloon arch?
It usually takes 1-2 hours to assemble a balloon arch, depending on its size and complexity. Using an electric balloon pump can save you a lot of time. If you’re new to this, give yourself extra time to practice and perfect your design.
How many balloons do I need for a balloon arch?
The number of balloons depends on the size of your arch. A standard 6-8 foot arch typically needs 100-150 balloons. For larger or organic arches, you might need more. Always buy extra balloons to account for popping or mistakes.
Can I make a balloon arch without a frame?
Yes, you can! Use a balloon decorating strip or fishing line to create a freestanding arch. For added stability, secure the ends with balloon weights or heavy objects. This method works well for smaller arches or indoor setups.
How do I keep my balloon arch from deflating?
Inflate your balloons on the day of the event for the best results. Store them in a cool, dry place to prevent heat damage. If you’re using helium, remember it only lasts 8-12 hours, so plan accordingly.
What’s the best way to transport a balloon arch?
Break the arch into smaller clusters and place them in large plastic bags for transport. Keep the bags in a cool, air-conditioned vehicle to avoid heat damage. Once you arrive, reassemble the clusters and make any final adjustments.
Pro Tip: Always carry extra balloons and a pump for quick fixes during setup!


2 Responses