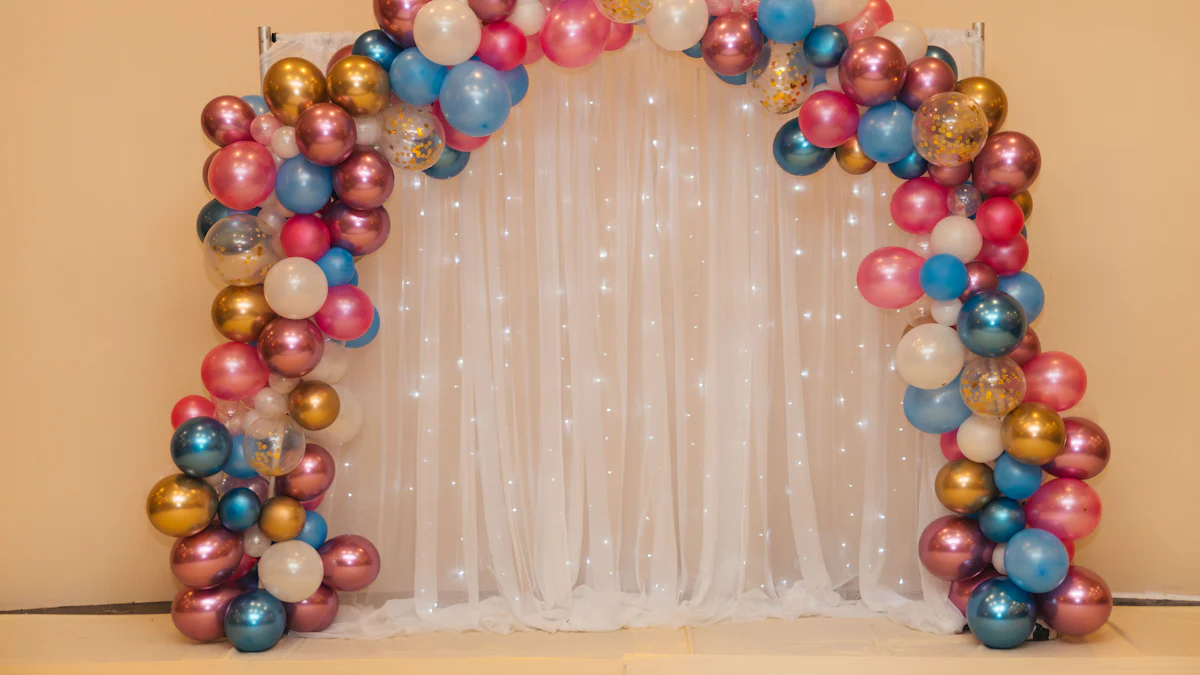
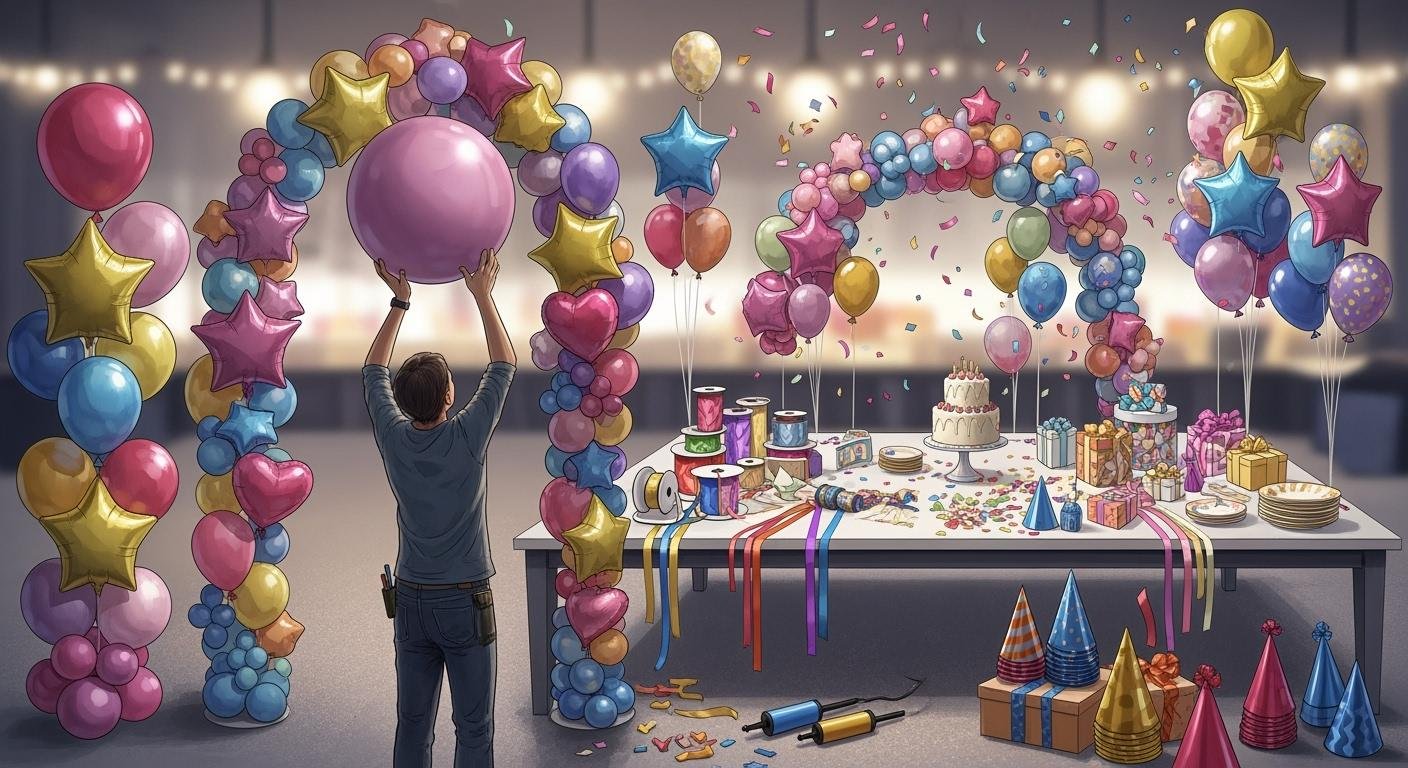
Balloons arches have become a must-have for events, and it’s easy to see why. They’re incredibly versatile and can transform any space into something extraordinary. Whether you’re hosting a wedding, birthday party, or corporate event, a balloons arch can serve as a stunning entrance, a photo backdrop, or even a way to highlight a special area like a cake table or dance floor.
Did you know they’re one of the most requested decor pieces for events? Their ability to fit any theme, from elegant to playful, makes them a favourite. Plus, creating one yourself is simpler than you might think. With just a few materials and a bit of creativity, you can craft a show-stopping centrepiece that will leave your guests in awe.
Key Takeaways
Collect needed items like balloons, tape, and a pump first. Being ready makes it easier to build.
Use balloons of different sizes for a better look. Big balloons give shape, and small ones fill spaces.
Keep your arch steady with hooks or weights. This stops it from falling and keeps it in place.
Decorate with plants, flowers, or lights to make it prettier. Match the decorations to your event’s theme.
Try out various designs and colours. Being creative can make your balloon arch stand out.
Materials and Tools for a Balloon Arch
Before you dive into creating your fancy balloon arch, you’ll need to gather your materials. Having the right tools and decorations on hand will make the process smoother and ensure your arch looks professional. Let’s break it down into essentials, optional extras, and stability tools.
Essential Items
To make a balloon arch, you’ll need a few must-haves:
Balloons in various sizes and colours: Choose colours that match your event theme. Mixing sizes adds depth and makes your arch visually appealing.
Balloon tape or garland strip: This is your secret weapon! It helps you attach and evenly space the balloons, giving your arch a polished look.
Fishing line or string: Perfect for securing balloons or adding extra support to your arch.
Electric or manual balloon pump: An electric hand pump is a lifesaver, especially if you’re inflating dozens of balloons. It’s quick, efficient, and saves you from sore cheeks!
Optional Decorations
Want to take your balloon arch to the next level? Add some flair with these extras:
Greenery or faux flowers: These can soften the look and add a touch of elegance. Secure them with glue dots or zip ties.
LED lights or fairy lights: Wrap these around your arch for a magical glow, especially for evening events.
Ribbons, tassels, or themed accents: These small details can tie your arch to your event’s theme, making it truly unique.
Stability Tools
A stunning balloon arch needs a sturdy base. Here’s how you can create your base and keep it secure:
Command hooks or adhesive strips: Ideal for anchoring your arch to walls or doorways without causing damage.
Balloon weights or sandbags: Essential for outdoor setups to prevent your arch from tipping over in the wind.
Balloon arch frame or PVC pipe: A frame provides symmetry and stability, especially for larger arches. It’s the backbone of your design.
With these materials, you’re all set to create a balloon arch that will wow your guests. Remember, preparation is key, so gather your materials before you start. Once everything’s ready, you’ll find the process much more enjoyable!
Step-by-Step Guide to Make a Balloon Arch
Creating a fancy balloon arch might seem daunting, but with these step-by-step instructions, you’ll find it’s easier than you think. Let’s dive in!
Inflate the Balloons
Tips for uniform inflation
Inflating balloons properly is the first step to a professional-looking arch. Use an electric hand pump to save time and effort. Inflate each balloon until it forms a teardrop shape. This ensures uniformity and prevents overinflation, which can lead to popping. For a polished look, keep all balloons the same size unless you’re intentionally mixing sizes for depth. High-quality balloons are a must—they last longer and hold their shape better.
Mixing balloon sizes for depth
Mixing balloon sizes adds a dynamic touch to your arch. Use larger balloons as the foundation to create structure and stability. Smaller balloons can fill gaps and add layers, making the arch visually stunning. Here’s a quick breakdown:
Balloon Size | Contribution to Arch Appearance |
|---|---|
Big balloons | Create a solid foundation, enhancing structural integrity. |
Smaller balloons | Add depth and complexity, improving visual appeal. |
This combination transforms your balloon garland into a show-stopping centrepiece.
Assemble the Balloon Arch
Attaching balloons to the garland strip
Once your balloons are ready, it’s time to assemble. Use balloon garland tape to attach your balloons. Simply push the tied ends of the balloons through the holes in the tape. For added security, you can tie clusters of balloons together using 260/360 balloons or fishing line. If you need to fill gaps, glue dots or low-temperature glue guns work wonders.
Creating clusters for a fuller look
Clusters are the secret to a fuller, more vibrant arch. Group three to five balloons of varying sizes and attach them to the garland strip. This layering technique fills empty spaces and adds depth. Smaller balloons within clusters can make your arch look polished and professional.
Secure the Arch
Anchoring to walls or doorways
To secure your balloon arch, use command hooks or adhesive strips. These are perfect for attaching your balloons to walls or doorways without causing damage. Place the hooks strategically to maintain the arch’s shape and stability.
Using weights for freestanding arches
If you’re creating a freestanding arch, balloon weights or sandbags are essential. Attach your balloons to a sturdy frame or PVC pipe, then anchor the base with weights. This ensures your arch stays upright, even in outdoor settings.
With these steps, you’re ready to make a balloon arch that will wow your guests. Take your time, follow this step-by-step guide, and enjoy the process!
Final Touches
Filling gaps with smaller balloons
Once your main balloon arch is assembled, you might notice a few empty spaces. Don’t worry—this is where smaller balloons come to the rescue! These little additions can make a big difference in creating a polished and professional look.
Here’s how you can fill those gaps like a pro:
Use 5-inch balloons for the best fit. Their smaller size works perfectly for snug spaces.
Underinflate the balloons slightly to keep them round and prevent popping.
Secure them with glue dots to ensure they stay in place.
For an extra fancy balloon arch, try creating ‘quad clusters’. Tie four small balloons together and tuck them into the garland. This technique not only fills gaps but also adds texture and depth to your design. Always step back and check your work as you go. This helps you spot any remaining gaps and ensures your balloons arch looks seamless.
Tip: Fill gaps after hanging the arch. This way, you can see exactly where the empty spaces are and avoid overloading one side.
Adjusting for symmetry and balance
Symmetry and balance are key to making your balloon arch visually stunning. Take a moment to step back and assess your creation. Does one side look heavier than the other? Are the colours evenly distributed? If something feels off, don’t hesitate to adjust.
Start by rearranging clusters or individual balloons. You can slide them along the balloon garland tape to reposition them. If one side looks too dense, remove a balloon or two to even it out. For a balanced look, alternate colours and sizes as you go.
Pro Tip: Use your phone to take a quick photo of the arch. Sometimes, seeing it from a different perspective helps you spot imbalances you might miss in person.
Remember, the goal is to customise your arch to suit your event. Whether it’s a bold and vibrant design or a soft and elegant one, symmetry ensures your balloon arch stands out as a show-stopping centrepiece.
Creative Ideas for a Stunning Balloon Arch
Your balloon arch can go from beautiful to breathtaking with a few creative touches. Let’s explore some ideas to make your design truly unforgettable.
Adding Greenery and Flowers
Selecting complementary greenery
Adding greenery can give your balloon arch a fresh, natural vibe. Choose greenery that complements your event’s theme. For a rustic look, eucalyptus or ivy works wonders. If you’re aiming for elegance, opt for ferns or delicate leaves. Keep the colours in mind—greenery with subtle tones blends beautifully with pastel balloons, while darker greens pair well with bold colours.
Securing flowers to the arch
Flowers can elevate your balloon arch to a whole new level. Use faux flowers for durability or fresh blooms for a luxurious touch. Secure them with glue dots or floral wire. Place them strategically—cluster them at the base or scatter them along the arch for a balanced look. You can even mix flowers with greenery for a layered effect that’s both stunning and cohesive.
Incorporating Lights
Wrapping fairy lights around the arch
Fairy lights can transform your balloon arch into a glowing masterpiece, especially for evening events. Here’s how you can do it:
Wrap the lights loosely around the arch to avoid tangling.
Secure them with command hooks or tape to keep them in place.
Combine them with greenery or ribbons for a personalised touch.
The soft glow of fairy lights adds a magical atmosphere, making your arch the centre of attention.
Using LED balloons for a glowing effect
LED balloons are another fantastic way to light up your arch. They’re safe, eco-friendly, and easy to use. Plus, they come with various light modes to match your event’s vibe. Whether you want a steady glow or a twinkling effect, LED balloons can do it all. They’re perfect for creating a party atmosphere and can be inflated with air or helium for versatility.
Themed Customisations
Matching colours to your event theme
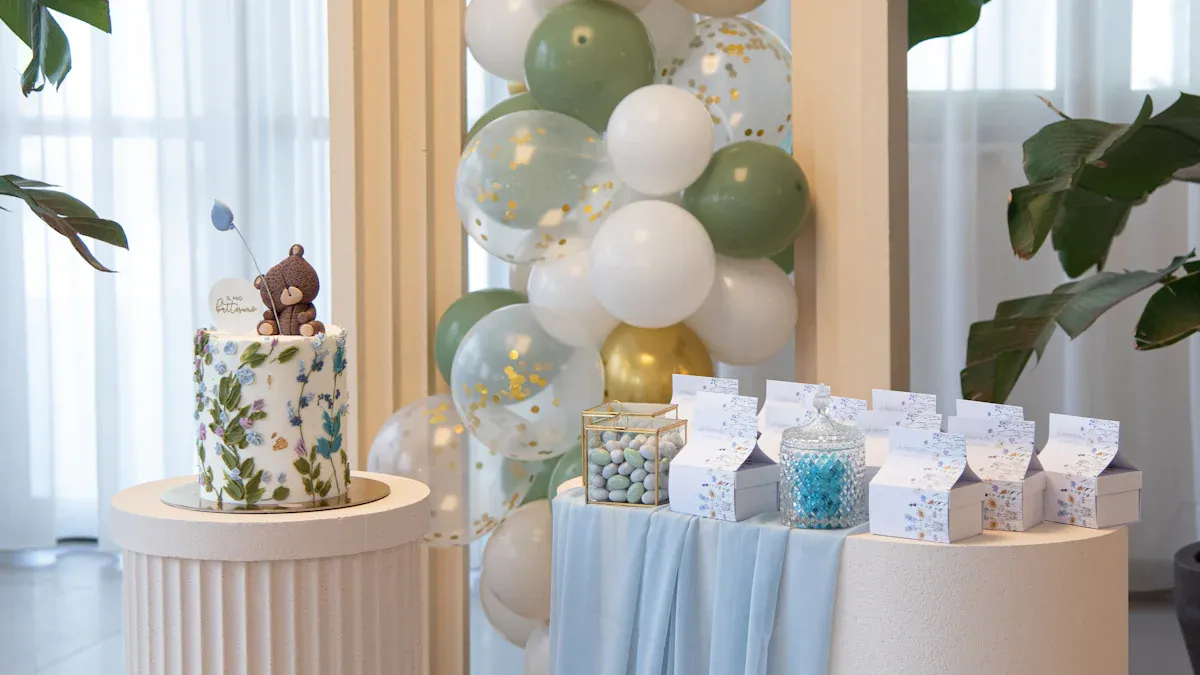
The colours of your balloon arch can set the tone for your event. Think about the emotions you want to evoke. For instance, red adds energy, while blue feels calm and professional. Pastels work well for baby showers, and vibrant colours are great for birthdays. You can also mix solid and printed balloons or add metallics for a sophisticated touch. Don’t forget to consider the venue’s decor to ensure everything looks cohesive.
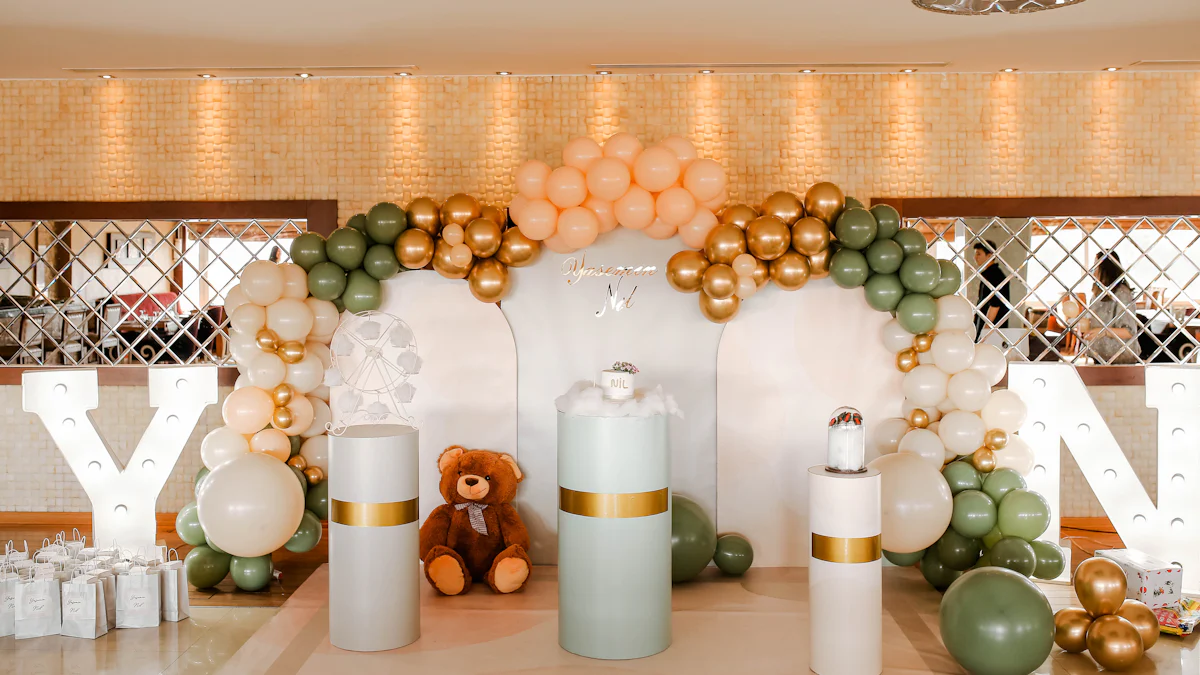
Adding personalised elements like banners
Personal touches make your balloon arch unique. Add a banner with the guest of honour’s name or a special message. You can also include thematic props, like tiny stuffed animals for a baby shower or elegant drapery for a wedding. Ribbons and tassels can enhance the overall aesthetic, tying the arch to your event’s theme. These small details make a big impact and leave a lasting impression on your guests.
Practical Tips for Setup and Stability
Choosing the Right Location
Indoor vs outdoor considerations
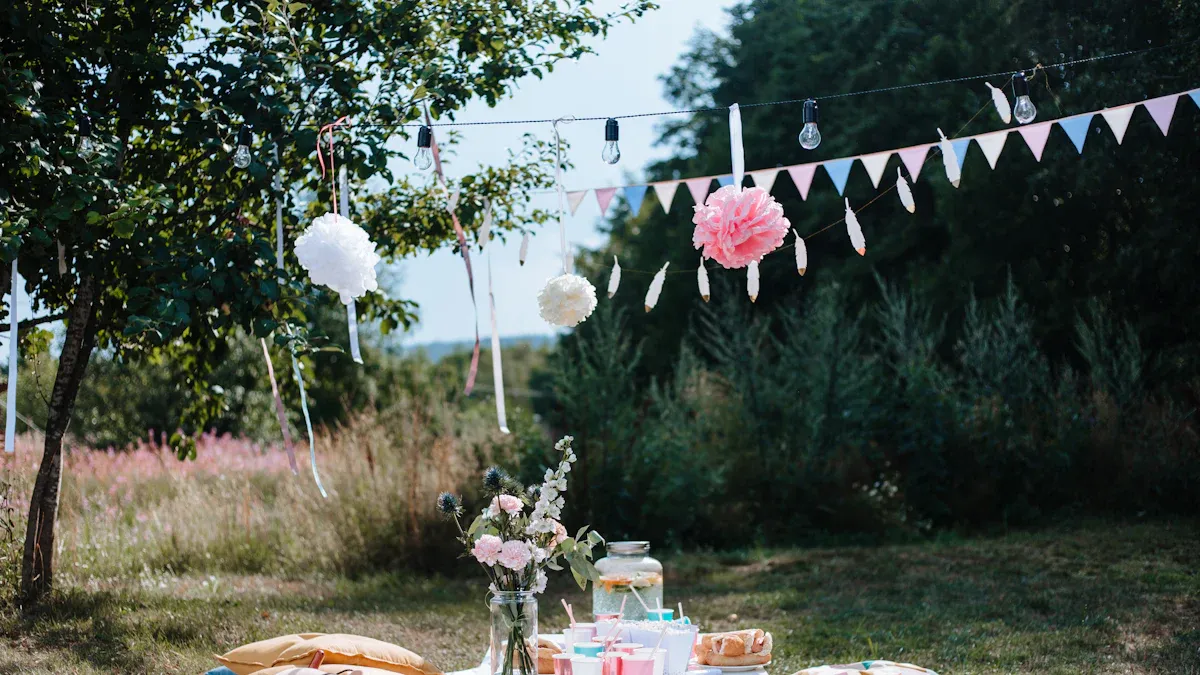
Picking the perfect spot for your balloon arch is crucial. Indoors, you’ll have more control over the environment. No wind, no sun, and no unexpected weather changes to worry about. If you’re setting up outdoors, though, you’ll need to plan for stability. Use heavy-duty weights or sandbags to keep your arch grounded. Avoid placing it in direct sunlight, as heat can weaken the balloons and cause them to pop. A shaded area works best for outdoor setups.
Ensuring adequate space for the arch
Before you start assembling, check the space. Balloon arches need room to shine! Measure the area to ensure your arch fits comfortably without crowding the venue. For doorways or entrances, leave enough clearance for people to pass through. If it’s a freestanding arch, make sure there’s space around it for photos or decorations. A little planning goes a long way in making your arch the centrepiece of the event.
Preventing Balloon Popping
Avoiding sharp objects and heat
Nothing ruins a balloon arch faster than popping balloons. Keep sharp objects far away from your setup. This includes jewellery, tools, or even rough surfaces nearby. Heat is another enemy. If you’re outdoors, use UV-resistant sprays to protect your balloons from the sun. Indoors, avoid placing the arch near heaters or lights that emit heat. Cooling techniques like portable fans can help maintain a safe temperature around your balloons.
Using durable, high-quality balloons
Investing in high-quality balloons makes a big difference. They’re sturdier and less likely to burst, even under pressure. Larger or foil balloons hold air longer, keeping your arch looking fresh throughout the event. High-quality balloons also retain their shape better, so your arch stays picture-perfect for hours. It’s worth spending a little extra to avoid last-minute disasters.
Tip: Inflate your balloons shortly before the event to keep them fresh and vibrant.
Transporting the Balloon Arch
Moving a pre-assembled arch
Transporting a pre-assembled balloon arch can be tricky, but it’s doable with some preparation. Build your arch in smaller clusters and store them in large plastic bags. This makes them easier to handle and protects them during the journey. Secure the bags tightly to prevent oxidation and keep the balloons shiny. Remove sharp objects from your vehicle and avoid placing the balloons in the boot, where heat can build up. Keep the air conditioning on to maintain a cool environment.
Assembling on-site for convenience
If transporting a full arch feels overwhelming, consider assembling it on-site. Pack your materials and tools in an organised way for easy access. Inflate the balloons at the venue and build the arch step by step. This method reduces the risk of damage during transport and gives you more control over the final setup. It’s especially useful for larger arches or events in challenging locations.
Pro Tip: Always carry extra balloons and tools for quick fixes. You never know when you might need them!
Creating a balloon arch is simpler than it looks, and the results are absolutely worth it. With just a few materials and some creativity, you can craft a stunning centrepiece that transforms any event. Remember these key steps:
Gather your materials.
Set up a sturdy frame.
Fill it with balloons.
Secure everything in place.
Add your personal finishing touches.
Tip: Experiment with different designs, like ombre effects, metallic balloons, or textured styles. Adding greenery, flowers, or LED lights can make your arch even more unique.
Don’t be afraid to get creative! Whether it’s a classic design or a playful theme, your balloon arch will wow your guests and create unforgettable memories. Why not give it a go for your next event? You’ll be amazed at what you can achieve! 🎈
FAQ
How long does it take to make a balloon arch?
It usually takes 1-2 hours, depending on the size and complexity of your design. If you’re new to it, give yourself extra time to inflate balloons and assemble the arch.
Tip: Prepare your materials in advance to save time on the day of your event! ⏳
Can I reuse the balloons after the event?
Unfortunately, most balloons can’t be reused once deflated. However, you can save decorations like faux flowers, greenery, or LED lights for future projects.
Note: High-quality balloons last longer, so they might stay inflated for a few days after your event. 🎈
How many balloons do I need for an arch?
For a standard 6-8 foot arch, you’ll need around 100-150 balloons. Larger arches may require 200 or more. Mixing sizes helps reduce the total number needed.
Pro Tip: Always buy extra balloons in case of popping or last-minute adjustments.
Can I make a balloon arch without a frame?
Yes, you can! Use command hooks to anchor the garland to walls or doorways. For freestanding arches, weights or sandbags provide stability.
Tip: A frame adds symmetry and makes larger arches easier to assemble.
What’s the best way to match balloon colours to my theme?
Choose 2-3 main colours that reflect your event’s vibe. Add metallic or pastel accents for depth. Use a colour wheel to find complementary shades.
Pro Tip: Test your colour combination by inflating a few balloons before committing to the full arch. 🎨


2 Responses