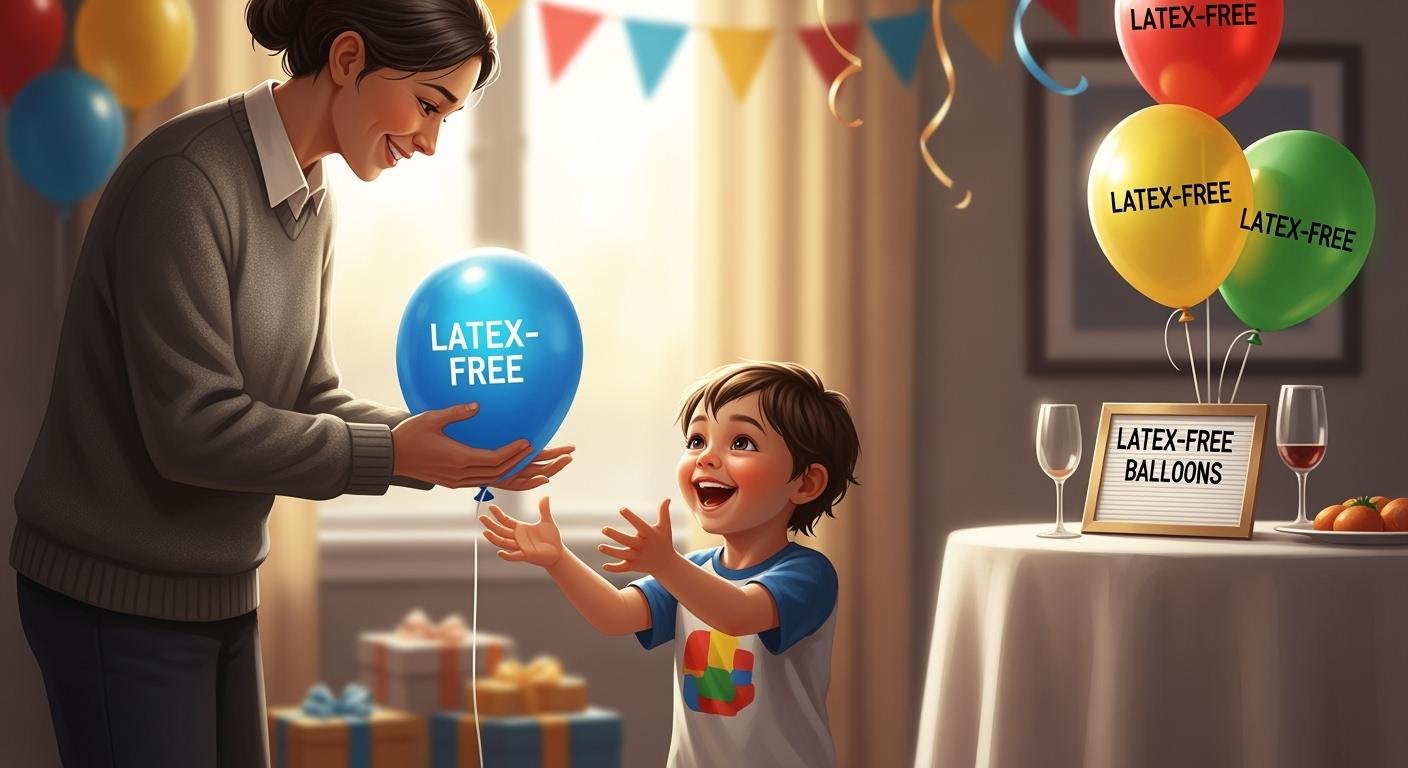
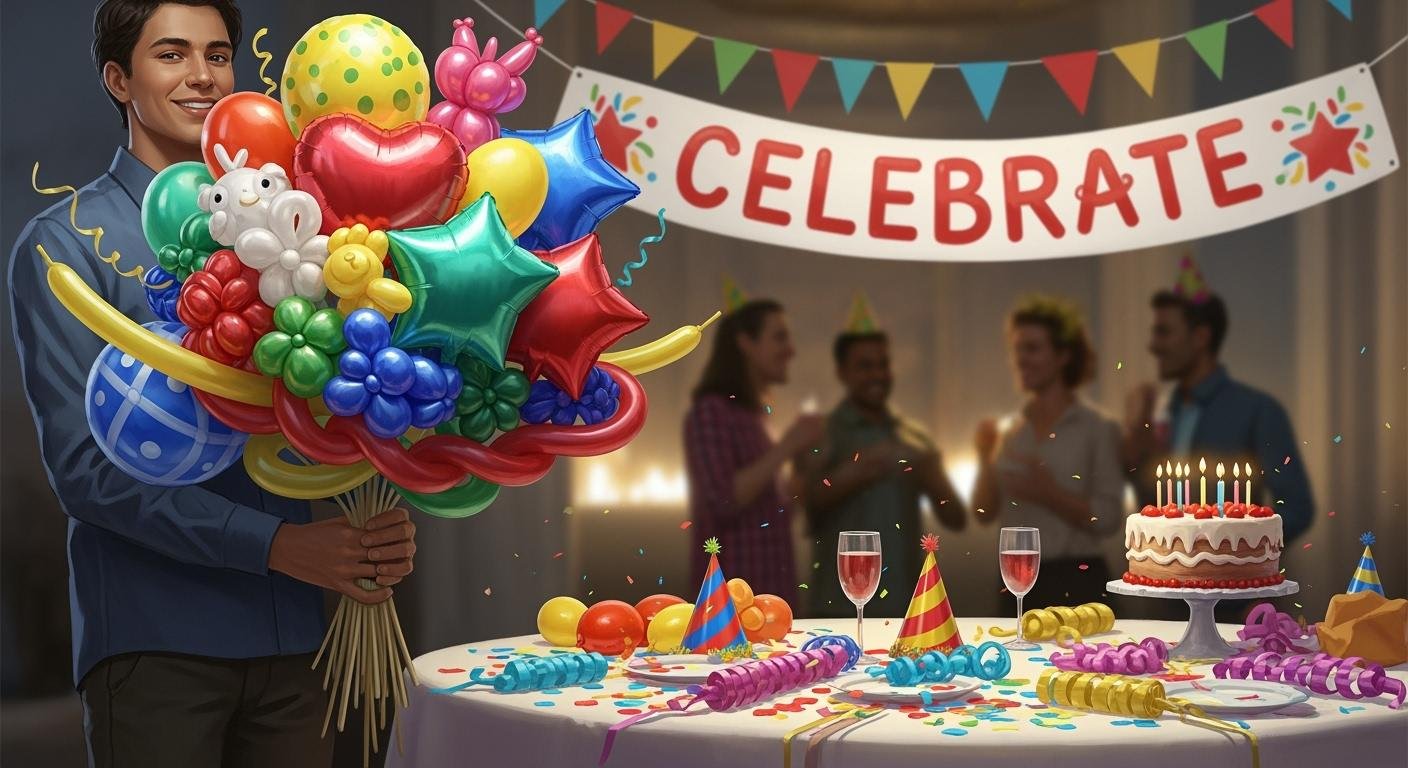
Balloon arches are now a must for birthday balloon decorations. Their bright colors and fun shapes make any party exciting. Did you know Americans spend about $38 billion yearly on party supplies? A big part of that goes to decorations like birthday balloon decorations. This shows how much people enjoy adding special touches to their events. Also, DIY options make it simple to create your own balloon arch at home. Whether you want a classic look or something bold, a homemade balloon arch can be the star of your birthday decorations.
🎈 Fun Tip: Birthday balloon decorations aren’t just cool—they’re useful! Add flowers, lights, or ribbons to fit any theme.
Key Takeaways
Gather all materials before starting your balloon arch. This saves time and makes the process smoother.
Use a mix of balloon sizes and colors for a visually appealing design. This adds depth and interest to your arch.
Secure your balloon arch properly to prevent it from wobbling or falling during the party. Test the stability before the event.
Add accessories like flowers or lights to enhance your balloon arch. These details can make your decorations stand out.
Keep extra balloons on hand for quick fixes. This helps maintain the look of your arch if any balloons pop or deflate.
Materials Checklist for a Balloon Arch
Before starting your balloon arch, gather all the needed supplies. Having everything ready makes the process easier and more fun. Here’s what you’ll need:
Types and sizes of balloons
The balloons you pick will affect how your arch looks. Latex balloons are popular because they’re cheap, flexible, and eco-friendly. For something stronger or reusable, try Mylar balloons. Here’s a quick comparison:
Good for the environment.
Best for short events.
Mylar Balloons:
Strong and reusable.
Hold helium for up to two weeks.
Great for detailed designs but not eco-friendly.
Using small, medium, and large balloons together adds variety and style. Check this table for sizes:
Balloon Size Category | Description |
|---|---|
Small | Up to 9 inches |
Medium | 10–14 inches |
Large | 15 inches or more |
Pro Tip: Brands like Tuf-Tex, Belbal, and Sempertex make colorful, durable balloons. These work well for outdoor parties or fancy designs.
Balloon pump or inflator
Blowing up balloons by hand is tiring. A balloon pump saves time and energy. You can choose between manual pumps and electric inflators. Here’s a quick look at some options:
Device Manufacturer | Key Features | Market Impact |
|---|---|---|
Boston Scientific | Strong pressure control | Trusted for medical use |
Medtronic | Eco-friendly and affordable | Meets green and budget needs |
Terumo Corporation | Smart designs approved worldwide | Popular in Asia-Pacific markets |
For most DIY projects, an electric pump works best. It’s quick and simple. If you want less noise or are working with kids, a manual pump is a good choice.
Balloon decorating strip or tape
A balloon strip or tape holds your arch together. It helps you create cool designs easily. When picking one, look for these features:
Property | Description |
|---|---|
Keeps balloons stuck together for detailed designs. | |
Versatility | Comes in different shapes and sizes for various needs. |
Temperature Sensitivity | Works best at room temperature; may fail in extreme weather. |
Residue-Free | Leaves no sticky marks on balloons, keeping them neat. |
Ease of Use | Simple to apply and remove, making setup and cleanup easy. |
Most balloon kits include a strip, so you’re ready to go. If buying separately, ensure it works with your balloons.
🎈 Quick Tip: Test your tape or strip on one balloon first. This ensures it sticks well before building the whole arch.
Hooks, string, or fishing line
You’ll need something sturdy to hold your balloon arch in place. Hooks, string, or fishing line are great options for this. Each has its own advantages, so you can pick what works best for your setup.
Hooks:
These are perfect for attaching your balloon arch to walls, ceilings, or doorways. Adhesive hooks are easy to use and don’t require drilling. If you’re working outdoors, metal hooks can provide extra strength. Make sure the hooks are positioned securely to avoid any accidents during the party.String:
String is a versatile choice for hanging your balloon arch. You can tie it to furniture, poles, or other sturdy objects. Cotton string works well for lightweight arches, while nylon string is better for heavier designs. Keep the string taut to maintain the shape of your arch.Fishing Line:
Fishing line is nearly invisible, making it ideal for creating a floating effect. It’s strong enough to hold a standard-sized balloon arch without breaking. Use clear fishing line for a clean look that blends seamlessly with your decorations.
🎈 Pro Tip: Test the strength of your hooks, string, or fishing line before attaching the balloon arch. This ensures your decorations stay intact throughout the party.
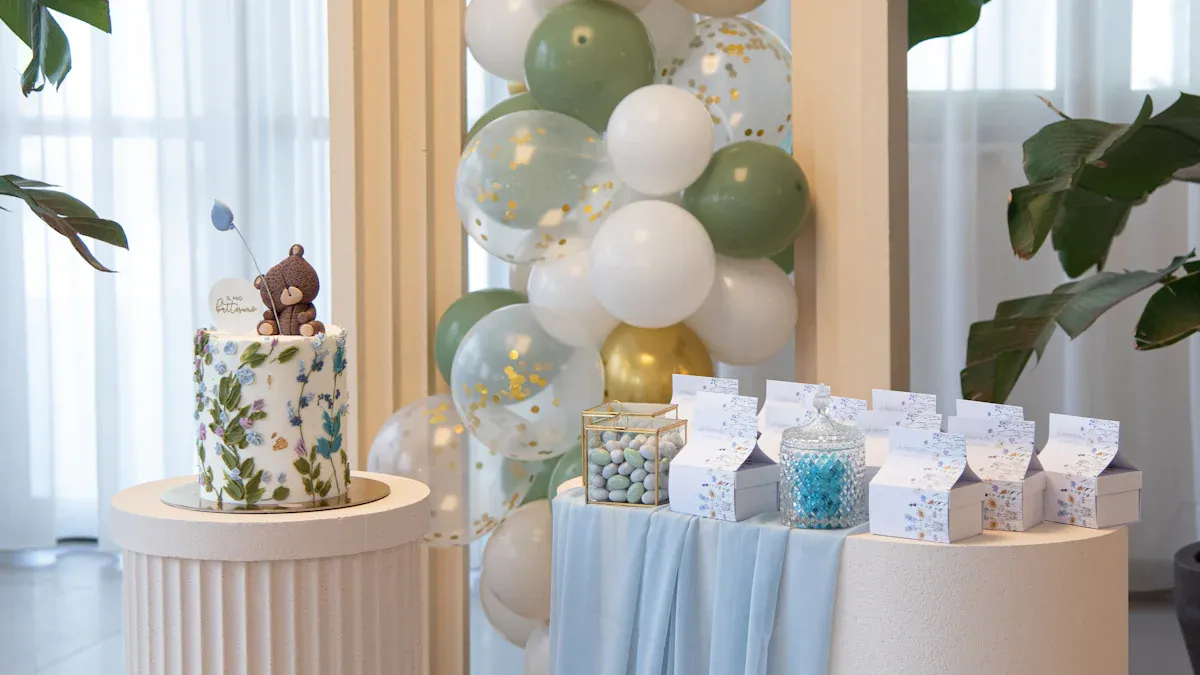
Optional accessories like flowers or lights
Adding accessories can take your balloon arch to the next level. Flowers, lights, and other decorations can make your arch unique and match the party theme.
Flowers:
Fresh or artificial flowers can add elegance to your balloon arch. Choose blooms that complement your color scheme. For example, pastel balloons pair beautifully with roses or peonies. Use floral wire or tape to attach the flowers securely.Lights:
String lights or fairy lights can create a magical vibe. Wrap the lights around the arch or weave them between the balloons. Battery-operated lights are a safe option, especially if you’re setting up outdoors or away from power outlets.Other Accessories:
Ribbons, greenery, or even small toys can make your balloon arch stand out. For a kid’s birthday party, you could add themed items like mini dinosaurs or princess crowns. Be creative and think about what fits the occasion.
✨ Quick Tip: If you’re using a balloon arch kit, check if it includes accessories like flowers or lights. This saves time and ensures everything matches perfectly.
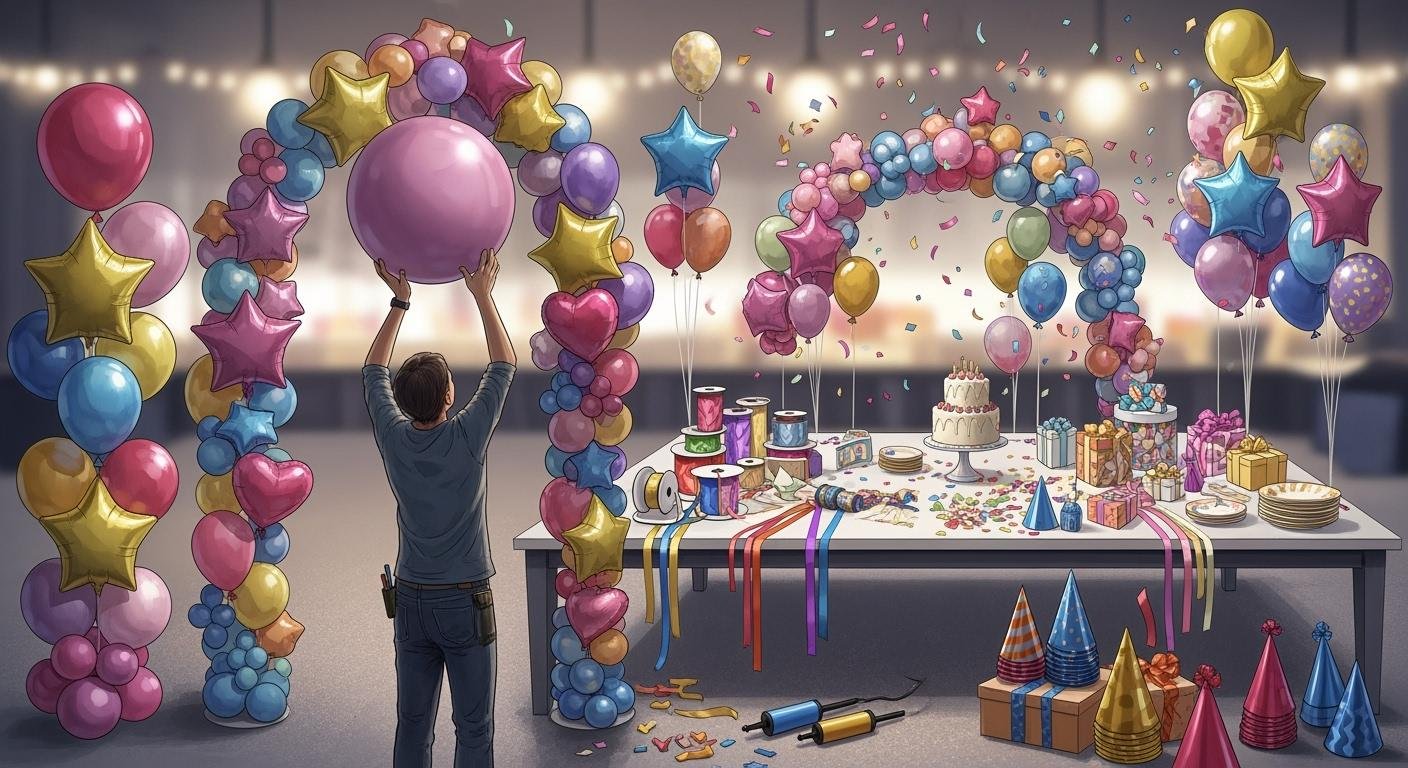
Getting Ready for Your DIY Balloon Arch
Picking the spot and design
Choose a place where your balloon arch will stand out. Good spots include the entrance, near the cake table, or as a photo backdrop. These areas grab attention and make your decorations shine.
You can pick different designs for your arch. Traditional arches are popular, but shapes like squares or circles look modern. If space is tight, try a half-arch or corner setup.
Factor | Details |
|---|---|
Location | Great spots are entrances, tables, or photo backdrops. |
Design | Choose classic arches or unique shapes for visual appeal. |
Colors and Theme | Match colors and themes to make the party look amazing. |
🎈 Pro Tip: Decide the size and spot for your arch early. This avoids last-minute changes and ensures it fits perfectly.
Picking balloon colors
Match your balloon arch colors to the party theme. Pick two or three main colors that fit the mood. Pastels are great for kids’ parties, while metallics add style to adult events.
Mix solid balloons with patterned ones for variety. You can also use matte, shiny, or clear balloons for texture. Unsure about your choices? Arrange a small group of balloons first to test the look.
✨ Quick Tip: Use different balloon sizes and colors when attaching them. This makes your arch look balanced and fun.
Getting supplies ready
Gather all your materials before starting your balloon arch. This saves time and keeps things simple. Inflate balloons a day early to avoid rushing. Use an air pump or compressor to make it faster.
Here’s a checklist to stay organized:
Hang the tape early to let it straighten out.
Attach the tape to the frame with zip ties or hooks.
Start adding balloons at the main point, switching sizes for balance.
🎈 Note: Use strong balloons and keep them away from sunlight. This stops them from popping or losing air during the party.
Step-by-Step Guide to Assembling a Balloon Arch
Inflate the balloons
Start by inflating all your balloons. This step sets the foundation for your balloon arch, so take your time to get it right. Use a balloon pump or an electric inflator to save energy and ensure consistent inflation. Blowing up balloons by mouth can be exhausting and may lead to uneven sizes.
Here are some tips to achieve perfectly inflated balloons:
Choose the right size: Stick to the sizes you planned earlier—small, medium, or large. This variety adds depth and texture to your arch.
Maintain consistent inflation: Overinflated balloons can pop, while underinflated ones may look droopy. Aim for a round shape rather than an oval one.
Test inflation techniques: Different balloon sizes and inflation pressures can affect the final look. Using a steady, controlled technique ensures uniformity.
🎈 Pro Tip: Inflate a few extra balloons in each size and color. This gives you backups in case of pops or deflations during assembly.
Attach balloons to the decorating strip
Once your balloons are ready, it’s time to attach them to the decorating strip or tape. This step is where your balloon arch starts to take shape. The decorating strip has evenly spaced holes where you can insert the balloon knots.
Follow these steps to attach your balloons:
Take your first balloon and push its knot through one of the holes in the strip.
Alternate balloon sizes as you go. For example, place a large balloon, then a medium one, and then a small one. This creates a balanced and visually appealing design.
Continue adding balloons until the strip is full or reaches your desired length.
✨ Quick Tip: If you’re using a fishing line instead of a strip, tie the balloon knots directly onto the line. This method works well for creating a floating effect.
Arrange clusters and fill gaps
Now comes the fun part—arranging balloon clusters and filling any gaps. This step brings your balloon arch to life and makes it look polished.
Here’s how to do it:
Group balloons into clusters based on your color pattern. For example, if you’re using three colors, create clusters with one balloon of each color.
Attach the first cluster to the strip or fishing line.
Build the next cluster in the same color pattern and position it to fit snugly into the gap of the first cluster.
Repeat this process, ensuring the clusters align in both color and direction.
🎈 Pro Tip: Use smaller balloons to fill any remaining gaps. This adds a professional touch and makes your arch look fuller.
If you’re aiming for a more dynamic design, try mixing textures. Combine matte, shiny, and clear balloons for added depth. You can also experiment with different shapes, like heart or star-shaped balloons, to make your arch stand out.
✨ Note: Detach the fishing line or secure the strip only after you’ve achieved the desired length and look for your balloon arch.
Secure the arch in place
Now that your balloon arch is assembled, it’s time to secure it in place. This step ensures your creation stays intact throughout the party, no matter how lively the celebration gets.
Choose the right support
Start by deciding where you’ll anchor your balloon arch. If you’re setting it up indoors, walls, doorways, or furniture work well. For outdoor parties, sturdy poles or fences are great options. Make sure the surface is stable and won’t shift during the event.
🎈 Quick Tip: If you’re using adhesive hooks, test them on the surface beforehand. This avoids surprises like hooks falling off mid-party.
Attach the arch securely
Here’s how you can secure your balloon arch step by step:
Position the arch: Hold the balloon arch in place where you want it to go. Get a helper if needed to keep it steady.
Use hooks or ties: Attach the arch to your chosen support using adhesive hooks, zip ties, or string. For fishing line setups, tie the line tightly to the support.
Check stability: Gently shake the arch to test its stability. If it wobbles, add more ties or adjust the hooks.
Adjust for balance
Once the arch is secured, step back and take a look. Does it look balanced? Are there any gaps or uneven spots? Adjust the position of the balloons or clusters to make the arch look perfect.
✨ Pro Tip: If your balloon arch leans or sags, use extra supports like a lightweight frame or additional hooks.
Final touches
After securing the arch, add any finishing touches. If you’re using accessories like flowers or lights, make sure they’re firmly attached. This step not only enhances the look but also keeps everything in place.
🎉 Note: A well-secured balloon arch can last for hours, making it the centerpiece of your birthday decorations.
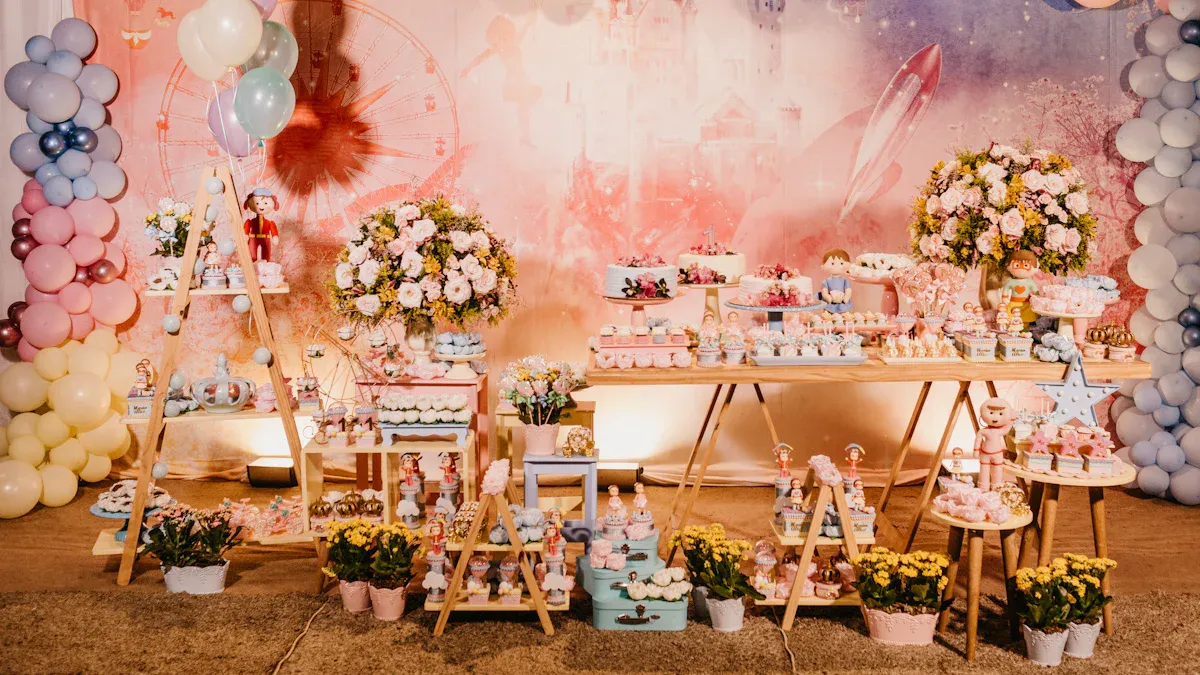
Customizing Your Birthday Balloon Decorations
Adding flowers, ribbons, or greenery
Adding extras like flowers, ribbons, or greenery makes your balloon arch special. These details add beauty and personality to your setup. Fresh flowers, like roses or daisies, give a soft and pretty look. If you want something that lasts longer, fake flowers work well too. Use floral tape or wire to keep them in place on your arch.
Ribbons bring a fun and colorful touch. Pick ribbon colors that match your party theme. Tie them around balloons or let them hang down for a flowing effect. Greenery, such as ivy or eucalyptus, adds a natural feel. Wrap it around the arch to make it look lush and fresh.
🌸 Quick Tip: Combine different accessories to match your party theme. For example, pastel balloons with soft flowers create a dreamy look.
Using varied balloon sizes for texture
Using balloons of different sizes makes your arch look more interesting. Mix small, medium, and large balloons to add layers and depth. This simple trick makes your decorations look fancy and professional.
Start with bigger balloons as the base of your arch. Then, fill empty spaces with smaller balloons to form clusters. Mixing sizes also helps balance the design. If one side looks too heavy, add smaller balloons to even it out.
Reusable vinyl balloons are another cool option. They come in many sizes and are better for the environment. These balloons also stay firm, keeping your arch looking great all party long.
🎈 Pro Tip: Try balloons in fun shapes, like stars or hearts, to make your arch stand out.
Incorporating lights for added flair
Lights can make your balloon arch look magical. String lights or fairy lights are great for adding sparkle. Wrap them around the arch or tuck them between balloons for a glowing effect. Battery-powered lights are perfect for outdoor parties or places without outlets.
For a bold look, use LED lights in colors that match your theme. For example, gold balloons look great with warm white lights, while silver balloons pair nicely with cool blue lights. You can also mix lights with flowers or ribbons for a complete design.
✨ Quick Tip: Test your lights before adding them to the arch. This ensures they work and fit your design perfectly.
Custom balloon decorations, like arches, are becoming more popular. Research shows that personal touches make events more special and attract more guests. Whether you add flowers, mix balloon sizes, or use lights, these ideas can make your birthday party unforgettable.
Troubleshooting Your Balloon Arch
Even with careful planning, your balloon arch might need some quick fixes during the party. Don’t worry—most issues are easy to solve. Here’s how you can handle common problems like popped balloons, wobbly structures, or uneven clusters.
Fixing popped or deflated balloons
Popped or deflated balloons can happen, especially if they’re exposed to heat or sharp objects. Always keep a few extra balloons in each size and color on hand. If a balloon pops, simply inflate a replacement and attach it to the same spot on the decorating strip. For deflated balloons, it’s best to remove them and replace them with fresh ones.
🎈 Quick Tip: If you’re short on time, use smaller balloons to fill gaps left by popped ones. This keeps your balloon arch looking full and festive.
Stabilizing the arch structure
A wobbly balloon arch can be frustrating, but it’s easy to fix. First, check the base or anchor points. If you’re using hooks, make sure they’re firmly attached to the wall or surface. For outdoor setups, add weights like sandbags or heavy objects to keep the arch steady.
If the arch still leans, try redistributing the weight. Move larger balloon clusters to the opposite side to balance it out. You can also add extra support, like a lightweight frame or additional fishing line, to hold everything in place.
✨ Pro Tip: Test the stability of your balloon arch before the party starts. A quick shake will reveal any weak spots.
Adjusting uneven clusters
Sometimes, balloon clusters can look uneven or out of place. To fix this, step back and examine the overall shape of your balloon arch. Identify any areas that look too crowded or too sparse.
To even things out, gently adjust the position of the balloons. Push them closer together to fill gaps or spread them out for a more balanced look. If needed, add smaller balloons to fill empty spaces. This creates a polished and professional appearance.
🎉 Note: Don’t be afraid to experiment with the arrangement. Small adjustments can make a big difference in how your balloon arch looks.
By following these tips, you can quickly troubleshoot any issues and keep your balloon arch looking amazing throughout the celebration.
Making your own balloon arch is simpler than it seems. It’s a great way to make your birthday balloon decorations special. Use different colors, themes, and extras to create something unique. Whether you want fun or fancy, there are so many options. Follow this guide to make a centerpiece that will impress everyone. Get your materials ready and start creating something amazing!
🎉 Pro Tip: Don’t worry about making it perfect—it’ll look awesome because it’s made with care!
FAQ
How long does it take to make a balloon arch?
It usually takes about 1–2 hours to assemble a balloon arch, depending on its size and your experience. If it’s your first time, give yourself extra time to inflate balloons and arrange them.
⏱ Tip: Start early to avoid last-minute stress!
Can I make a balloon arch without a decorating strip?
Yes, you can! Use fishing line or string to tie the balloons together. It takes a bit more effort, but the result looks just as amazing. Secure the knots tightly to keep the balloons in place.
🎈 Pro Tip: Use a needle to thread the fishing line through balloon knots.
How do I keep balloons from popping?
Avoid overinflating the balloons and keep them away from sharp objects or direct sunlight. Use high-quality balloons for durability. If you’re outdoors, consider placing the arch in a shaded area.
🌞 Quick Tip: Spray balloons with a balloon shine spray to prevent drying out.
Can I reuse balloons from the arch?
Latex balloons aren’t reusable, but Mylar or vinyl balloons can be deflated and stored for future use. Handle them gently when removing them from the arch to avoid damage.
♻️ Note: Reusable balloons are eco-friendly and save money!
What’s the best way to transport a balloon arch?
If possible, assemble the arch at the party location. For smaller arches, you can carefully transport them in a large vehicle. Secure the arch to prevent it from shifting during the ride.
🚗 Tip: Inflate balloons on-site if transporting the entire arch isn’t practical.