A balloon arch can transform your birthday party into something truly magical. It’s a simple way to make your birthday balloon decoration stand out and impress your guests. You might think creating one is tricky, but it’s easier than you imagine. With step-by-step instructions, you’ll avoid common challenges like measuring balloons accurately or securing them properly. You’ll also learn how to create symmetry without stress. Whether you’re a beginner or just short on time, these instructions will help you craft a stunning balloon arch with minimal effort.
Key Takeaways
Collect all the needed items before you begin. These include balloons, garland tape, a balloon pump, and sticky hooks. Being ready helps things go easier.
Use the step-by-step instructions to blow up and stick balloons. Begin with big balloons, then use smaller ones to fill spaces for a neat look.
Pick a good spot for your balloon arch. Indoor spots are simpler to handle, but outdoor ones need extra support to stay steady in bad weather.
Materials for Your Balloon Arch
Before you dive into creating your balloon arch, it’s important to gather all the materials you’ll need. Having everything ready will make the process smoother and more enjoyable. Here’s what you’ll need:
Types of balloons and recommended quantities
The type of balloons you choose can make or break your balloon arch. Latex balloons are a popular choice because they’re lightweight and easy to handle. Foil balloons are another great option. They hold their shape well and come in a variety of fun designs. If you’re looking for something eco-friendly, organic balloons made from natural latex are both sustainable and visually appealing. For a standard-sized balloon arch, you’ll need around 50-100 balloons, depending on how full you want it to look. A mix of large and small balloons will give your arch a more dynamic appearance.
Balloon garland tape or string
Balloon garland tape is a game-changer when it comes to assembling your arch. It’s a plastic strip with evenly spaced holes where you can easily insert the balloon knots. If you don’t have garland tape, string works too, but it might take a bit more effort to secure the balloons.
Balloon pump for easy inflation
Inflating dozens of balloons by mouth is no fun. A balloon pump will save you time and energy. You can use a manual pump or an electric one, depending on your preference. If you’re working with a balloon garland kit, it might even include a pump.
Adhesive hooks or tape for hanging
Once your balloon garland is ready, you’ll need a way to hang it. Adhesive hooks are perfect for securing your arch to walls or doorways. If you’re setting it up outdoors, strong tape or zip ties can help anchor it in place.
Optional tools to simplify the process
If you’re a beginner, a few extra tools can make things even easier. An air compressor will inflate balloons quickly, while a balloon sizer ensures consistent sizes for a polished look. These tools aren’t essential, but they can save you time and effort.
Now that you’ve got your materials ready, you’re one step closer to learning how to create a balloon garland that will wow your guests!
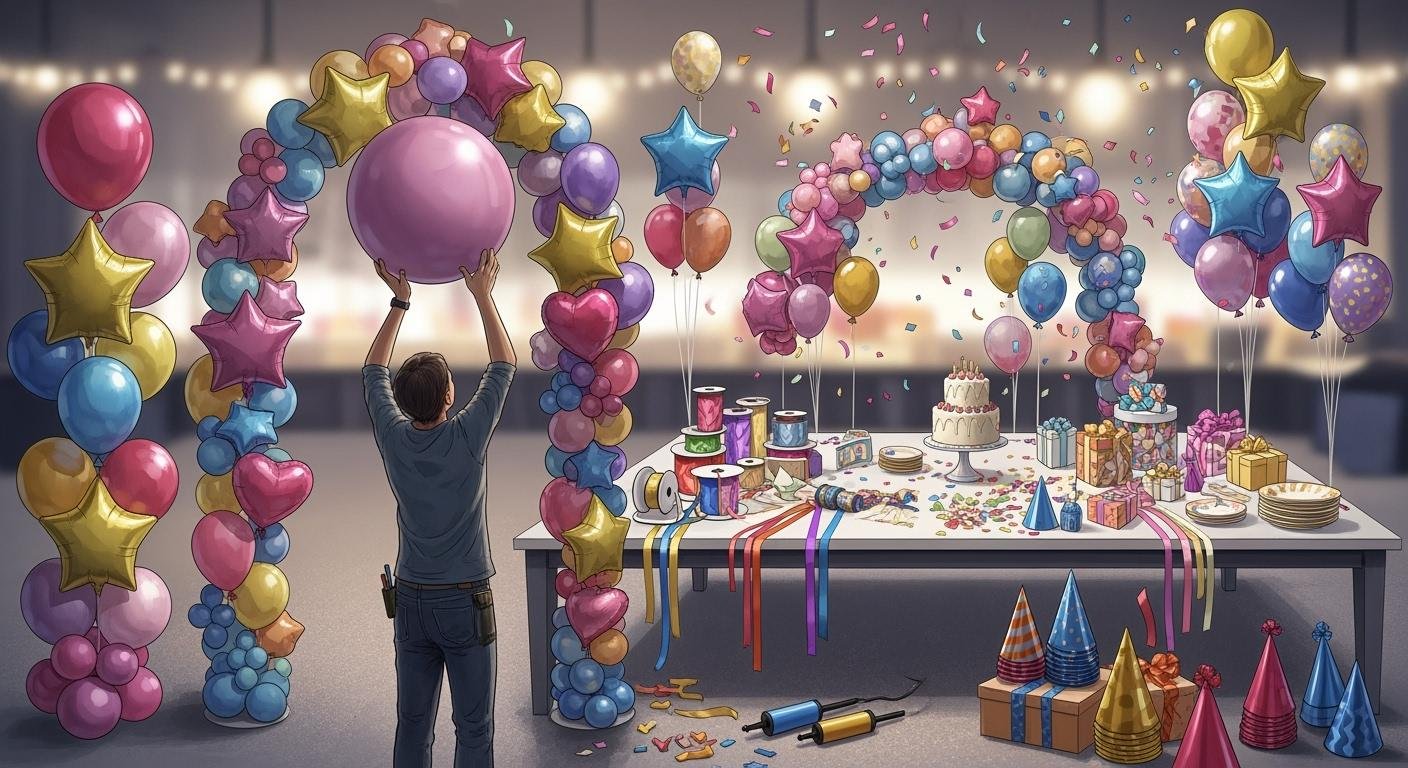
Step-by-Step Guide to Creating a Balloon Arch
Step 1: Inflate the balloons
Start by inflating the balloons. Use a balloon pump to make this step quicker and easier. If you’re using a mix of sizes, inflate the larger balloons first. This will help you visualise the overall structure. Make sure not to overinflate, as this can cause the balloons to pop. Tie each balloon securely to prevent air from escaping. Once you’ve inflated all the balloons, you’re ready to move on to the next step.
Step 2: Attach balloons to the garland tape or string
Now it’s time to attach the balloons to your balloon garland tape or string. Insert the knots of the balloons into the holes of the garland tape. If you’re using string, tie the balloons directly onto it. Alternate between large and small balloons to create a balanced look. Keep the colours evenly distributed for a cohesive design. This step is where your balloon garland starts to take shape.
Step 3: Add smaller balloons for a fuller look
To make your balloon arch look professional, add smaller balloons to fill any gaps. Here are some tips:
Choose colours that complement the larger balloons.
Inflate the smaller balloons carefully to avoid uneven shapes.
Experiment with different placements to add depth and creativity.
This step will give your balloon garland a polished and dynamic appearance.
Step 4: Secure the balloon arch in place
Once your garland is complete, secure it in its chosen location. For indoor setups, adhesive hooks work well. Outdoors, you’ll need to ensure stability. Use weights or tie the arch to sturdy points to keep it from moving. A stable base is essential, especially if there’s wind.
Step 5: Final adjustments and finishing touches
Finally, make any necessary adjustments to perfect your balloon arch. Add creative touches like fairy lights for a magical effect or ribbons for extra texture. You can also incorporate flowers or greenery to match your party theme. Varying balloon sizes will add depth and make your arch stand out. These finishing touches will elevate your balloon garland to the next level.
Tips for Choosing the Perfect Location
Indoor vs outdoor birthday balloon decoration
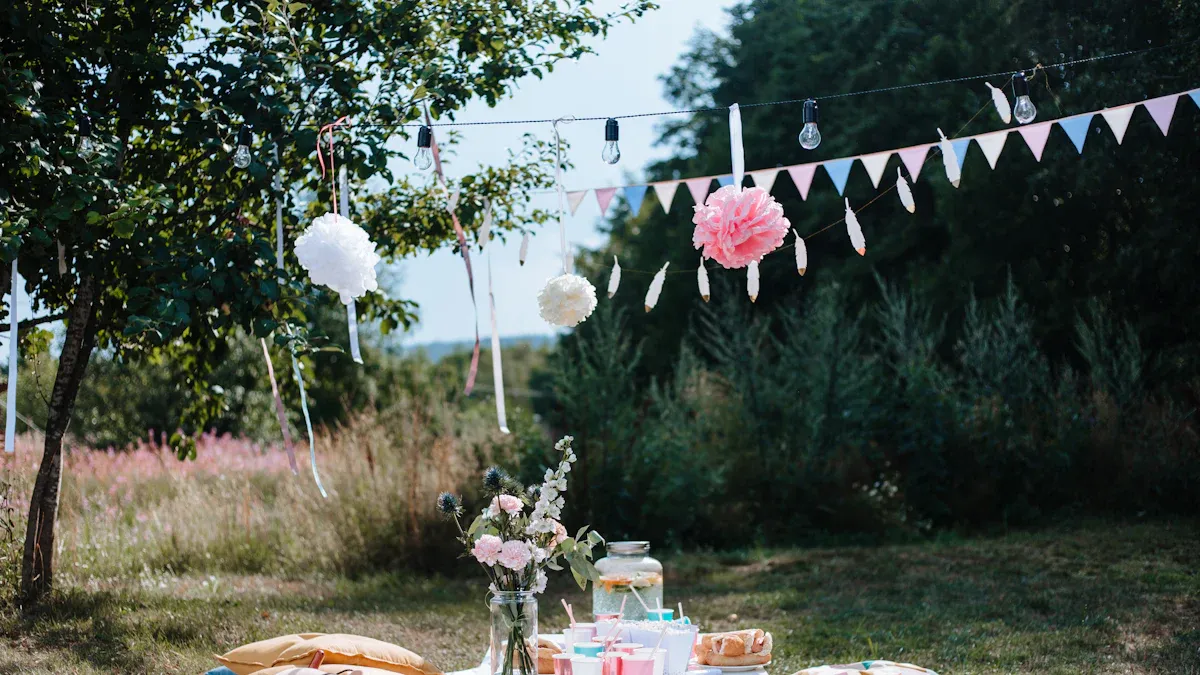
Choosing between an indoor or outdoor setup depends on your party’s theme and space. Indoors, you don’t have to worry about weather conditions. Your balloons will stay inflated longer, and you can easily secure the arch to walls or doorways. Outdoors, though, a balloon arch can create a stunning focal point. It’s perfect for garden parties or open spaces. Just remember, outdoor setups require extra care. Wind and sunlight can cause balloons to deflate or pop. If you’re going for an outdoor display, consider using weather-resistant materials or helium alternatives to keep everything looking fresh.
Ensuring stability and security
Stability is key to a successful balloon display. You don’t want your arch collapsing mid-party! For indoor setups, adhesive hooks or sturdy tape work well. Outdoors, you’ll need to secure the base properly. Use weights or tie the arch to strong anchor points. This prevents it from shifting or falling over. Always check the weather forecast if you’re setting up outside. Windy conditions can be tricky, but you can use weather shields to protect your balloons. Taking these precautions ensures your balloon arch stays intact throughout the birthday party.
Ideal spots to display your balloon arch
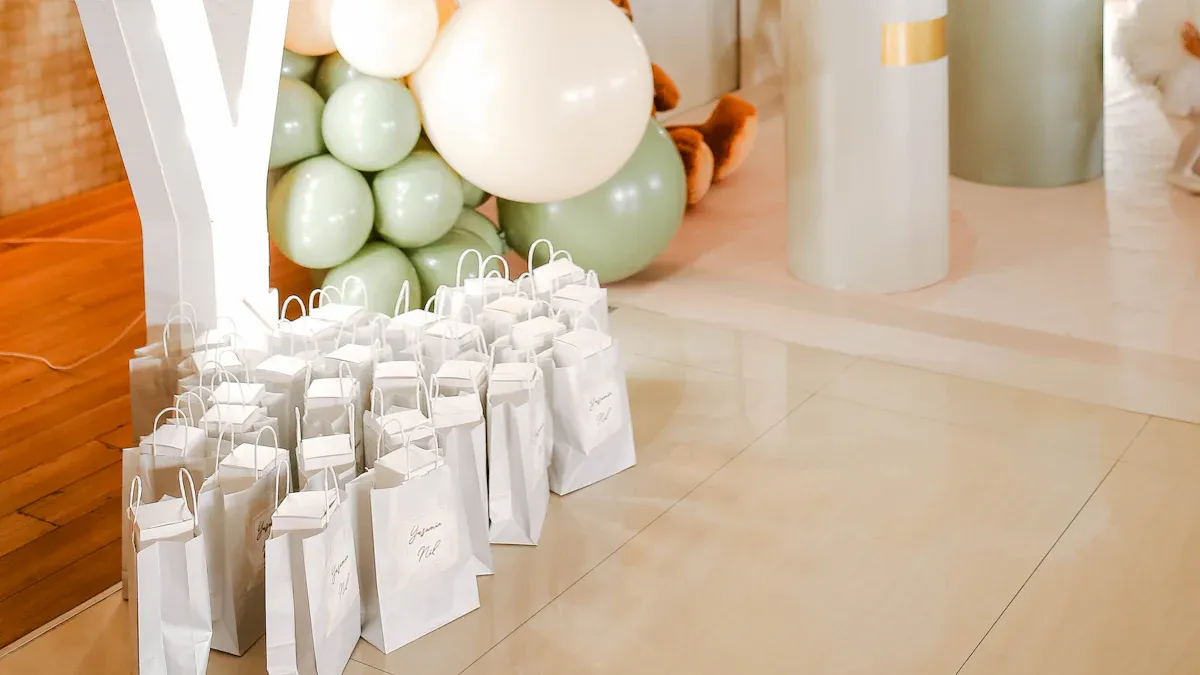
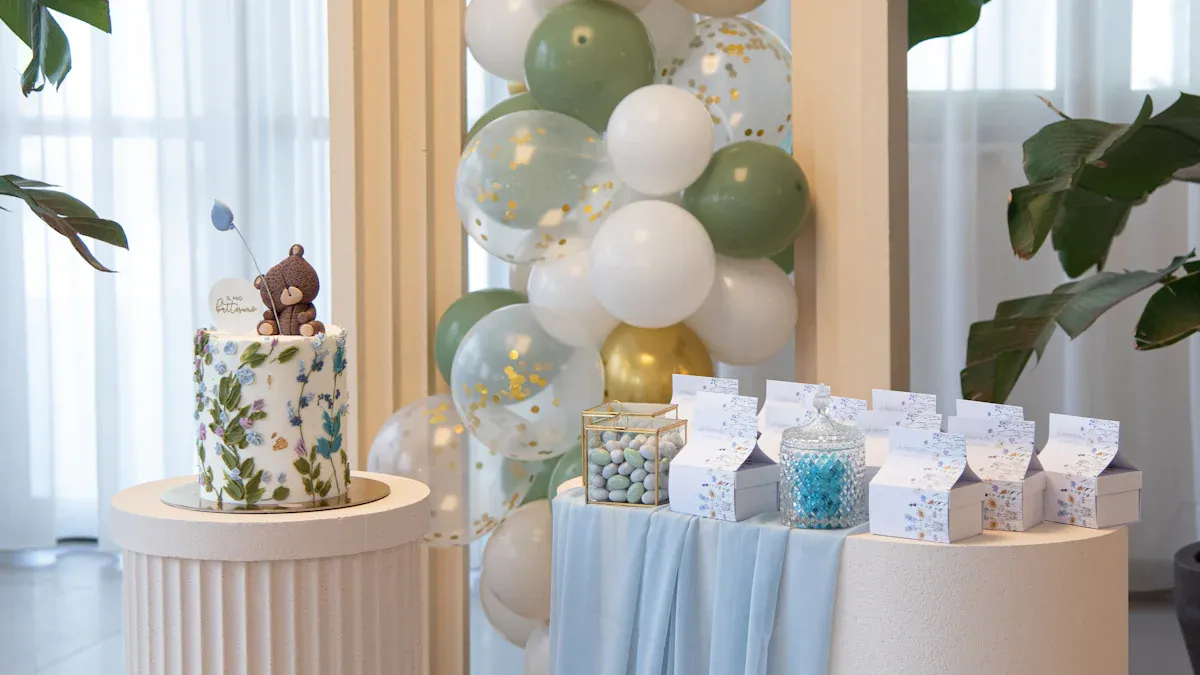
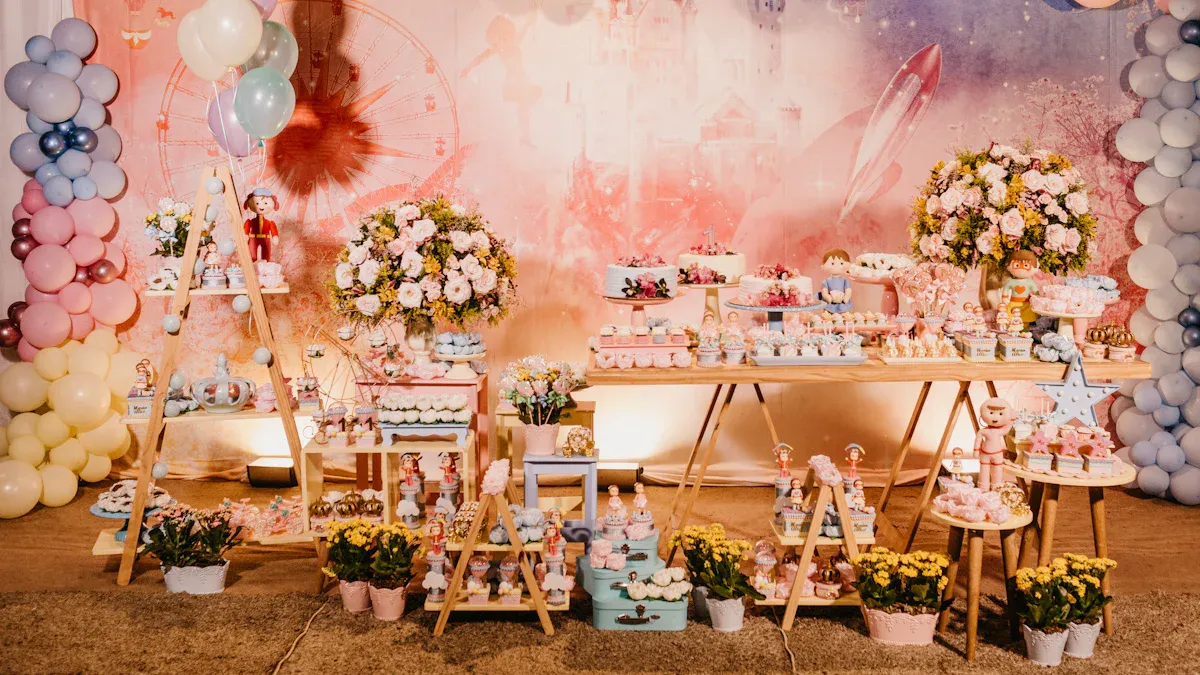
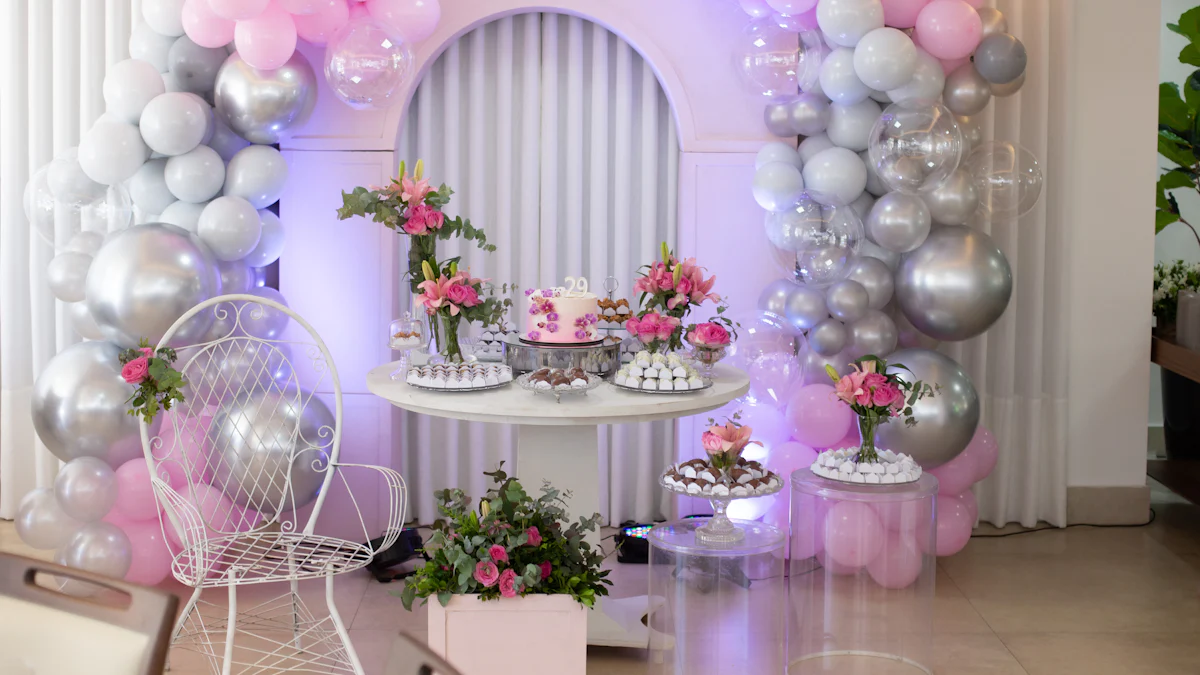
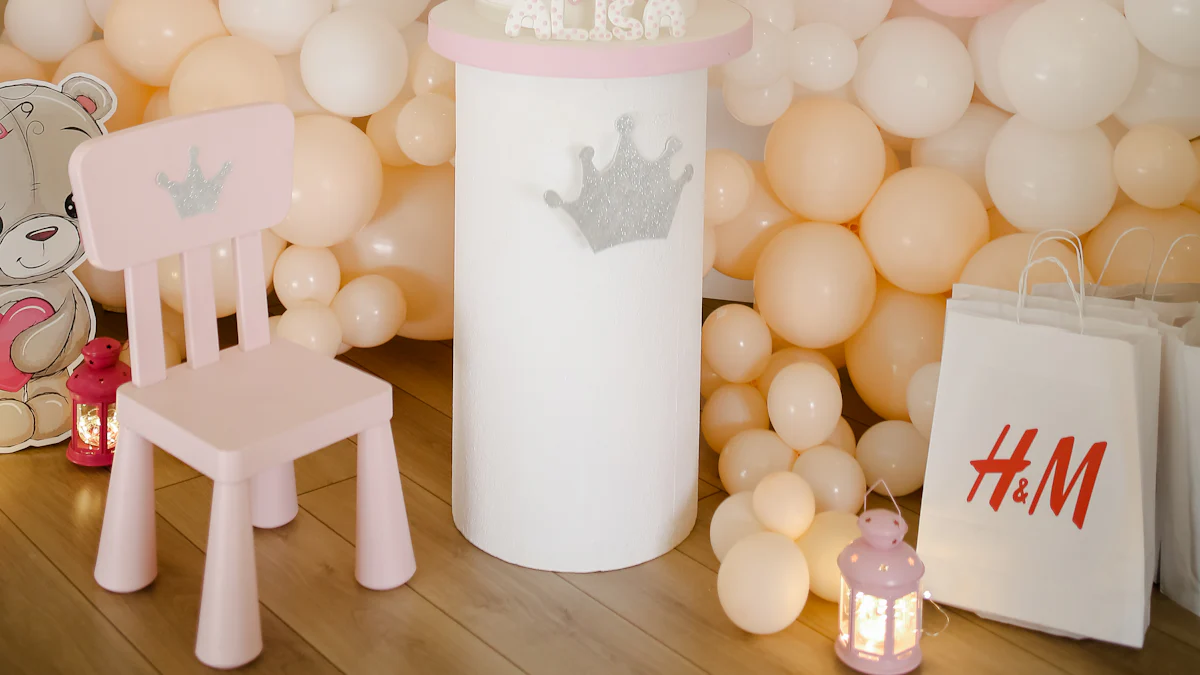
The right spot can make your balloon arch the star of the show. Placing it at the entrance creates a grand welcome for your guests. Over the dessert table, it draws attention to the sweet treats and adds charm to the setup. If you have a larger venue, multiple arches can guide guests through the space. They also make fantastic photo backdrops. Wherever you place it, make sure it’s visible and complements the overall birthday balloon decoration. A well-placed arch can elevate the entire party atmosphere.
Simplifying the Process
Benefits of using pre-made balloon arch kits
If you’re short on time or feeling overwhelmed, a balloon arch kit can be your best friend. These kits come with everything you need, including balloons, balloon garland tape, and sometimes even a pump. You won’t have to worry about mismatched colours or sizes. The kit ensures all the elements work together perfectly. It’s like having a ready-made recipe for your balloon garland. Plus, the instructions included in most kits make the process even easier. You’ll save time and avoid the guesswork, leaving you more energy to focus on other birthday balloon decoration details.
Time-saving tips for assembly
Want to speed things up? Start by inflating all your balloons in one go. Group them by size and colour to stay organised. If you’re using a balloon garland tape, attach the larger balloons first. This creates the structure quickly. Then, fill in the gaps with smaller balloons for that professional look. Another tip is to use an electric pump. It inflates balloons in seconds, saving you loads of time. Pre-planning your design also helps. Look for balloon garland inspiration online to visualise your layout before you start.
Getting help from friends or family
Don’t do it all alone! Ask friends or family to join in. It’s a fun activity that can turn into a mini pre-party. Assign tasks like inflating balloons, attaching them to the garland tape, or securing the arch. With more hands on deck, the process becomes faster and more enjoyable. Plus, you’ll create memories while setting up your balloon garland. It’s a win-win!
Creating a balloon arch is simpler than you might think. With the step-by-step guide, you can craft a stunning centrepiece for your birthday party effortlessly. It’s a fun way to elevate your birthday balloon decoration while adding a personal touch. Balloon arches aren’t just for one event either. They’re versatile, reusable, and perfect for entrances, cake tables, or even photo backdrops. Why not give it a go? You’ll enjoy the process and create a memorable experience for everyone.
FAQ
How long does it take to set up a balloon arch?
It usually takes about 1-2 hours. If you use a pre-made kit or get help from friends, you’ll finish even faster.
Can I reuse the balloons after the party?
Most latex balloons deflate quickly, but foil balloons last longer. You can reuse them if they stay intact. Store them in a cool, dry place.
What’s the best way to transport a balloon arch?
Inflate and assemble it at the venue. Transporting a fully assembled balloon arch can be tricky and may cause balloons to pop or shift.