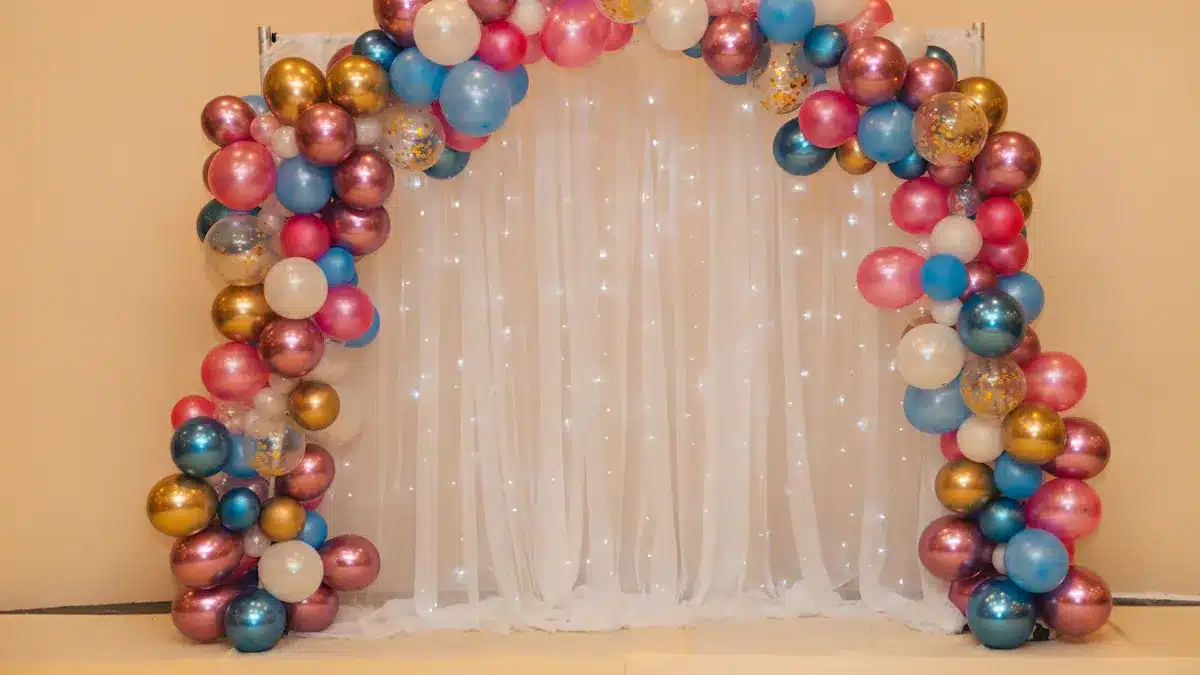
Making a DIY garland balloons is a fun idea. It can make your parties look extra special. Use it for baby showers, weddings, or graduations. Garland balloons make any event look amazing. Plus, it’s cheap to make! Experts can create fancy ones, but DIY saves cash. It also lets you be creative. Ready to begin? Let’s start!
Key Takeaways
Collect needed items like balloons, a pump, and string to make your garland.
Use simple steps to blow up balloons, tie them well, and cover empty spaces for a complete design.
Follow tricks for fast setup and fixing issues so your balloon garland stays nice and lasts longer.
Materials and Tools for Your Balloon Garland
Making a great balloon garland starts with the right supplies. Here’s a simple list to help you begin.
Must-Have Materials for Garland Balloons
To create awesome garland balloons, gather these key items:
Balloons: These are the main part of your garland! Pick balloons in different colors and sizes to match your party theme. Bigger balloons, like 12-inch or 16-inch ones, are stronger and make a good base.
Balloon pump: Don’t blow up balloons by mouth! A pump saves time and energy. It’s fast, easy, and super helpful when inflating many balloons.
String or fishing line: Use these to connect your balloons. Fishing line is strong and hard to see, giving your garland a neat look.
Command hooks or hanging tools: These let you hang your garland safely without harming walls.
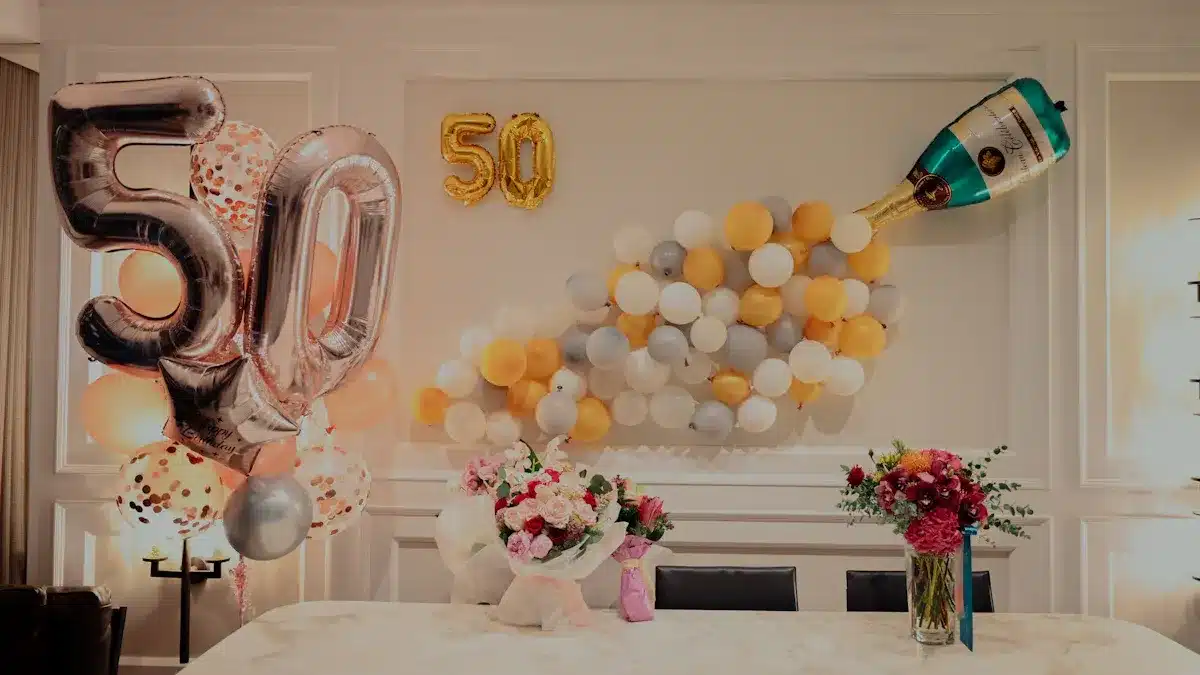
Embellishments: Add fun extras like foil balloons. They last longer and don’t pop easily.
Extra Items to Make Your Balloon Garland Unique
Want your garland balloons to stand out? Try these optional items:
Cluster balloons: Group three or four balloons together for a fuller look.
Decorative accents: Add greenery, flowers, ribbons, or themed items to match your party.
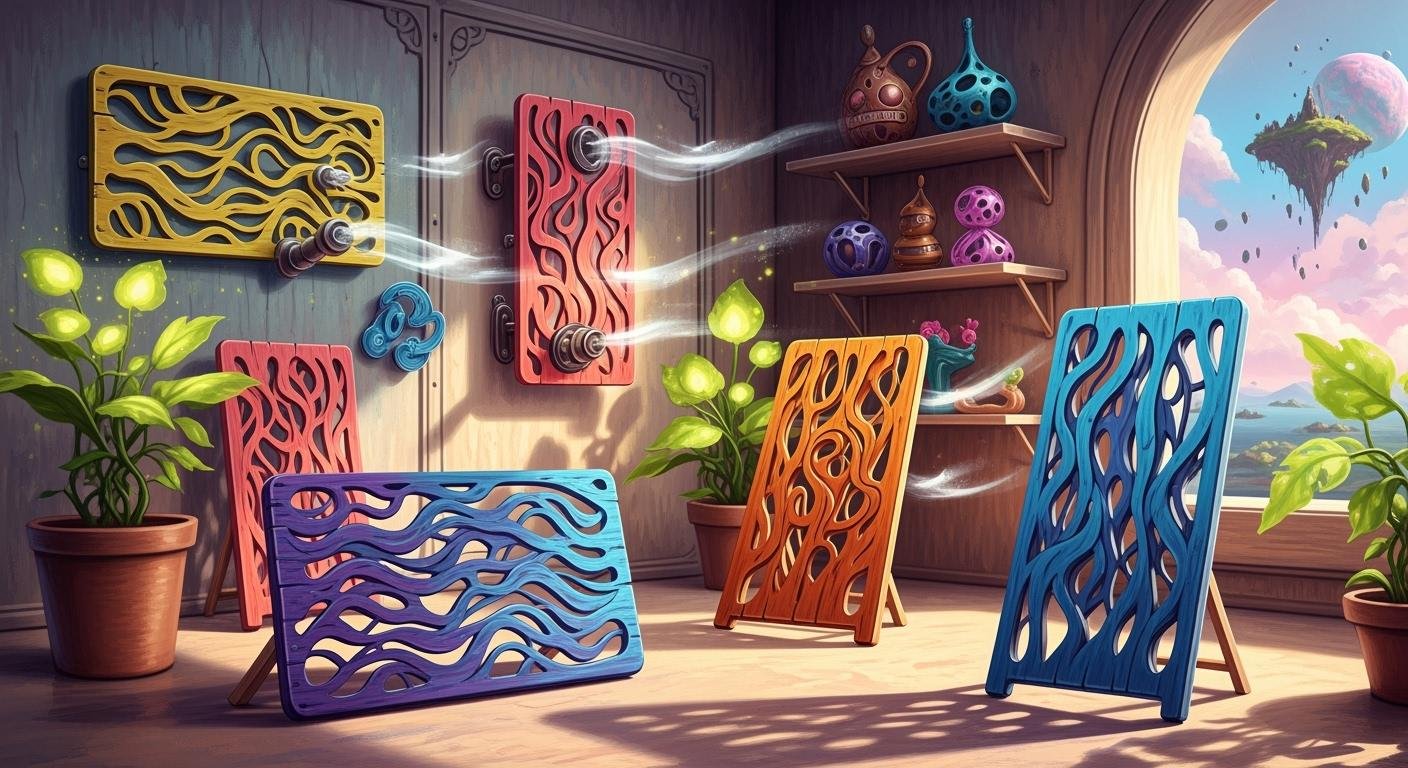
Reusable balloon garland strips: These are easy to use and better for the planet.
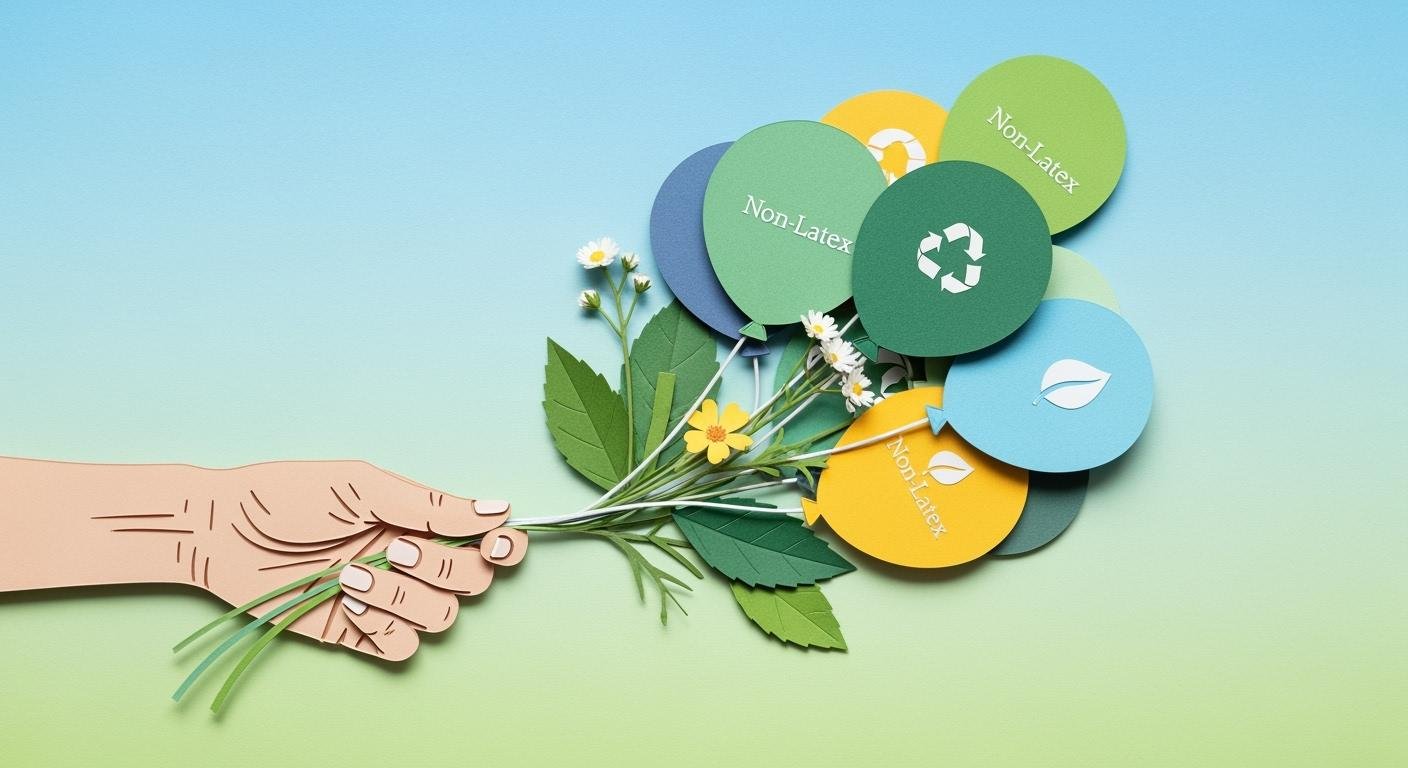
Eco-friendly alternatives: Use biodegradable balloons or replace them with paper or fabric decorations.
💡 Pro Tip: Bigger balloons stay inflated longer and make your garland stronger. Use different sizes for a cool, layered effect!
With these supplies, you’re ready to make a balloon garland that will impress everyone.
How to Make a Balloon Garland: Step-by-Step Guide
Creating a balloon garland might seem tricky, but with these step-by-step instructions, you’ll have a stunning decoration in no time. Let’s get started!
Step 1: Inflate Your Balloons
Inflating balloons is the first step in making your garland. Follow these simple steps for efficient inflation:
Pierce the balloon valve gently with a pen or pencil to avoid damage.
Insert a straw into the valve, ensuring it fits snugly.
Connect the straw to your electric balloon pump.
Pull the balloon tight in the opposite direction of the airflow to speed up inflation.
Using an electric balloon pump saves time and effort. It inflates balloons in seconds, ensures consistent sizes, and reduces physical strain. This is especially helpful when working on a large balloon garland.
Step 2: Attach Balloons to the Garland Strip
Once your balloons are ready, it’s time to assemble your garland. Here’s how to attach them securely:
Use a reusable balloon garland strip for easy assembly.
Insert the balloon knots into the strip’s pre-made holes. Alternate colors and sizes for a balanced look.
Secure the strip with fishing line or bakers twine to prevent slipping.
For added stability, use adhesive hooks or command strips to hold the garland in place.
Step 3: Fill Gaps with Smaller Balloons
To make your garland look full and seamless, fill any gaps with smaller balloons. Use glue dots or double-sided tape to attach them. Place the glue dot near the knot to keep it hidden. This step is best done after hanging the garland so you can spot any empty spaces.
Step 4: Plan and Hang Your Balloon Garland
Now it’s time to display your creation! Choose a location that complements your event. Use adhesive hooks or command strips for temporary setups. For heavier garlands, fishing line or wire provides extra stability. You can also drape the garland over tables or furniture for added support. Adjust the spacing and positioning to create a symmetrical and visually appealing design.
🎉 Pro Tip: Experiment with different balloon sizes and colors to create an organic, layered effect. Adding embellishments like flowers or tassels can take your garland to the next level!
With these steps, you now know how to make a balloon garland that’s perfect for any occasion.
Pro Tips for DIY Balloon Garland Success
Tips to Make Assembly Faster
Want to build your balloon garland quickly? Try these easy tips:
Use big balloons first. Spread them out evenly on the strip.
Fill gaps with smaller balloons in different colors and sizes. Add them to the front and back for balance.
Get a balloon garland kit. It includes tools like strips and glue dots to make things simpler.
Buy a balloon pump. It saves time, especially for large garlands.
💡 Pro Tip: Build your garland near the event spot. This avoids damage and saves time!
Fixing Common Problems
Sometimes things don’t go as planned. Here’s how to fix common balloon garland issues:
Popping Balloons: Don’t overfill balloons. Inflate them until firm but not tight.
Drooping Garland: Use strong hooks or fishing line to hold it up. Add more balloons if it still sags.
Shrinking Balloons: Keep your garland in a cool, dry place. Heat can make balloons shrink or pop. Replace any deflated ones to keep it looking great.
🎈 Quick Fix: If you’re new, use a balloon garland kit. It’s easier and helps avoid mistakes.
How to Store and Reuse Your Balloon Garland
Want to use your garland again? Follow these steps to keep it ready:
Let the air out of balloons carefully with a deflator. This stops them from popping and lets you reuse them.
Store leftover balloons and strips in a cool, dry spot. Keep them away from sunlight to avoid damage.
Fix your garland before the next event. Replace popped balloons and reattach loose ones to make it look new again.
🌟 Bonus Tip: Use biodegradable balloons for an eco-friendly choice. They’re great for the planet and still look amazing!
With these tips, you’ll easily create and care for a beautiful balloon garland for any event.
Making a balloon garland is a fun way to decorate. You can try adding tassels, greenery, or lights for extra flair. DIY garlands are also cheap and easy to make.
Benefit | Description |
|---|---|
Saves Money | Making your own garland costs less than buying one. |
Fun and Creative | Building it yourself is enjoyable and shows your style. |
Personal Touch | Choose colors and designs that fit your party theme perfectly. |
Gather your materials and create your special balloon garland today! 🎈
FAQ
How long does it take to make a balloon garland?
It usually takes about 1-2 hours, depending on the size and complexity. Prepping materials beforehand can save you time.
Can I make a balloon garland without a garland strip?
Yes! Use fishing line or string instead. Tie balloon knots directly onto the line for a similar effect.
How far in advance can I make my balloon garland?
You can make it 1-2 days before your event. Store it in a cool, dry place to keep the balloons fresh.
💡 Pro Tip: Avoid direct sunlight or heat to prevent balloons from popping or shrinking!


One Response