Making a balloon arch stand at home is simple! 🎈 Planning a birthday, wedding, or baby shower? A DIY balloon arch can make your decorations look amazing. You don’t need special tools or expert skills—just basic supplies and some creativity. Want to learn how to make a balloon arch that looks professional? Keep reading, and you’ll have a beautiful decoration ready fast!
Key Takeaways
Collect simple items like bendable rods, weights, and balloons to make your balloon arch stand easily.
Keep it steady by using weights at the base and securing the arch to something solid, especially outside.
Pick balloon colors and sizes that fit your event theme; same-sized balloons look tidy.
Add extras like plants, lights, or themed decorations to make your balloon arch special.
Check if the arch is stable before adding balloons to prevent problems during your event.
Materials Needed for a Balloon Arch Stand

Creating a balloon arch stand doesn’t require fancy tools or expensive supplies. With the right materials, you can build a sturdy and beautiful arch that will wow your guests. Let’s break down everything you’ll need to get started.
Essential Supplies for the Stand
Here’s a list of the basic materials you’ll need to construct your balloon arch stand:
Flexible rods (the length depends on how big you want your arch to be).
Weights to keep the stand stable.
Common tools like pliers, scissors, screws, and a drill.
Rod couplers and wire to connect the frame.
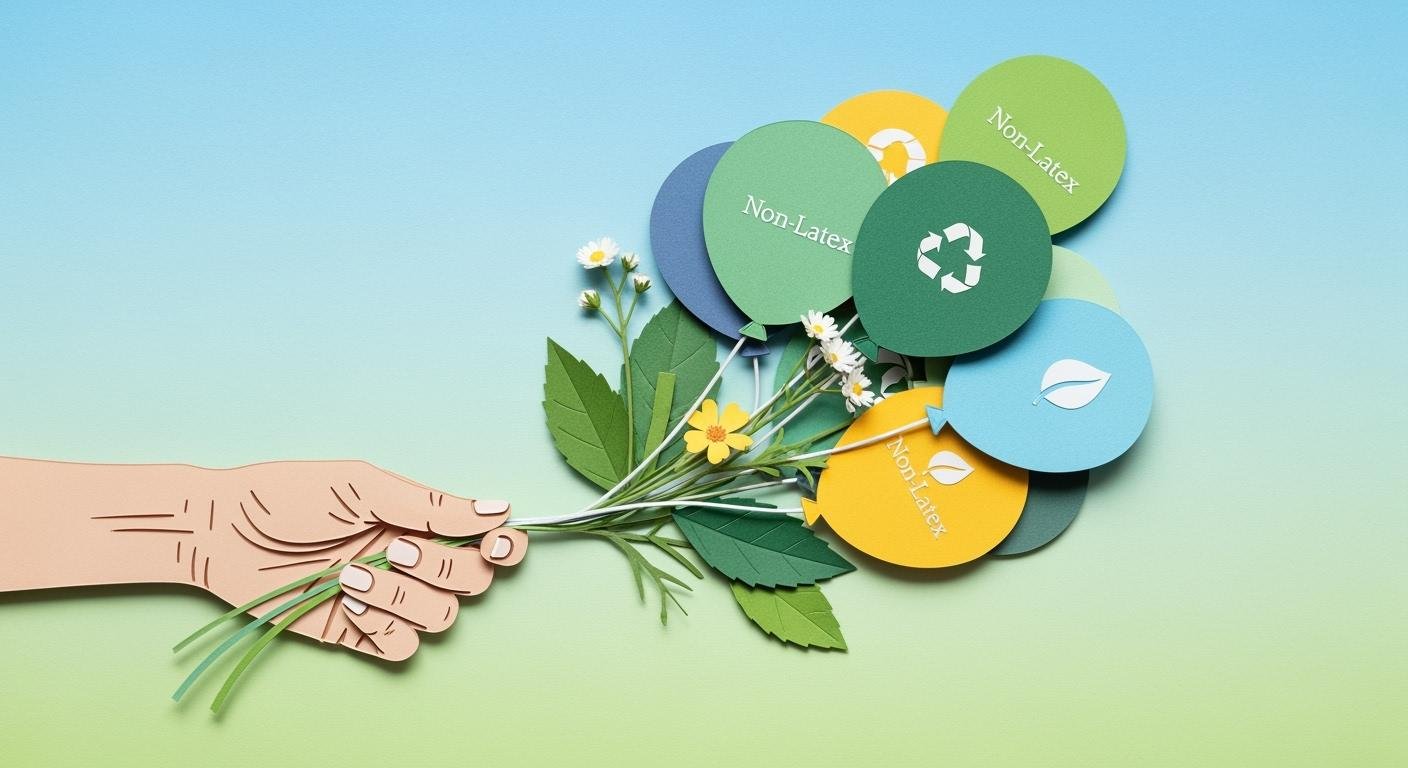
Balloons in various sizes and colors to match your theme.
A balloon pump to save time and energy.
Tail clips for securing balloon clusters.
If you’re looking for a quick and easy option, consider purchasing a balloon arch kit. These kits come with pre-measured rods, connectors, and even balloons, making assembly a breeze. Whether you go DIY or use a kit, make sure to plan your arch dimensions based on your event space.
Optional Tools for Added Stability
Want to make sure your balloon arch stays upright and secure? Optional tools can help! Here’s a quick overview of what you can use:
Feature | Description |
|---|---|
Includes all necessary components, saving you from last-minute supply runs. | |
Quality and Sturdiness | Durable materials like PVC or fiberglass ensure stability in any condition. |
Reusability | Strong components allow you to reuse the stand for future events. |
Using high-quality materials like PVC pipes or fiberglass rods can make your arch more durable. Clamps and weights are also great for keeping everything in place, especially if your event is outdoors.
Budget-Friendly Sources for Materials
Building a balloon arch stand doesn’t have to break the bank. Here’s how you can keep costs low:
Materials Needed:
2, 10-foot PVC pipes: $5.42
1, ¾″ coupling: $0.59
2, 24″ rebar: $5.20
80-100 balloons: approximately $7
Total Cost: Under $20
To save even more, use 10-foot PVC pipes that can be easily stored and reused. A coupling tool, which costs around $5, lets you disassemble and reuse parts for future projects. Balloon arch kits are another affordable option, especially if you’re short on time. They often include everything you need for under $20, making them a great choice for beginners.
Tip: Check your local dollar store or online marketplaces for deals on balloons and tools. You’ll be surprised at how much you can save!
Step-by-Step Guide to Building a Balloon Arch Stand
Preparing the Base of the Stand
The base is the foundation of your balloon arch stand, so it needs to be sturdy. Start by choosing a flat surface where your arch will sit. If you’re using PVC pipes, cut them to the desired length for the base. Attach weights, such as sandbags or balloon weights, to keep the stand stable. This step is especially important if your event is outdoors, as wind can easily topple your arch.
For added security, you can use command hooks or adhesive strips to anchor the base to walls or doorways. These tools are great because they won’t damage surfaces. If you’re wondering how to make a balloon arch that stays upright, focusing on the base is key.
Tip: Test the stability of your base by gently shaking it. If it wobbles, add more weights or adjust the placement of your anchors.
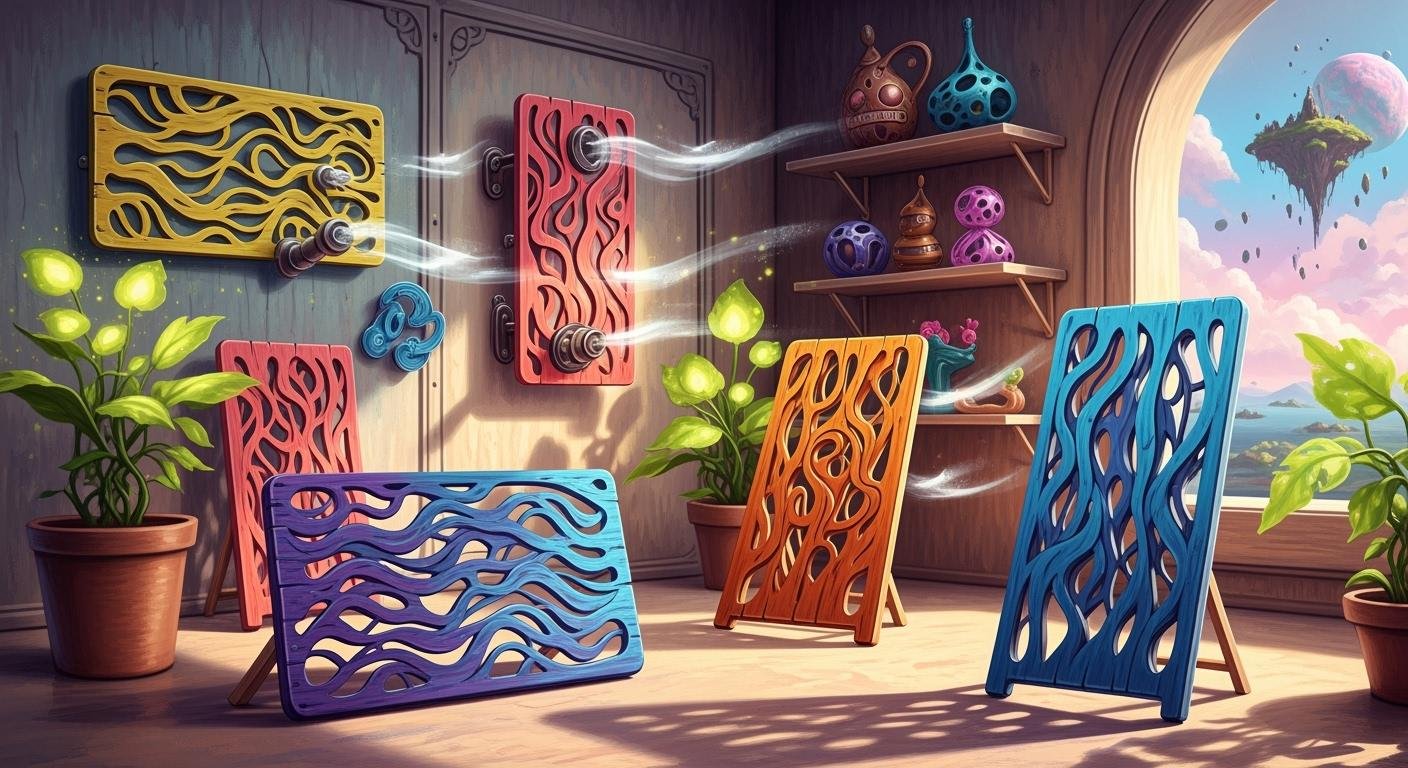
Assembling the Arch Frame
Once your base is ready, it’s time to build the arch frame. Flexible rods, like PVC pipes or fiberglass poles, work well for this step. Connect the rods using couplers to form the arch shape. If you’re using a balloon arch kit, follow the instructions to assemble the pre-measured rods.
To ensure symmetry, measure the height and width of your arch before securing the frame to the base. A well-balanced frame will make your homemade balloon arch look professional.
Here’s a quick reference for stability methods:
Method | Purpose |
|---|---|
Command hooks or adhesive strips | Securely attach the arch to walls or doorways without damage. |
Balloon weights or sandbags | Prevent outdoor arches from tipping over in windy conditions. |
Balloon arch frame or PVC pipe | Provides symmetry and stability, especially for larger arches. |
Note: If you’re using PVC pipes, consider wrapping them with decorative tape or fabric to match your event theme.
Attaching Balloons to the Frame
Now comes the fun part—adding balloons! Inflate your balloons using a pump to save time and ensure consistent sizes. Group them into clusters of three or four and secure them with tail clips. Attach the clusters to the arch frame by wrapping wire or fishing line around the balloon tails.
Start at the base and work your way up, alternating colors and sizes for a dynamic look. If you’re wondering how to make a balloon arch that stands out, mixing textures like metallic or confetti-filled balloons can add extra flair.
Tip: Inflate your balloons to the same size for a polished appearance. Use a measuring tool or template to keep them uniform.
Once all the balloons are attached, step back and check for gaps. Fill any empty spaces with smaller balloons or accessories like greenery or ribbons. This final touch will make your DIY balloon arch look stunning!
Securing the Arch for Stability
Stability is key when it comes to creating a balloon arch stand that lasts throughout your event. You don’t want your masterpiece to wobble or, worse, collapse in the middle of the celebration. Here’s how you can make sure your arch stays secure and steady.
1. Add Weight to the Base
The base is the foundation of your arch, so it needs to be heavy enough to support the structure. Use items like sandbags, water-filled weights, or even heavy books if you’re indoors. For outdoor events, consider using cinder blocks or bricks for extra stability.
Tip: Wrap your weights in fabric or decorative paper to match your event’s theme. This way, they’ll blend in seamlessly with the rest of your décor.
2. Anchor the Arch to a Fixed Surface
If you’re setting up your balloon arch stand near a wall, doorway, or fence, use command hooks or zip ties to anchor it. These tools are easy to use and won’t damage surfaces. For larger arches, you can also secure the frame to nearby furniture or poles.
3. Reinforce the Frame
A sturdy frame is just as important as a stable base. If you’re using PVC pipes, make sure all the connections are tight. For added strength, wrap duct tape around the joints. If you’re working with a balloon arch kit, double-check that all the connectors are securely in place.
4. Test for Stability
Before you start adding balloons, give your arch a gentle shake to test its stability. If it wobbles, adjust the weights or anchors until it feels solid. It’s better to spend a few extra minutes on this step than to deal with a toppled arch later.
Quick Stability Checklist
Here’s a handy table to summarize the steps for securing your arch:
Step | Tools Needed | Purpose |
|---|---|---|
Add weight to the base | Sandbags, water weights | Prevents the arch from tipping over |
Anchor to a surface | Command hooks, zip ties | Keeps the arch in place |
Reinforce the frame | Duct tape, strong joints | Ensures the frame stays intact |
Test for stability | None | Confirms the arch is secure |
By following these steps, you’ll create a balloon arch stand that’s not only beautiful but also reliable. Whether it’s a windy outdoor party or a bustling indoor event, your arch will stay standing tall and proud!
Tips for a Professional-Looking DIY Balloon Arch
Picking the Best Balloons and Colors
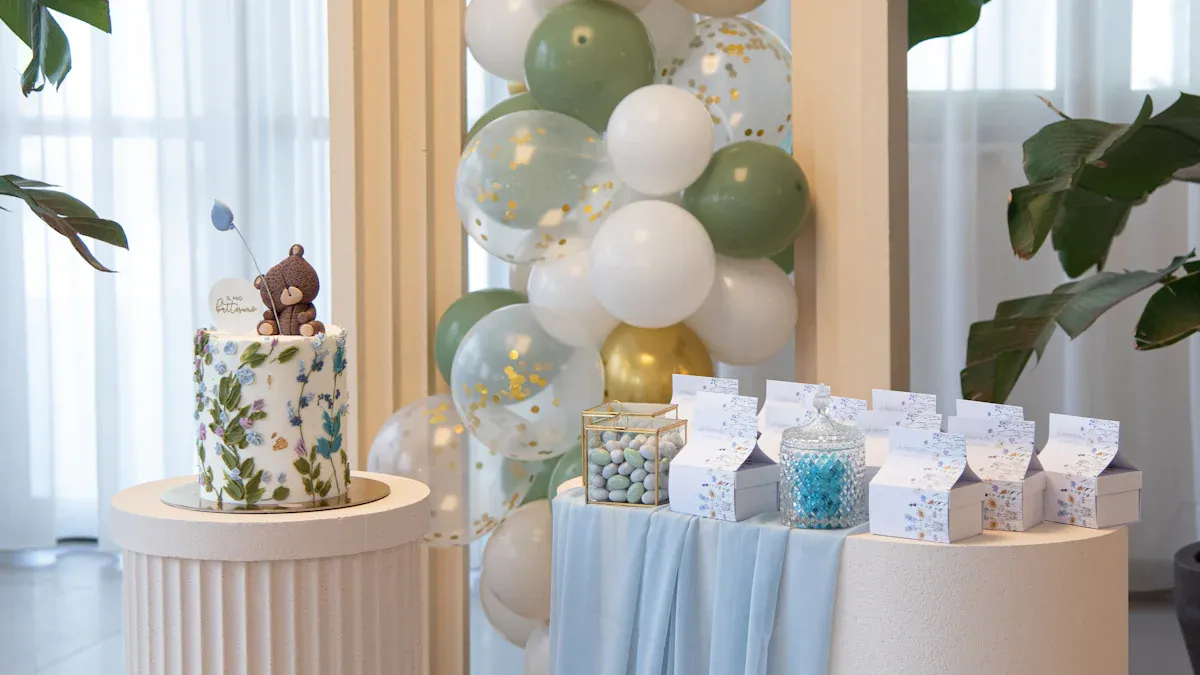
Choosing the right balloons and colors is important. Think about your event’s theme. For baby showers, pastel colors are great. Black and gold are perfect for fancy events. For beach parties, bright colors like teal and coral work well.
Latex balloons are the easiest to use and affordable. They come in many colors and sizes. Foil balloons add sparkle but use them sparingly. Mixing balloon sizes and colors makes your arch look balanced. For Christmas, try red and green balloons for a festive feel.
Pro Tip: Use matte, metallic, and confetti balloons together for extra style.
Keeping Balloon Sizes the Same
Same-sized balloons make your arch look neat. Different sizes can make it look messy. Use a balloon sizer or measuring tool to keep sizes even. Inflate each balloon to the same size before attaching it.
Here’s a quick guide for measuring balloons:
Measurement Method | Description |
|---|---|
Non-Contact, Light-Based Measurements |
If you don’t have tools, use a cardboard cutout with a hole. Inflate balloons until they fit snugly in the hole. This simple trick helps your arch look professional without spending extra money.
Tip: Don’t overinflate balloons. Slightly smaller balloons are less likely to pop.
Fixing Common Problems
Sometimes things go wrong when making a balloon arch. Here’s how to fix them:
Balloon Popping: Don’t overinflate. Fill balloons to 90% to avoid popping.
Gaps in the Arch: Fill spaces with small balloons, greenery, or ribbons.
Arch Falling Over: Check the base and frame. Add weights or anchors if needed.
If your arch looks uneven, step back and check its shape. Adjust balloon clusters to fix it. Don’t worry—small mistakes can be fixed easily.
Reminder: Keep extra balloons nearby for quick fixes during setup.
Follow these tips to make a balloon arch that looks amazing and stays strong. Whether it’s for a party or wedding, your DIY balloon arch will impress everyone!
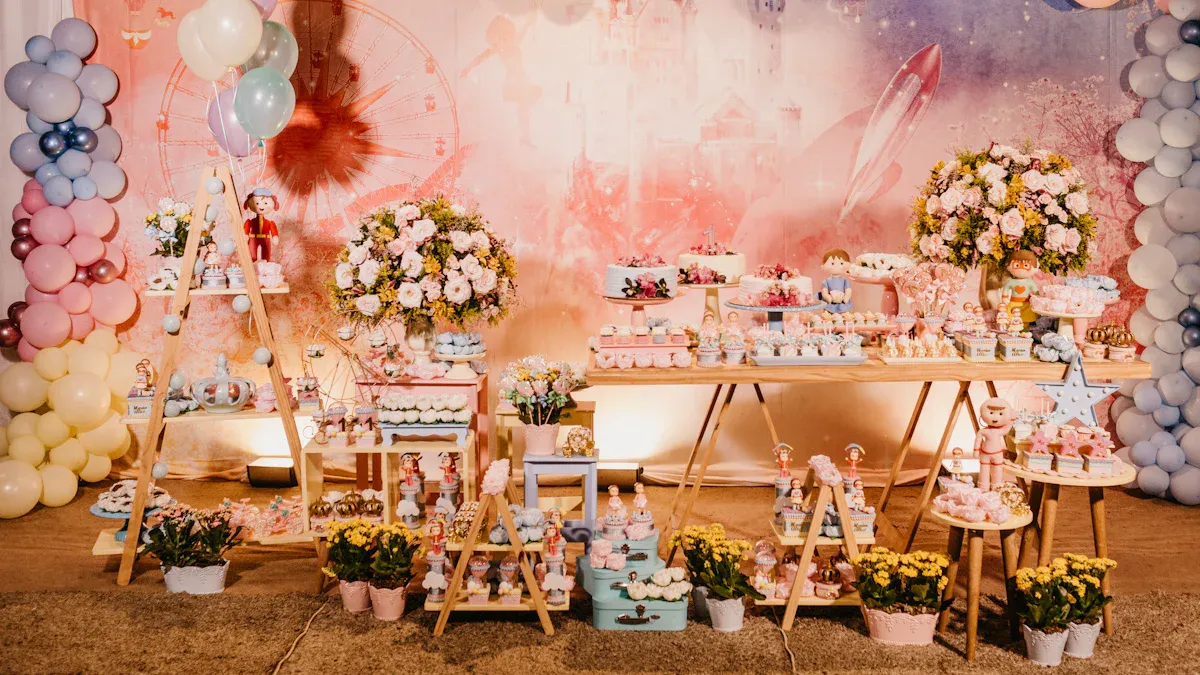
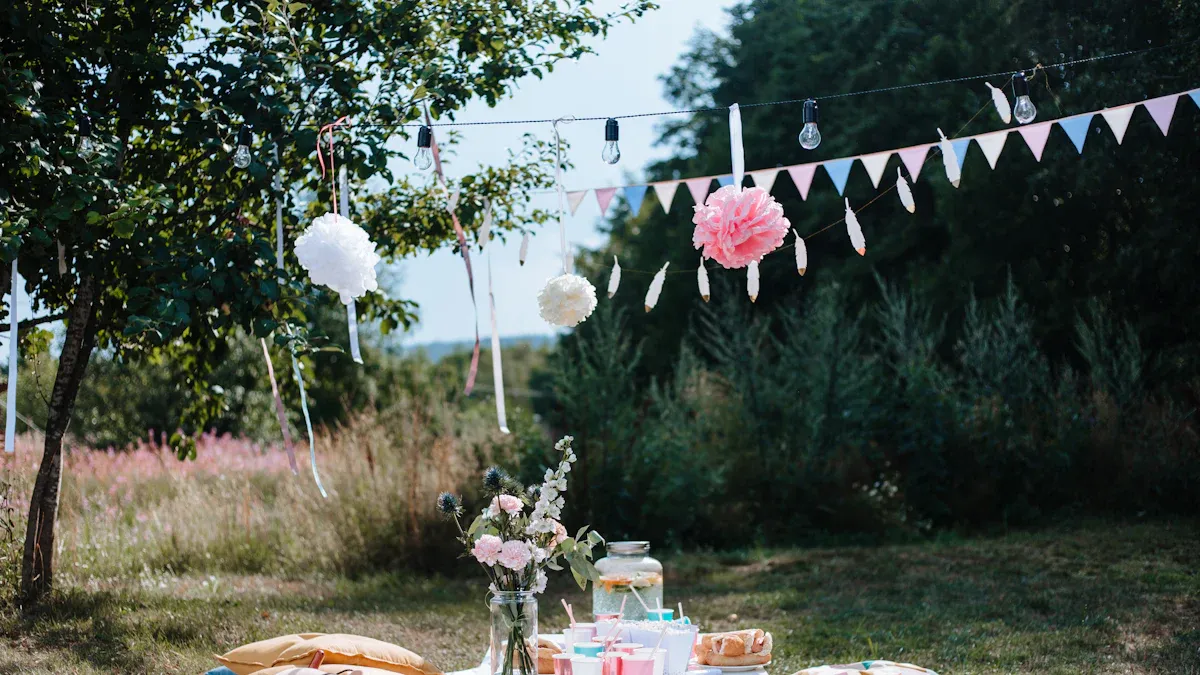
Adding Accessories for Extra Flair
Want to take your balloon arch to the next level? Accessories can transform your DIY balloon arch into a show-stopping centerpiece. Adding small details makes your arch unique and ties it perfectly to your event theme.
1. Greenery and Flowers 🌿
Fresh or faux greenery adds a natural touch to your arch. Wrap vines or eucalyptus branches around the frame for a soft, elegant look. For weddings or garden parties, tuck in flowers like roses or baby’s breath between the balloons. Use floral wire to secure them without damaging the balloons.
Tip: Match the greenery and flowers to your event’s color scheme for a cohesive design.
2. Lights and Sparkle ✨
String lights or fairy lights make your arch glow, especially for evening events. Wrap the lights around the frame or weave them between the balloons. You can also add glittery accents like metallic ribbons or sequins for extra sparkle.
3. Themed Props 🎉
Props like paper cutouts, mini banners, or signs can personalize your arch. For a baby shower, hang tiny onesies or baby-themed decorations. For birthdays, add numbers or letters to spell out the guest of honor’s name. Use lightweight materials to avoid weighing down the arch.
4. Balloons with Special Effects 🎈
Mix in balloons with confetti, metallic finishes, or unique shapes. These balloons add texture and visual interest. For a festive vibe, try balloons shaped like stars, hearts, or animals.
Reminder: Don’t overcrowd your arch with accessories. Less is often more when it comes to creating a balanced design.
With these ideas, your balloon arch will stand out and impress your guests. Whether it’s greenery, lights, or themed props, the right accessories make all the difference.
Making a balloon arch stand is super simple! Start by setting up the base, building the frame, adding balloons, and making sure it’s stable.
This project is not only fun but also affordable. You can pick colors, sizes, and decorations to fit your event theme.
Try it out! Whether it’s for a birthday, wedding, or baby shower, your DIY balloon arch will amaze your guests and make your event special! 🎉
FAQ
### 1. How long does it take to make a balloon arch stand?
It usually takes about 1-2 hours to assemble a balloon arch stand, depending on its size and your experience. If you’re a beginner, give yourself extra time to inflate balloons and secure the frame properly.
### 2. Can I reuse the balloon arch stand?
Yes! If you use durable materials like PVC pipes or fiberglass rods, you can disassemble and store the stand for future events. Just make sure to handle it carefully during setup and takedown.
### 3. What’s the best way to transport a balloon arch?
If possible, assemble the arch at the event location. For smaller arches, you can transport them in sections. Use a large vehicle and secure the balloons with string or tape to prevent them from shifting.
### 4. How many balloons do I need for a standard arch?
A standard 6-8 foot arch typically requires 80-100 balloons. The exact number depends on the size of the balloons and how tightly you cluster them. Always have a few extras on hand for replacements.
### 5. Can I make a balloon arch without a stand?
Yes, you can! Use command hooks or adhesive strips to attach the balloons directly to a wall or doorway. This method works well for smaller arches or indoor events where stability isn’t a major concern.
Tip: Always test your setup before the event to avoid last-minute surprises!