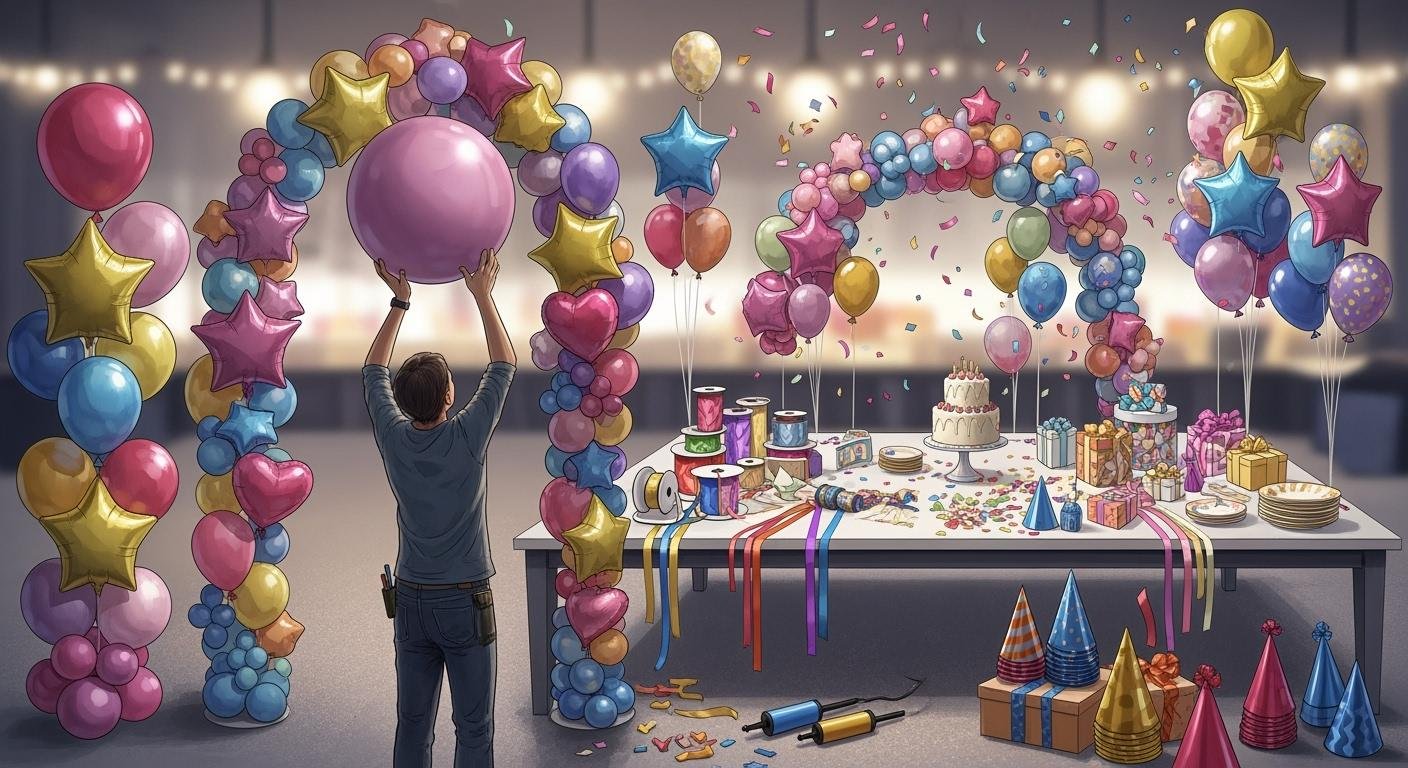
Creating a balloon arch at home is easier than you might think—and it’s surprisingly cost-effective too! Balloons are not only vibrant but also budget-friendly. You won’t need a big team or expensive tools to get the job done. Modern balloons are durable, so your arch can last throughout the event. Plus, the lightweight materials make setup quick and stress-free. Whether you’re decorating for a birthday, wedding, or baby shower, a DIY balloon arch adds that wow factor without breaking the bank. Ready to get started?
Key Takeaways
Collect basic supplies like balloons, a balloon strip, and a pump. These are needed to make your arch quickly and easily.
Decide on your design and colors before blowing up balloons. This makes your arch look neat and match your event.
Group balloons together for strength and a fuller look. Twist pairs of balloons to make the arch more attractive.
Hold your arch in place with hooks or weights, especially outside. This stops it from falling over in the wind.
Add extra touches like leaves or ribbons to make it unique. A few decorations can make your arch look even better.
Materials for a Balloon Arch
Making a balloon arch starts with gathering materials. You don’t need anything fancy, just basic supplies. Let’s go step by step.
Balloons in various sizes
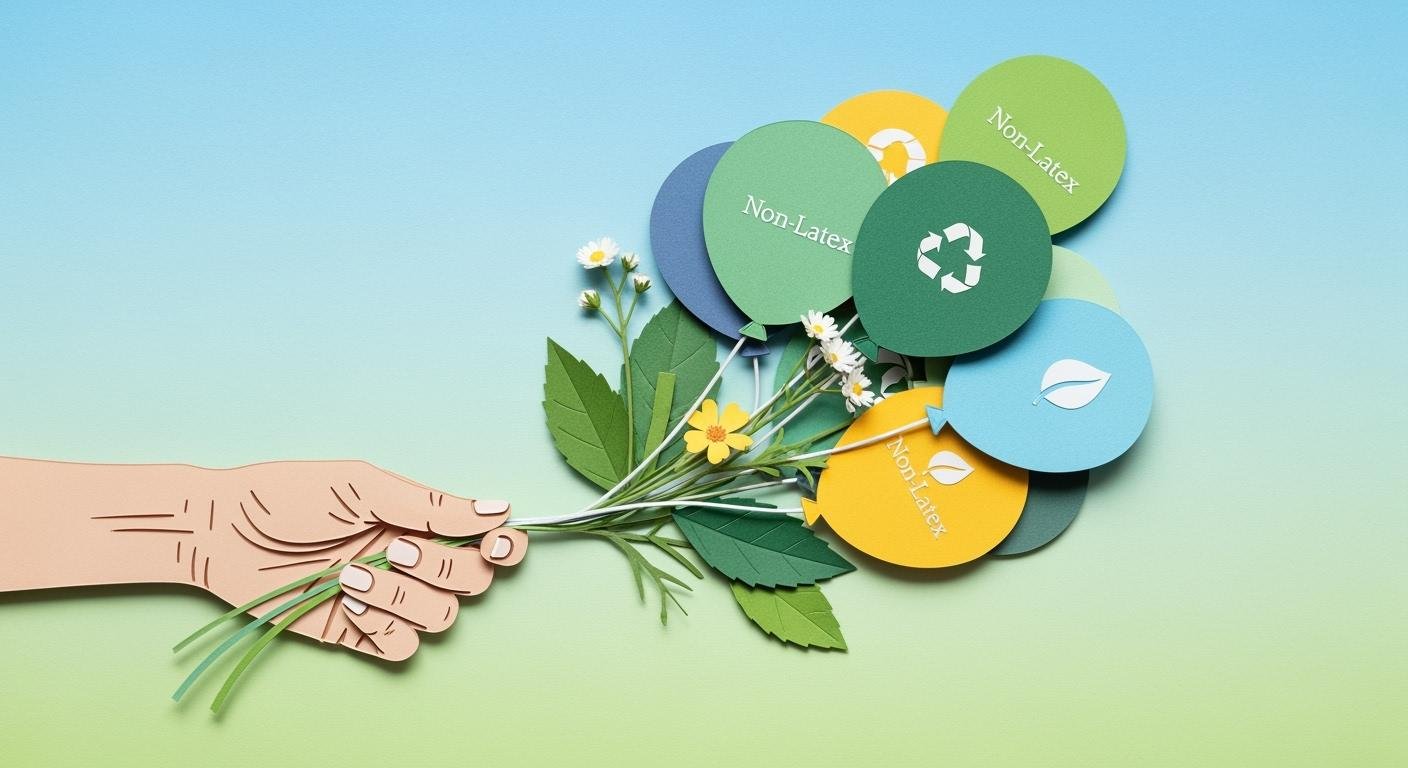
The main part of your arch is the balloons! Use different sizes to make it look lively. Small, medium, and large balloons add depth and make it pop. Latex balloons are flexible and come in many colors. Want eco-friendly options? Biodegradable latex balloons are great for the planet and still look amazing.
Want something special? Try balloons with patterns, shiny finishes, or clear ones filled with confetti. These can make your arch unique and match your event theme perfectly.
Balloon strip or garland tape
A balloon strip or garland tape helps you build the arch easily. These strips have holes where you attach the balloons. They keep everything neat and organized.
For reusable setups, use a bamboo or recycled frame. These frames are strong and can be reused for other events. They’re also a good choice if you want less waste.
Balloon pump or electric inflator
Blowing up balloons by hand takes too much time and energy. A balloon pump or electric inflator makes it faster and easier. Manual pumps are portable, while electric ones work best for big projects.
Pro tip: Inflate biodegradable balloons gently to avoid popping. Overinflating can weaken them and cause trouble.
Tip: Always have a backup pump ready in case your main one breaks. It’s smart to be prepared!
Fishing line or string
Fishing line or string is a handy tool for shaping your balloon arch. It’s lightweight, strong, and nearly invisible, which makes it perfect for creating a clean and polished look. You can use it to tie clusters of balloons together or to secure the arch to a stand or wall.
Here’s how you can use fishing line effectively:
Tie clusters together: Wrap the fishing line around groups of balloons to keep them stable. This helps prevent gaps and keeps the arch looking full.
Secure the arch: Attach the fishing line to hooks or weights to hold the arch in place. This works especially well for outdoor setups where wind might be an issue.
Adjust the shape: Use the line to tweak the arch’s curve or height. It’s easy to reposition without damaging the balloons.
Tip: Choose a clear fishing line for a seamless look. If you don’t have fishing line, sturdy string or twine can work as a substitute.
Command hooks, weights, or a stand
You’ll need something to hold your balloon arch in place. Command hooks, weights, or a stand are all great options. Each one works differently, so pick the one that suits your setup best.
Command hooks: These adhesive hooks stick to walls without leaving marks. They’re perfect for indoor arches. Just make sure the surface is clean before applying them.
Weights: Balloon weights are ideal for freestanding arches. You can use sandbags, bricks, or even decorative weights that match your event theme.
A stand: If you want a more professional look, use a balloon arch stand. These are reusable and adjustable, making them great for larger events.
Note: For outdoor events, combine weights with a stand for extra stability. Wind can be unpredictable, so it’s better to be safe than sorry.
Optional accents like greenery or ribbons
Adding accents like greenery or ribbons can take your balloon arch to the next level. These little details make the arch look more elegant and personalized.
Here are some ideas to inspire you:
Greenery: Use faux leaves, vines, or flowers to add a natural touch. Wrap them around the arch or tuck them between balloons for a fresh look.
Ribbons: Choose ribbons in colors that match your theme. Tie them around clusters or let them hang down for a whimsical effect.
Lights: String fairy lights along the arch for a magical glow. This works especially well for evening events.
Pro Tip: Don’t overdo it with accents. A few well-placed decorations can make your balloon arch stand out without overwhelming the design.
Step-by-Step Guide to Making a Balloon Arch
Plan your design and color scheme
Before you start inflating balloons, take a moment to plan your design. Think about the shape, size, and colors you want for your balloon arch. Do you want a classic arch or something more organic and free-flowing? Sketching your idea on paper can help you visualize the final look.
When choosing colors, stick to a cohesive palette that matches your event theme. For example, pastel shades work beautifully for baby showers, while bold colors add energy to birthday parties. If you’re unsure, try alternating two or three colors for a balanced and professional look.
Tip: Use a mix of balloon sizes (like 5-inch, 12-inch, and 18-inch) to create depth and dimension. This variation makes your arch look more dynamic and visually appealing.
Inflate the balloons
Now it’s time to bring your balloon arch to life! Use a balloon pump or electric inflator to save time and energy. Inflate your balloons to the desired size, but avoid overinflating them. Overfilled balloons are more likely to pop, especially during assembly.
For a consistent look, use a balloon sizer. This tool ensures all your balloons are inflated to the same size, which helps maintain symmetry in your arch. If you’re going for an organic style, vary the sizes slightly to create a natural, flowing shape.
Here’s a quick guide to inflating balloons like a pro:
Inflate each balloon slowly to avoid stretching the latex too much.
Tie the knot securely but leave a little space near the neck for flexibility.
Group balloons by size to make assembly easier later.
Pro Tip: Inflate your balloons a day before the event to save time. Latex balloons can hold air for several days, but helium-filled ones may deflate faster.
Attach balloons to the strip or string
Once your balloons are ready, it’s time to assemble the arch. Start by attaching the balloons to a balloon strip or string. If you’re using a strip, insert the balloon knots into the pre-made holes. For string, tie the balloons directly onto it.
To create a full and balanced look, follow these steps:
Pair your balloons by tying two together at their knots.
Twist two pairs together to form a cluster of four balloons.
Attach the clusters to the strip or string, spacing them evenly or clustering them tightly for a fuller effect.
Fill any gaps with smaller balloons to add depth and cover empty spaces. You can also create “quad clusters” by combining four balloons of varying sizes. This technique adds texture and makes your balloon arch stand out.
Note: Use clamps or weights to secure the strip or string while you work. This keeps the arch stable and prevents it from shifting during assembly.
Create clusters for added stability
Clusters are the secret to a sturdy and visually appealing balloon arch. They help fill gaps and keep the arch balanced. You’ll want to group balloons together before attaching them to your strip or string.
Here’s how you can create clusters:
Pair balloons: Start by tying two balloons together at their knots.
Twist pairs into quads: Take two pairs and twist them together to form a cluster of four balloons.
Mix sizes: Combine balloons of different sizes in each cluster. This adds texture and makes the arch look more dynamic.
Clusters aren’t just for stability—they also make your balloon arch look fuller and more professional. If you notice any gaps, add smaller balloons to the clusters to fill them in.
Tip: Don’t overthink the placement. Trust your eye and adjust as needed. The goal is to create a balanced look, not perfection.
Shape and secure the arch
Now comes the fun part—shaping your balloon arch! Start by deciding where you want the arch to go. Is it framing a doorway, serving as a backdrop, or standing freely? Once you’ve chosen the spot, it’s time to shape and secure it.
Follow these steps to shape your arch:
Attach the strip or string: Use command hooks, weights, or a stand to anchor the base.
Curve the arch: Gently bend the strip or string into the desired shape. If you’re using a stand, adjust its height and curve to match your vision.
Fill gaps: Add extra balloons or clusters to areas that look sparse.
For outdoor setups, stability is key. Use heavy weights or sandbags to keep the arch from tipping over. Indoors, command hooks work well for securing the arch to walls or ceilings.
Pro Tip: Step back and look at the arch from different angles. This helps you spot uneven areas and make adjustments before finalizing the setup.
Add decorative finishing touches
Decorative accents can transform your balloon arch from simple to stunning. Think of these as the cherry on top of your design. Adding greenery, ribbons, or lights can elevate the look and make it more personalized.
Here are some ideas for finishing touches:
Greenery: Wrap faux vines or leaves around the arch for a fresh, natural vibe.
Ribbons: Tie ribbons in matching colors to clusters or let them hang for a playful effect.
Fairy lights: String lights along the arch for a magical glow, especially for evening events.
If you’re feeling creative, mix and match accents to suit your theme. For example, flowers work beautifully for weddings, while metallic balloons and lights add glam to birthday parties.
Note: Keep it simple. Too many decorations can overwhelm the design. A few well-placed accents will make your balloon arch shine.
Tips for a Professional-Looking Balloon Arch
Choose strong, good-quality balloons
Using strong balloons is important for a great balloon arch. Cheap balloons can pop or lose air fast, ruining your work. Instead, pick trusted brands that last longer and have bright colors.
Here are some popular choices:
Tuf-Tex: Thick and hard to pop, great for outdoor events.
Belbal: Handles weather changes well, perfect for professionals.
Sempertex: Reliable and works for both indoor and outdoor setups.
Gemar: Loved for their bright colors and great quality.
Qualatex: Long-lasting and perfect for arches that need to stay up.
Using good-quality balloons makes your arch look neat and last longer.
Don’t overfill the balloons
Filling balloons too much can make them weak and easy to pop. This can leave gaps in your arch or cause it to fall apart.
To avoid this, fill balloons slowly and stop at the right size. A balloon sizer can help you make them all the same size. Be gentle with biodegradable balloons since they are more fragile. A well-filled balloon should look round, not stretched or oval.
Tip: Leave a small space near the knot when tying. This keeps the balloon flexible and less likely to pop.
Start early to fix mistakes
Making a balloon arch takes time, especially if it’s your first try. Starting early gives you time to fix errors, adjust the shape, or add decorations. It also helps you stay calm on the event day.
Blow up your balloons a day before to save time. Air-filled latex balloons can last for days, so they won’t deflate quickly. After building your arch, step back and check it from all sides. This helps you find and fix uneven spots or gaps.
Pro Tip: Keep extra balloons ready for quick fixes. It’s better to have extras than run out!
Match colors to your event theme
Choosing the right colors can make your balloon arch stand out and perfectly match your event’s vibe. Think about the mood you want to create. Is it a cheerful birthday party, a romantic wedding, or a fun baby shower? Your color choices can set the tone.
Start by picking two or three main colors. These should complement your event’s theme. For example:
Weddings: Soft pastels like blush pink, ivory, or sage green.
Birthdays: Bright and bold colors like red, yellow, or blue.
Baby showers: Gentle hues like baby blue, lavender, or mint green.
If you’re unsure, try using a color wheel. Colors opposite each other on the wheel (like blue and orange) create a striking contrast. Colors next to each other (like pink and purple) give a harmonious look.
Tip: Metallic balloons like gold, silver, or rose gold add a touch of elegance. Use them sparingly for a classy finish.
Don’t forget to consider the venue. If the space has bold decorations, stick to neutral tones for balance. For simpler venues, go all out with vibrant colors to make your arch the centerpiece.
Consider weather conditions for outdoor setups
Planning an outdoor event? Weather can be tricky, but you can prepare your balloon arch to handle it. Start by choosing durable, high-quality balloons. Latex balloons work well, but foil balloons are even better for windy or sunny days.
Wind is the biggest challenge. Secure your arch with heavy weights like sandbags or bricks. Fishing line can also help anchor it to nearby structures. For extra stability, use a sturdy balloon stand.
Sunlight can cause balloons to pop or fade. Place your arch in a shaded area if possible. If shade isn’t available, inflate the balloons slightly less to reduce pressure from heat expansion.
Pro Tip: Check the weather forecast a few days before your event. If rain is expected, consider moving the arch indoors or using waterproof materials.
Outdoor setups can be unpredictable, but with a little planning, your balloon arch will stay picture-perfect all day long!
Troubleshooting Balloon Arch Problems
Fixing gaps between balloons
Gaps in your balloon arch can make it look incomplete. Luckily, fixing them is simple. Start by identifying the empty spots. Step back and view the arch from different angles. This helps you spot areas that need more balloons.
To fill the gaps, use smaller balloons. Inflate them to a size that fits snugly into the empty spaces. Then, attach them using glue dots or double-sided tape. These adhesives are gentle on balloons and won’t cause them to pop.
If you’re using clusters, adjust their placement. Slide them closer together along the strip or string. This tightens the design and reduces visible gaps.
Tip: Keep extra balloons handy during assembly. It’s easier to fix gaps when you have spares ready to go.
Preventing balloons from popping
Popping balloons can be frustrating, but you can avoid it with a few precautions. First, don’t overinflate your balloons. A balloon should look round, not stretched. Overfilled balloons are more likely to burst, especially in warm weather.
Choose high-quality balloons for your arch. Cheap ones are thinner and more prone to popping. Brands like Qualatex or Tuf-Tex are reliable options.
For outdoor setups, protect your balloons from direct sunlight. Heat causes the air inside to expand, which can lead to popping. Place your arch in a shaded area or inflate the balloons slightly less.
Pro Tip: Avoid sharp objects near your arch. Even a small pin or rough surface can ruin your hard work.
Securing the arch in windy conditions
Wind can be a challenge for outdoor balloon arches. To keep yours secure, start with a sturdy base. Use heavy weights like sandbags or bricks to anchor the arch. Attach the weights to the bottom of the stand or fishing line.
If possible, position the arch near a wall or fence. This provides extra support and reduces wind exposure. You can also use zip ties to fasten the arch to nearby structures.
For added stability, use thicker balloon strips or double up on fishing line. These materials hold up better in windy conditions.
Note: Always check the weather forecast before your event. If strong winds are expected, consider moving the arch indoors.
Adjusting the arch shape for balance
Getting your balloon arch to look balanced is all about tweaking its shape. Sometimes, it might lean too much to one side or have uneven clusters. Don’t worry—fixing it is easier than you think!
Here’s how you can adjust your arch for a polished look:
Step back and assess: Take a few steps back and look at your arch from different angles. This helps you spot areas that need more balloons or adjustments.
Shift clusters: If one side looks heavier, gently slide the balloon clusters along the strip or string. This redistributes the weight and evens out the design.
Add or remove balloons: Use smaller balloons to fill gaps or remove extras if the arch looks overcrowded. Balance is key, so trust your eye to guide you.
Adjust the curve: If the arch isn’t curving smoothly, reshape it by bending the strip or repositioning the fishing line. A gentle curve looks more natural and professional.
Tip: Don’t rush this step. Take your time to make small adjustments until the arch looks just right.
For freestanding arches, stability plays a big role in balance. Use weights or sandbags to anchor the base. If the arch leans, reposition the weights or tighten the fishing line.
If you’re working with a wall-mounted arch, check the command hooks. Sometimes, they might need to be moved slightly to create a better curve.
🎈 Pro Tip: Always step back after each adjustment. This gives you a fresh perspective and helps you spot any uneven areas you might’ve missed.
With a little patience, your balloon arch will look balanced and ready to impress your guests!
Building a balloon arch at home is a fun project. It’s also a great way to impress your guests. Cool designs, like big arches or walk-through ones, stand out. Guests enjoy taking pictures and interacting with unique setups. Your arch might even be the event’s main attraction! Try different colors, shapes, and decorations to make it special. With some effort, you’ll create a decoration everyone will talk about.
🎈 Tip: A unique balloon arch can make any event unforgettable!
FAQ
How long does it take to make a balloon arch?
It usually takes 1–2 hours, depending on the size and complexity of your design. If it’s your first time, give yourself extra time to plan, inflate balloons, and make adjustments.
Tip: Start early to avoid last-minute stress and ensure everything looks perfect!
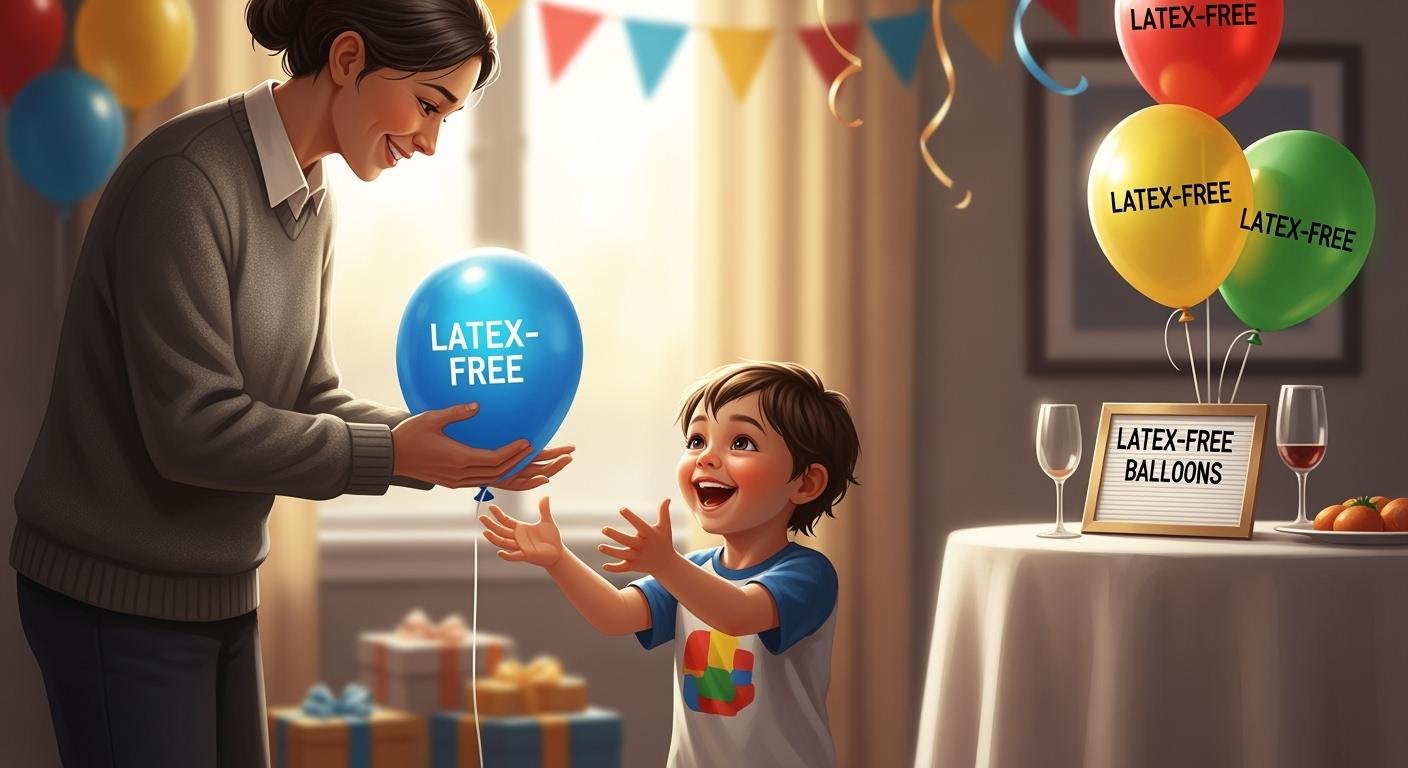
Can I reuse the materials for another event?
Yes! You can reuse items like balloon strips, stands, and command hooks. However, balloons themselves aren’t reusable. For eco-friendly options, consider biodegradable balloons and reusable frames.
Pro Tip: Store reusable materials in a cool, dry place to keep them in good condition.
How many balloons do I need for an arch?
For a standard 6–8 foot arch, you’ll need about 100–150 balloons. Larger arches or fuller designs may require more. Always buy extra balloons to account for pops or mistakes.
🎈 Note: Using balloons of different sizes can reduce the total number needed while adding depth to your design.
Can I make a balloon arch without a stand?
Absolutely! Use fishing line or balloon strips to create the arch. Secure it with command hooks on walls or tie it to sturdy objects like chairs or railings.
Tip: For outdoor setups, add weights to keep the arch stable in windy conditions.
What’s the best way to transport a balloon arch?
If possible, assemble the arch at the event location. For smaller arches, you can transport them in sections. Use a large vehicle and avoid sharp objects during transport.
Pro Tip: Inflate balloons on-site to prevent popping during the drive.