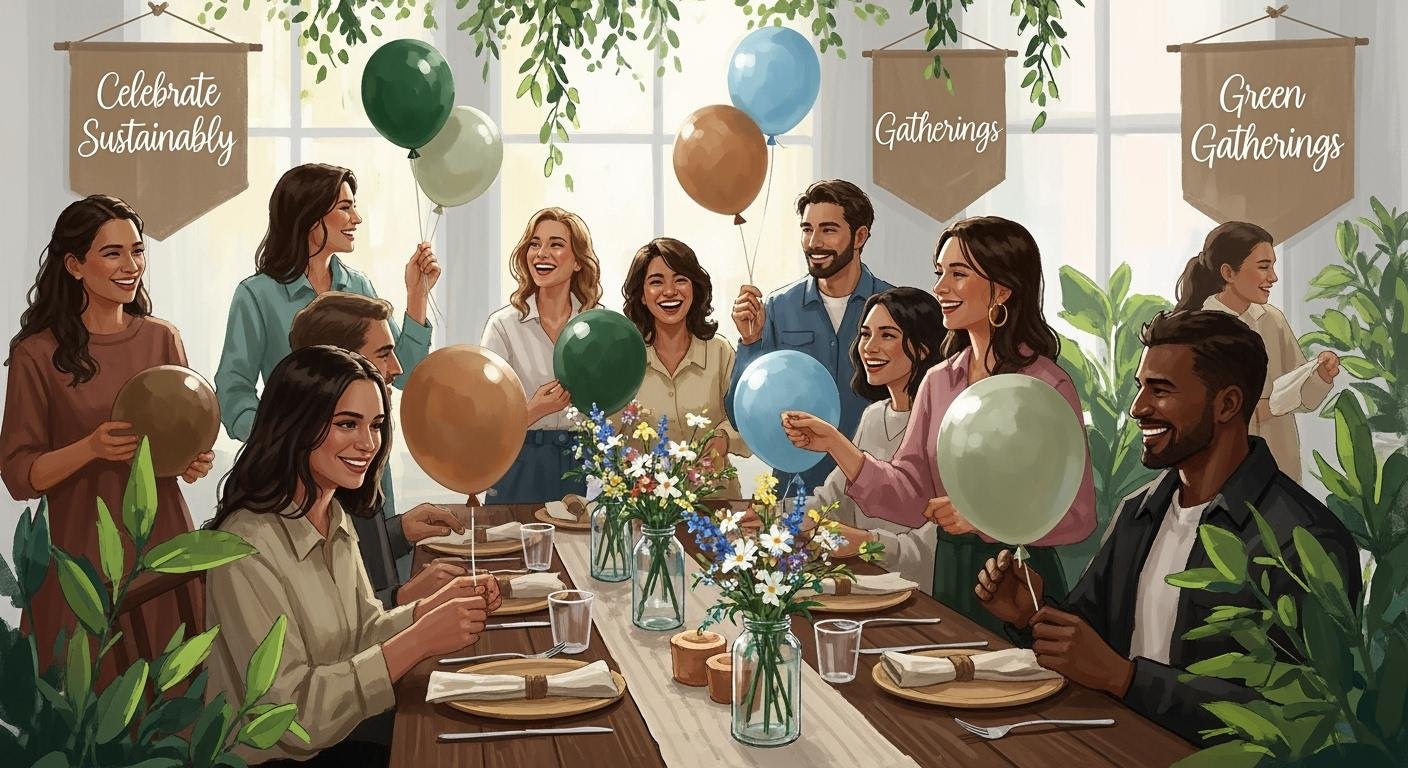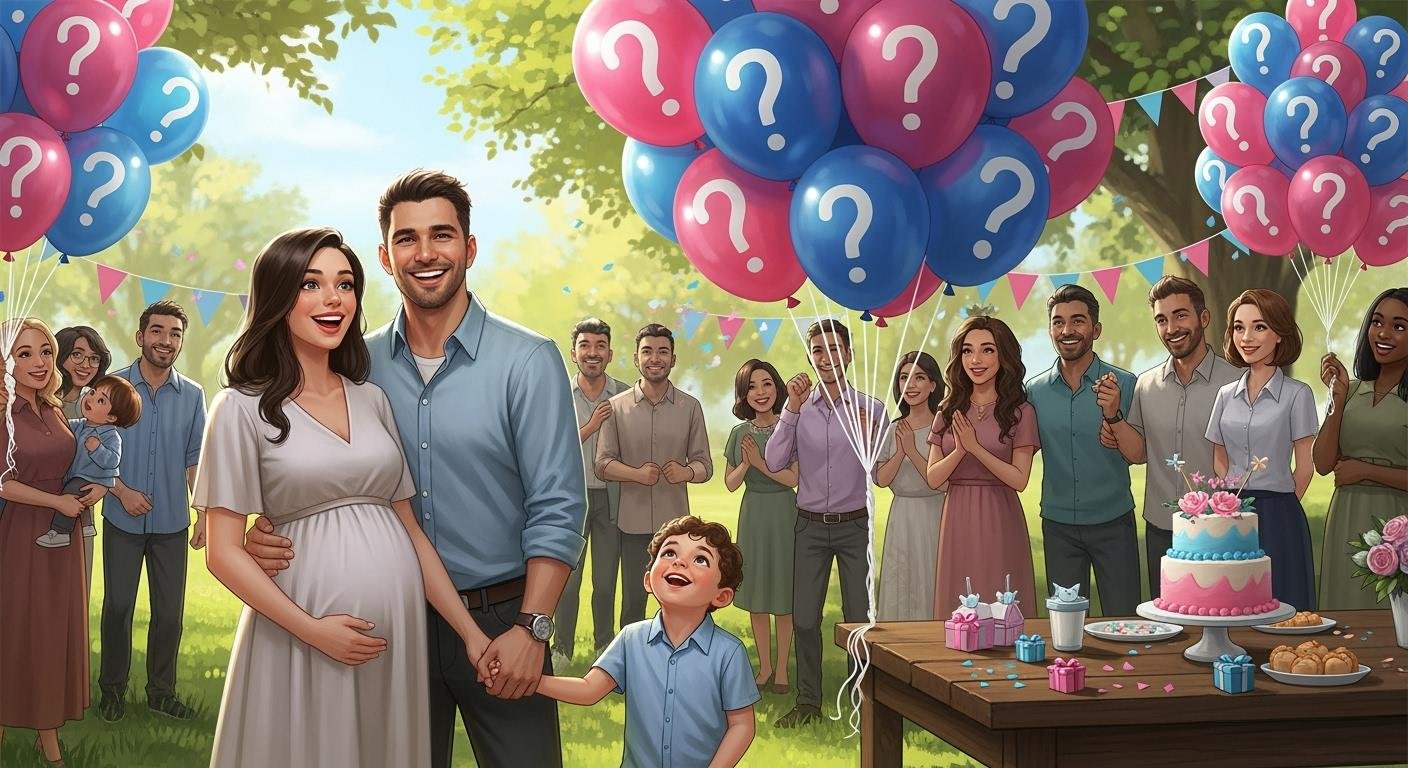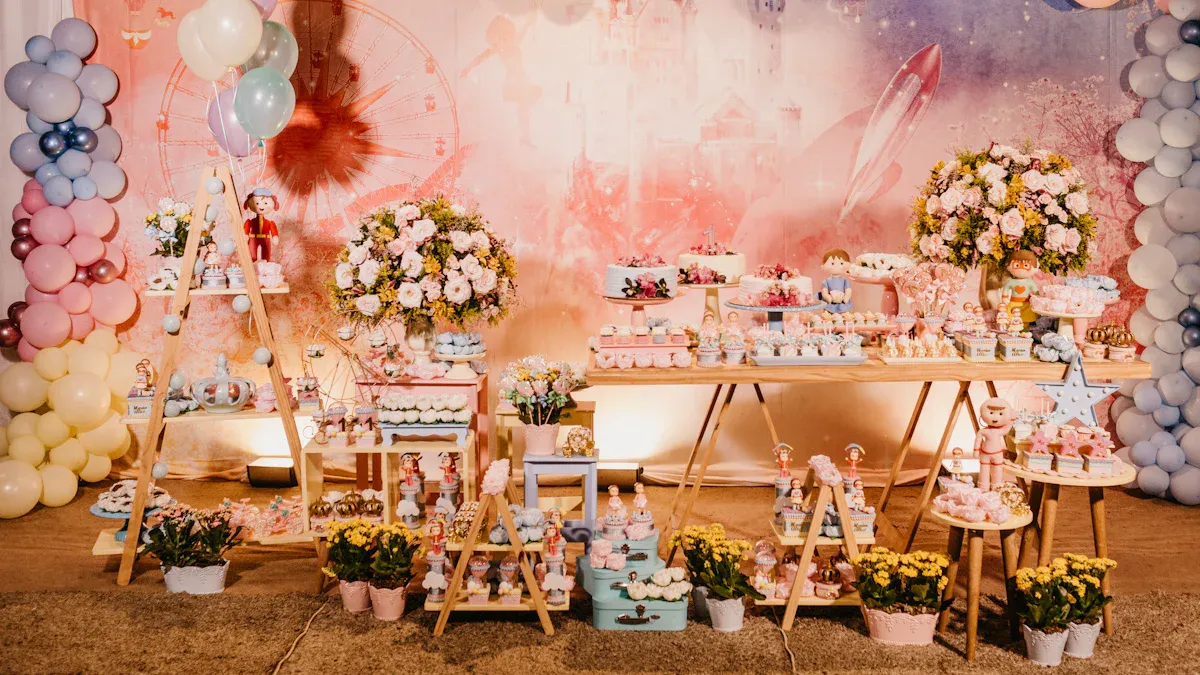
Creating a garland with a pink balloon for a baby shower is a budget-friendly option. It also gives you the chance to showcase your creativity. Check out the table below:
Benefits | Drawbacks |
|---|---|
Hard to Make Look Perfect | |
Fun and Creative | Takes a Lot of Time |
Personal Touch | Needs Some Skills |
With effort and a pink balloon, you can craft something truly special and one-of-a-kind!
Key Takeaways
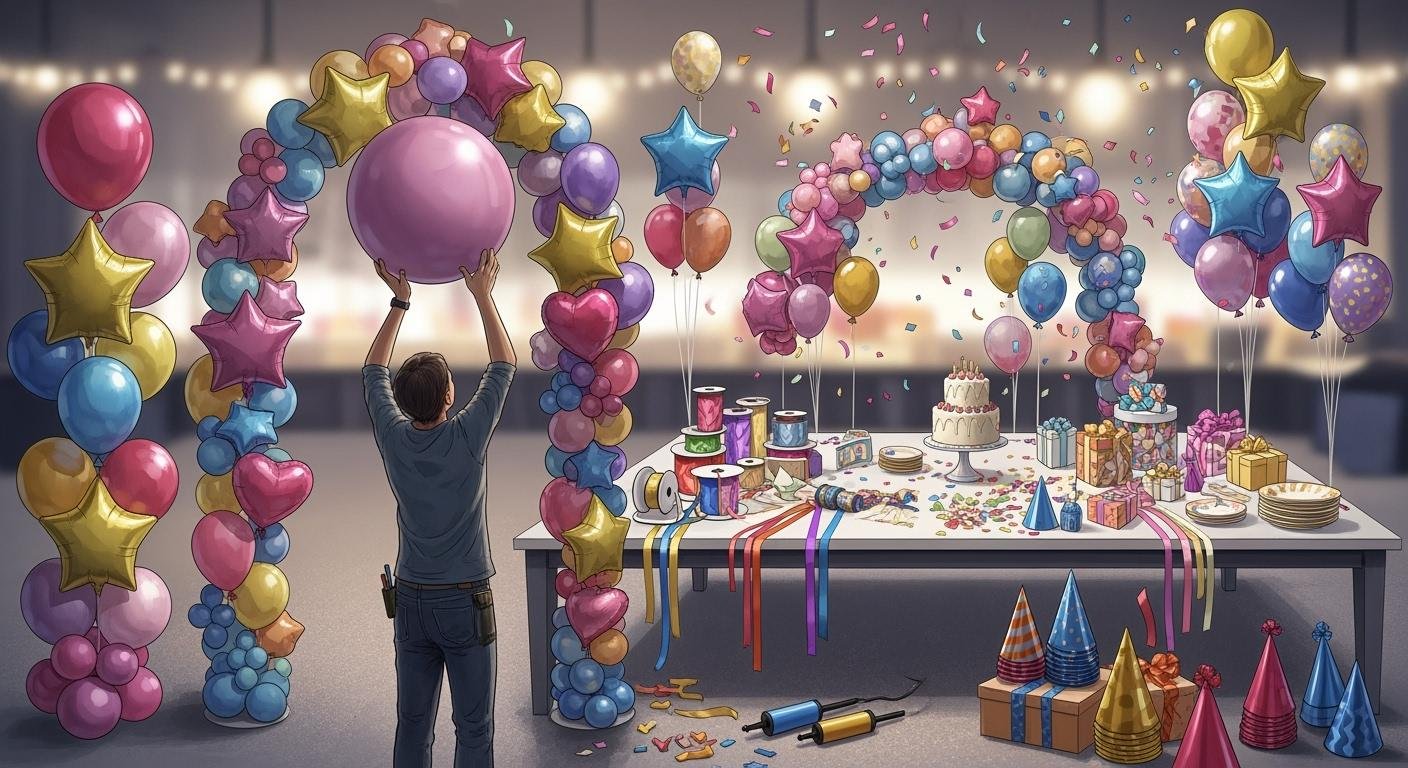
Collect all supplies before you begin. You will need pink balloons, a garland strip, a balloon pump, and hooks. Being ready helps make the process easier and more fun.
Blow up balloons to the same size for a neat look. Use an electric pump to save time and effort, especially if you have lots of balloons.
Add decorations like leaves or small lights to make your garland prettier. These extras can turn your garland into a beautiful centerpiece.
Materials for a Pink Balloon Garland

Before making your pink balloon garland, gather all your supplies. Having everything ready will make things easier and more fun. Here’s what you need:
Balloons in different sizes and pink shades
Get pink balloons in various sizes and shades. Mixing them adds depth and makes the garland look better. Balloons are the main part, so pick strong ones that won’t pop easily.
Balloon garland strip or decorating tape
A balloon strip is super helpful. It has holes to attach balloons quickly. This tool makes your garland sturdy and easy to build.
Electric or manual balloon pump
Blowing balloons by mouth is tiring. Use an electric pump to save time and energy. A manual pump works too but takes longer.
Command hooks or adhesive strips
Use command hooks or sticky strips to hang your garland. Place three or four hooks for good support. Tie the garland to the hooks or use fishing string for flexibility.
Optional accents like greenery, ribbons, or shiny balloons
Want to make it extra special? Add greenery, ribbons, or shiny balloons. You can weave flowers or tie ribbons for a fun look.
Scissors and fishing line or string
Scissors are needed to cut balloon tails and tape. Fishing line or string helps hold the garland and adjust it as needed.
Pro Tip: Arrange your supplies before starting. It saves time and keeps things simple!
Step-by-Step Instructions for Assembly
Inflate the pink balloons
Start by inflating your pink balloons. To get consistent sizes, follow these steps:
Blow air into the balloon until the neck just begins to inflate.
Stop and tie the balloon at this point for a full, round shape.
For overinflation, continue blowing until the neck is fully inflated, but be cautious not to pop it.
If inflating manually, take breaks to avoid fatigue.
Pro Tip: Use an electric pump to save time and energy, especially if you’re inflating a lot of balloons.
Attach balloons to the garland strip
Once your balloons are ready, it’s time to attach them to the garland strip. Here’s how:
Insert the tied end of each balloon into the holes on the garland strip.
Alternate balloon sizes and shades for a dynamic look.
Secure each balloon with fishing line or string to prevent slipping.
Tip: Work on a sturdy surface to keep the garland stable as you build it.
Arrange balloons for a balanced and cohesive look
Now, step back and take a look at your balloon garland. Adjust the placement of balloons to create a visually appealing design.
Place larger balloons at the base and smaller ones on top for balance.
Be intentional with color placement to enhance the overall look.
Adding a few metallic or confetti-filled balloons can make your garland pop!
Secure the garland to the wall or backdrop
To hang your garland, use command hooks or adhesive strips. Follow these steps:
Place hooks on the wall or backdrop where you want the garland to hang.
Use at least 2-3 hooks for stability.
Attach the garland to the hooks using fishing line or a 260/360 balloon.
For outdoor setups, opt for outdoor command hooks to ensure durability.
Add optional decorative elements for extra flair
Finally, give your garland a personal touch with some decorative accents. You can:
Add tassels made from tissue paper or ribbon.
Attach fairy lights for a magical glow.
These little details can transform your balloon garland into a show-stopping centerpiece!
Tips for a Perfect Pink Balloon Garland
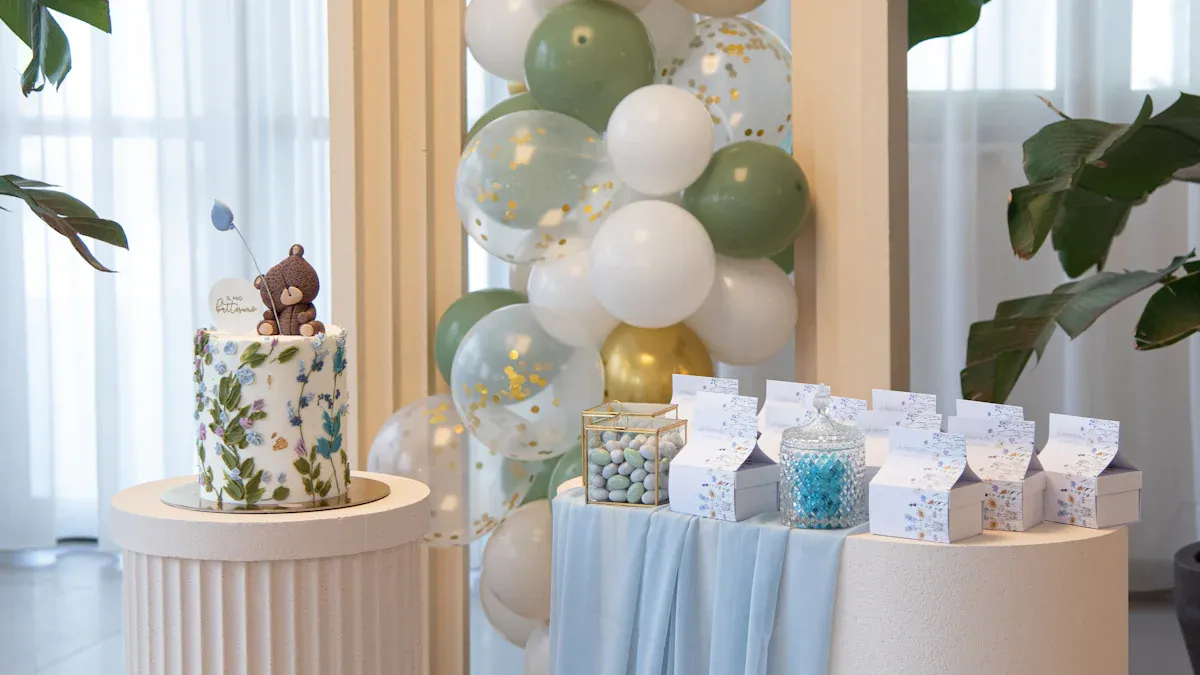
Picking matching colors like white or gold
Adding matching colors can make your pink garland look better. White gives a soft and dreamy feel. Gold adds sparkle and elegance. Mix these with pink balloons for a stylish look. You can alternate colors or group them together for a cool design.
Tip: Use gold balloons in small amounts to keep pink noticeable.
Fixing empty spots or uneven parts
Sometimes, your garland might have gaps or uneven areas. Don’t stress—it’s simple to fix!
Add smaller balloons to fill empty spaces.
Use double-sided tape to hold balloons in place.
Move the garland strip to spread balloons evenly.
Step back often to check your work. This helps you spot and fix uneven parts before finishing.
Storing the garland to keep its shape
If you want to use your garland again, store it properly. Follow these steps to keep it in good condition:
Let the air out of the balloons before storing.
Keep them in a cool, dry place to avoid sticking.
Use a storage box or garment bag for safety.
Keep them away from sunlight and sharp things to prevent damage.
Pro Tip: Store your garland in a dark space to keep its bright pink color longer.
Fun ideas like adding confetti balloons
Want your garland to stand out? Try using fun balloon types! Confetti balloons are a great choice. They have tiny foil or paper pieces inside for a festive look. You can also try marble-patterned or glitter balloons for extra style.
Balloon Type | Description |
|---|---|
Confetti Balloons | Filled with small foil or paper pieces for a fun look. |
Marble-patterned or glitter balloons add unique designs. |
Mixing these special balloons with pink ones can make your garland amazing!
Making a pink balloon garland is simple and exciting! You can choose colors, add cool accents, and create something special. It’s a fun way to show your creativity and make a beautiful decoration. Seeing your garland brighten up the room feels amazing!
FAQ
How long does it take to make a balloon garland?
It usually takes 1-2 hours, depending on the size and complexity. Preparing materials beforehand can save you time.
Can I make a fancy balloon arch instead of a garland?
Absolutely! Use the same steps but shape the garland into an arch. Secure it with a sturdy frame or hooks.
How do I prevent balloons from popping?
Avoid overinflating them. Keep balloons away from sharp objects, direct sunlight, and heat. Use high-quality balloons for better durability.