A balloon arch stand is a fantastic way to elevate any event, turning it into something truly memorable. Whether you’re planning a wedding, birthday party, or corporate event, a balloon arch stand brings an elegant and festive vibe to the occasion. These stands are designed to be both durable and stable, ensuring your balloon arch stays perfectly in place, even in outdoor settings. They’re also incredibly easy to assemble, making the process quick and hassle-free. Thanks to their versatility, a balloon arch stand can be used for virtually any celebration, and they’re a cost-effective option for creating stunning decorations. With the right tools and a bit of creativity, you can craft a professional-looking balloon arch stand display that will leave your guests in awe.
Key Takeaways
Collect important items like a strong base, poles, and connectors to keep your balloon arch stand steady and long-lasting.
Blow up balloons to the same size and sort them by color to make the arch look neat and professional.
Use weights or sandbags to hold the arch in place, especially outside, so it doesn’t fall or shake.
Add extra decorations like plants, flowers, or lights to make your balloon arch the main attraction at your event.
Store and take care of your balloon arch parts properly so you can use them again for other events.
Materials and Tools for a Balloon Arch Stand

Before you dive into creating your balloon arch stand, it’s important to gather the right materials and tools. Having everything ready will make the process smoother and more enjoyable. Let’s break it down into essential components and optional accessories.
Essential Components
Balloon arch stand base, poles, and connectors
The backbone of your balloon arch stand is its base, poles, and connectors. These parts are typically made from stainless steel or durable plastic. Both materials are strong and long-lasting, ensuring your arch stays stable throughout the event. Steel provides excellent strength, while plastic resists bending or breaking under the weight of balloons. For outdoor events, consider using weighted bases to prevent toppling.
Material Type | Benefits |
|---|---|
Steel | Provides strength and stability for arches. |
Durable Plastic | Resists bending or breaking under weight. |
Weighted Bases | Prevents toppling in crowded or outdoor settings. |
Latex balloons in various sizes and colors
You’ll need latex balloons in different sizes and colors to bring your arch to life. Choose colors that match your event’s theme. Mixing sizes adds dimension and makes your balloon arch visually appealing. Grouping balloons by size and color before assembly can save you time later.
Electric or manual balloon inflator
Inflating balloons by mouth is exhausting. Instead, use an electric hand pump or a manual one. Here’s how they compare:
Electric hand pump: Faster and more efficient, especially for large quantities. It can inflate multiple balloons at once but tends to be noisy.
Manual pump: Slower and requires physical effort. However, it’s portable and perfect for outdoor use where electricity isn’t available.
If you’re working on a big project, an electric hand pump is worth the investment. For smaller setups, a manual pump works just fine.
Optional Accessories
Balloon clips, ties, or decorating strips
These tools make attaching balloons to the stand easier. Decorating strips help you create neat rows, while clips and ties secure balloons in place. They’re great for achieving a polished look.
Fishing line, balloon tape, or command hooks
These accessories are handy for adding creative touches. Use fishing line or balloon tape to attach extra decorations. Command hooks can help anchor the arch to walls or ceilings for added stability.
Sandbags or weights for added stability
If you’re setting up your balloon arch outdoors, stability is key. Sandbags or weighted bases keep your arch from wobbling or falling over. They’re especially useful in windy conditions.
Feature | Description |
|---|---|
Sturdy Base | Weighted bases or sandbags help keep it stable, especially outside. |
Critical Role of Base | A well-designed base prevents your balloon decor from toppling over. |
Support Options | Look for stands with weighted bases or options to add sandbags or water weights. |
With these materials and tools, you’re all set to create a stunning balloon arch stand that will wow your guests!
Preparation for Setting Up a Balloon Arch Stand
Preparing the Workspace
Select a flat, clean area for assembly
Before you start building your balloon arch, pick the right spot for assembly. A flat, clean surface is essential to keep your stand stable and prevent any mishaps. Look for an area free of clutter, sharp objects, or debris that could damage the balloons or the stand. If you’re working outdoors, make sure the ground is even and consider using weighted bases or sandbags to keep your balloon arch steady. Stands made from durable materials like steel or tough plastic are ideal for stability, especially in outdoor settings.
Ensure the space is free of sharp objects or debris
Take a moment to inspect your workspace for anything that could pop a balloon or scratch the stand. Even small items like pebbles or nails can cause problems. A quick sweep or cleanup can save you from unnecessary frustration later. If you’re setting up near walls or furniture, leave enough room to move around comfortably while assembling your balloon arch.
Balloon Inflation Tips
Inflate balloons to consistent sizes for a uniform look
Consistency is key when inflating balloons for your arch. Use a pump to inflate round latex balloons until they form a teardrop shape. Avoid over-inflating, as this can create pear-shaped balloons that look uneven. Sizing templates are a great tool to ensure each balloon is the same size, giving your balloon arch a polished and professional appearance. Following the manufacturer’s guidelines can also help prevent popping during inflation.
Group balloons by size and color for easier assembly
Once your balloons are inflated, sort them by size and color. This simple step makes the assembly process much smoother. Grouping balloons allows you to quickly grab the ones you need without searching through a pile. It also helps you plan the design of your balloon arch, ensuring a balanced and visually appealing arrangement. For added convenience, tie balloons securely with double knots to keep them from deflating or floating away.
Pro Tip: Store your balloons in a cool, dark room before inflation to prevent discoloration and air loss. This keeps them looking fresh and vibrant for your event.
How to Make a Balloon Arch Stand
Assembling the Balloon Arch Stand
Securely connect the base, poles, and connectors
To start, gather the base, poles, and connectors of your balloon arch stand. Follow these steps to assemble them securely:
Lay out the rods or tubes that will form the arch. Use flexible materials for smooth curves.
Measure and cut the rods to match your desired arch height and width.
Connect the rods using sturdy connectors. Elbow fittings help create curves, while straight fittings join segments.
Ensure the base is stable by increasing the number of connections between pipes.
For outdoor setups, secure the frame to the ground with metal poles or supports.
Take your time during this step. A well-assembled frame is the foundation of a stable and beautiful balloon arch stand.
Adjust the height and shape of the arch as desired
Once the frame is connected, adjust the height and shape to fit your event space. Flexible tubing or wire can help you achieve the perfect curve. Keep the arch symmetrical for a polished look.
Attaching Balloons to the Stand
Use balloon clips or decorating strips to secure balloons
Now it’s time to add the balloons! Use balloon clips or decorating strips to attach them to the frame. Decorating strips are especially helpful for spacing the balloons evenly and avoiding gaps.
Alternate colors and sizes for a balanced design
For a visually appealing balloon arch, alternate colors and sizes. Grouping balloons by size and color beforehand makes this process easier. Distribute the weight evenly across the arch to maintain balance and prevent sagging.
Ensuring Stability of the Balloon Arch
Add sandbags or weights to the base for support
Supporting a balloon arch is crucial, especially outdoors. Add sandbags or weighted bases to the stand to keep it steady. These weights prevent tipping and ensure your balloon arch stand stays in place throughout the event.
Test the arch for wobbling and make adjustments
Before you finish, test the arch for stability. Gently shake the frame to check for wobbling. If it feels unstable, add more weights or adjust the connections. For outdoor events, secure the base with ground stakes to protect against wind.
Pro Tip: High-quality balloons, especially larger ones, not only enhance the look of your arch but also improve its overall stability.
With these steps, you now know how to make a balloon arch stand that’s both sturdy and stunning!
Balloon Arch Stand DIY Decoration Ideas
Creative Styling Tips
Incorporate greenery, flowers, or ribbons
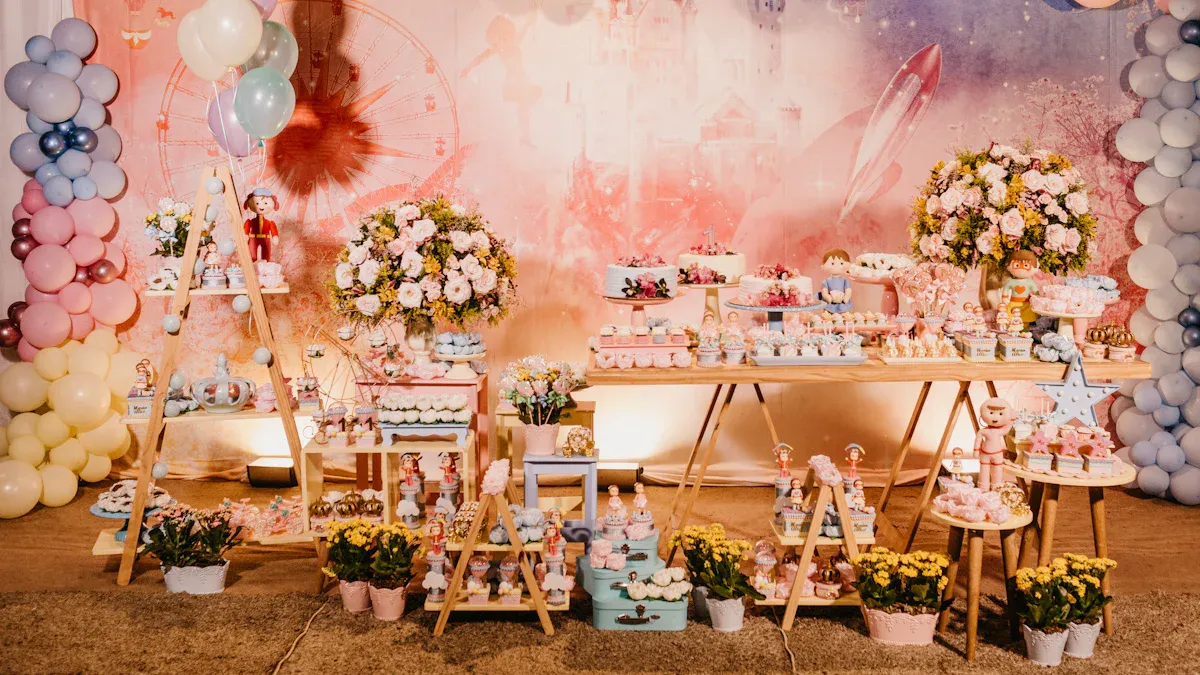
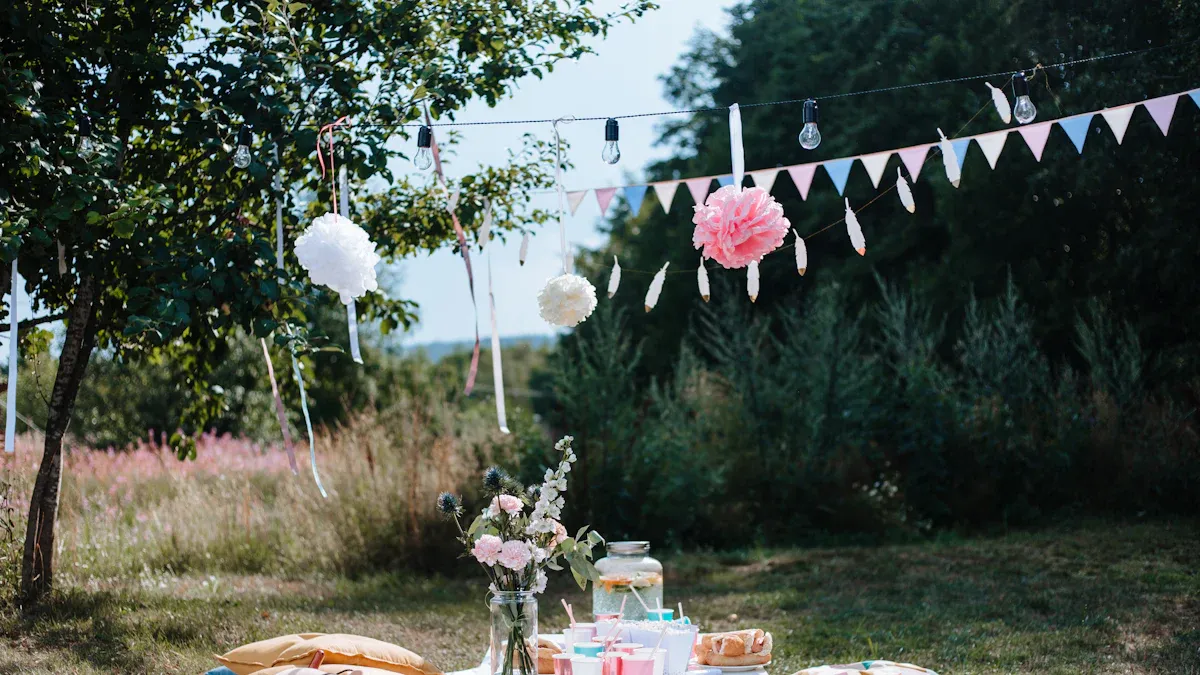
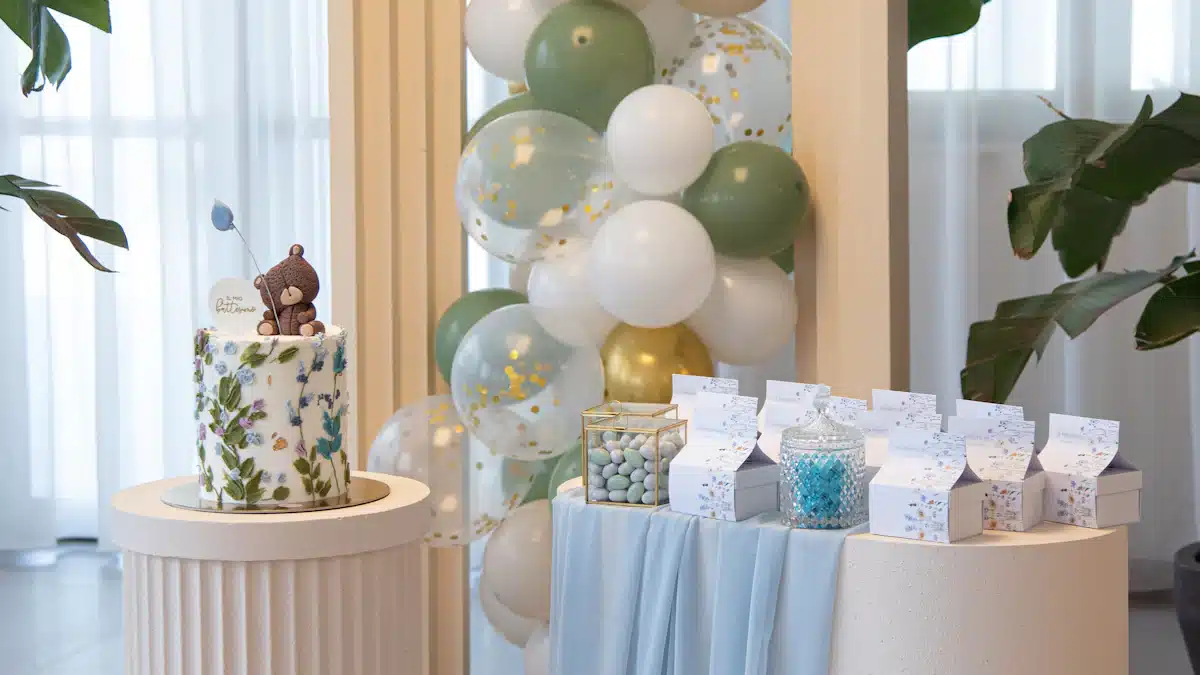
Adding greenery, flowers, or ribbons can transform your balloon arch into a stunning centerpiece. You can weave greenery, like eucalyptus or ivy, along the frame for a natural and elegant look. Flowers, whether fresh or artificial, add pops of color and texture. Match the flowers to your event’s theme—blue blooms for weddings or bright sunflowers for summer parties. Ribbons are another great option. Tie them around the balloons or let them cascade down for a whimsical touch. Feathers or ferns can also make unique accents, giving your balloon arch a creative flair.
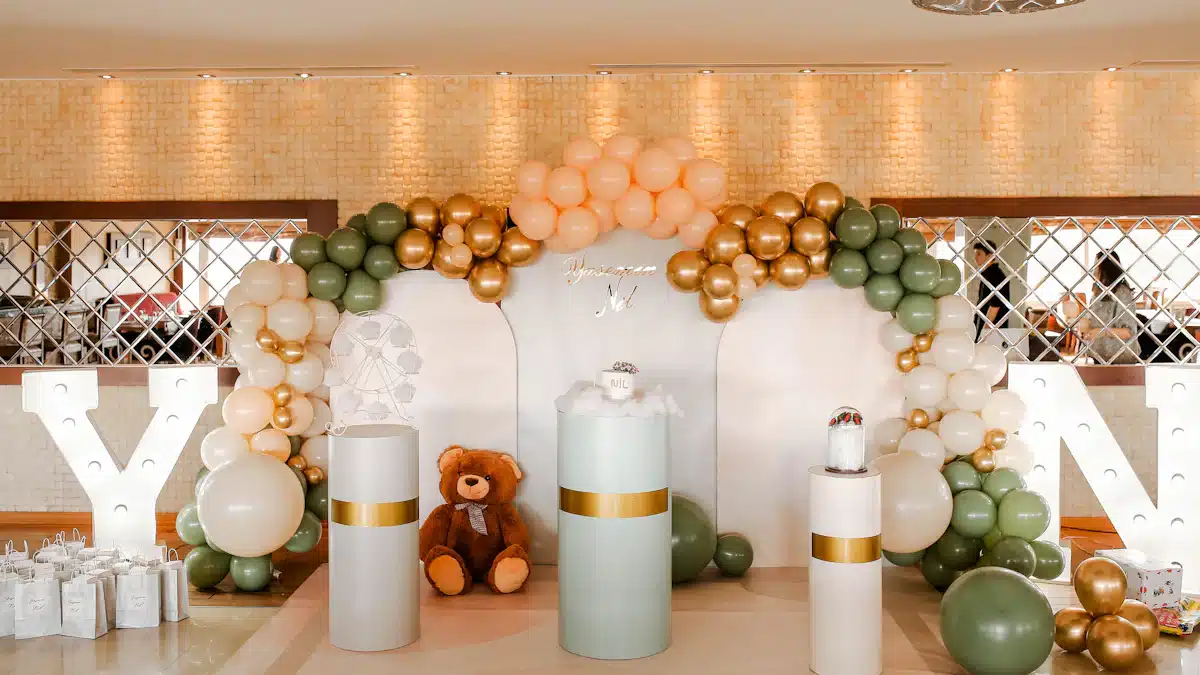
Use themed colors to match the event
Themed colors can make your balloon arch stand out. For a monochrome look, use balloons in different shades of the same color. This creates a sleek and modern design. Want something more dynamic? Try a metamorphosis effect by transitioning from one color to another. For example, start with white balloons at the base and gradually shift to gold at the top. Clear balloons filled with confetti or greenery also work beautifully for a natural or festive vibe. Always choose colors that align with your event’s theme to tie the decor together seamlessly.
Advanced Decoration Techniques
Create balloon clusters or spirals for added dimension
Balloon clusters and spirals can take your balloon arch to the next level. Combine balloons of various sizes to create clusters that add depth and visual interest. You can arrange them in spirals along the frame for a dynamic and eye-catching design. Foil balloons or patterned ones can add texture and make your arch even more unique. These techniques are perfect for creating a bold and professional-looking balloon arch stand diy project.
Add LED lights for a glowing effect
LED lights can make your balloon arch shine—literally! Wrap fairy lights around the frame or tuck LED strips between the balloons for a magical glow. Glow balloons are another fun option, especially for evening events. The soft lighting enhances the arch’s appearance and creates a warm, inviting atmosphere. Whether you’re hosting a wedding or a birthday party, this simple addition can make your balloon arch stand unforgettable.
Pro Tip: Position your balloon arch strategically, like at an entrance or as a photo backdrop, to maximize its impact.
Troubleshooting and Maintenance for Balloon Arch Stands
Common Problems and Solutions
Preventing balloons from popping during assembly
Popped balloons can be frustrating, but you can avoid this with a few simple steps. First, inflate your balloons to the recommended size. Overinflating makes them more likely to burst. Use a pump with a pressure gauge if possible. Also, keep your workspace free of sharp objects like nails or rough surfaces. If you’re working outdoors, avoid direct sunlight or heat, as these can weaken the balloon material. High-quality latex balloons are less prone to popping, so they’re worth the investment.
Tip: Store your balloons in a cool, dark place before use to keep them fresh and durable.
Fixing a leaning or collapsing arch
A leaning balloon arch can ruin your display, but it’s easy to fix. Start by checking the base. A sturdy base, like one with weighted sandbags, provides the stability you need. If the arch still leans, inspect the connections between the poles. Adding more connectors or securing the frame with metal stakes can help distribute the weight evenly. For outdoor setups, anchor the frame to the ground to prevent it from toppling over.
Problem | Solution |
|---|---|
Leaning arch | Add weights to the base or secure the frame with stakes. |
Collapsing structure | Increase connections between pipes and use strong materials like steel. |
Maintenance Tips for Reuse
Properly store the stand components
After your event, disassemble the balloon arch stand carefully. Wipe down the poles and connectors to remove dirt or residue. Store them in a dry, cool place to prevent rust or damage. If your stand has adjustable parts, keep them in their original packaging or a labeled container for easy access next time. Durable materials like steel or tough plastic ensure your stand lasts for multiple uses.
Deflate and dispose of balloons responsibly
When it’s time to take down your balloon arch, deflate the balloons instead of popping them. Latex balloons are biodegradable, but you should cut them into small pieces before disposal to protect wildlife. Foil balloons, on the other hand, are reusable and recyclable. Store them for future events or take them to a recycling facility when they’re no longer usable. Avoid releasing balloons into the air, as this can harm the environment and wildlife.
Note: Latex balloons can take months to biodegrade, so proper disposal is essential for eco-friendly practices.
Creating a balloon arch stand is easier than you think when you follow the right steps. Start by assembling the frame, ensuring stability with secure connections and a sturdy base. Add your balloons, mixing colors and sizes for a balanced design. Don’t forget to decorate with ribbons, flowers, or even LED lights for extra flair. Experiment with styles like organic arches or spirals to match your event’s theme. Whether it’s a classic look or something bold, practice makes perfect. With time, you’ll master the art of crafting stunning balloon arches that wow every guest!
FAQ
What size balloons work best for a balloon arch?
You can use 5-inch, 10-inch, or 12-inch balloons for most arches. Mixing sizes adds depth and makes your design pop. Larger balloons work well for focal points, while smaller ones fill gaps.
Tip: Stick to high-quality latex balloons for durability and vibrant colors. 🎈
How long does it take to set up a balloon arch stand?
It usually takes 1 to 2 hours, depending on the size and complexity of your design. Pre-inflating balloons and organizing them by size and color can save time.
Pro Tip: Enlist a friend to help—it’s faster and more fun!
Can I reuse my balloon arch stand?
Yes, most stands are reusable. Disassemble the frame carefully, clean the parts, and store them in a dry place. Avoid bending or damaging the poles during storage.
Note: Proper care ensures your stand lasts for multiple events.
How do I prevent balloons from popping outdoors?
Keep balloons out of direct sunlight and away from sharp objects. Inflate them slightly less to allow for expansion in heat. Use high-quality balloons for better durability.
Reminder: Windy conditions? Add extra weights to keep your arch stable. 🌬️
What’s the best way to transport a balloon arch?
Disassemble the frame and transport the balloons separately. Use large bags or boxes to protect the balloons from popping. Reassemble the arch at the event location.
Tip: Inflate balloons on-site if possible to avoid damage during transit.