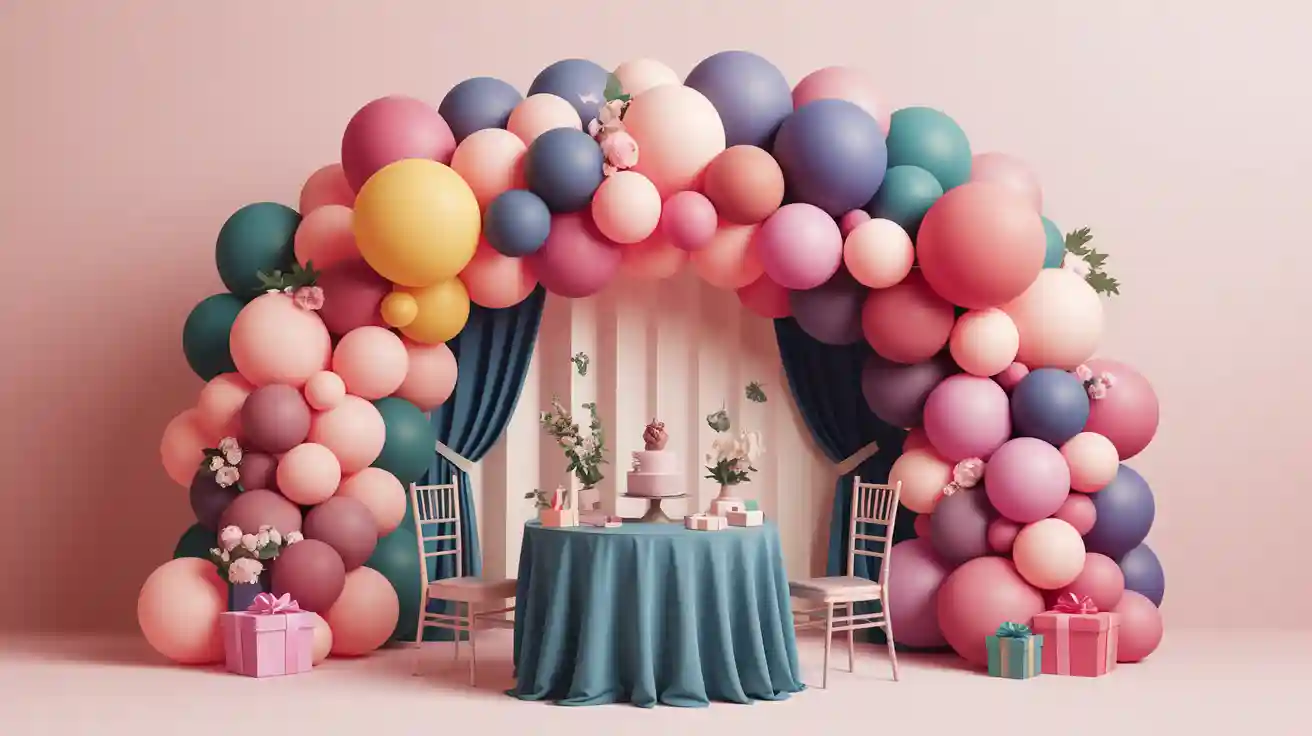
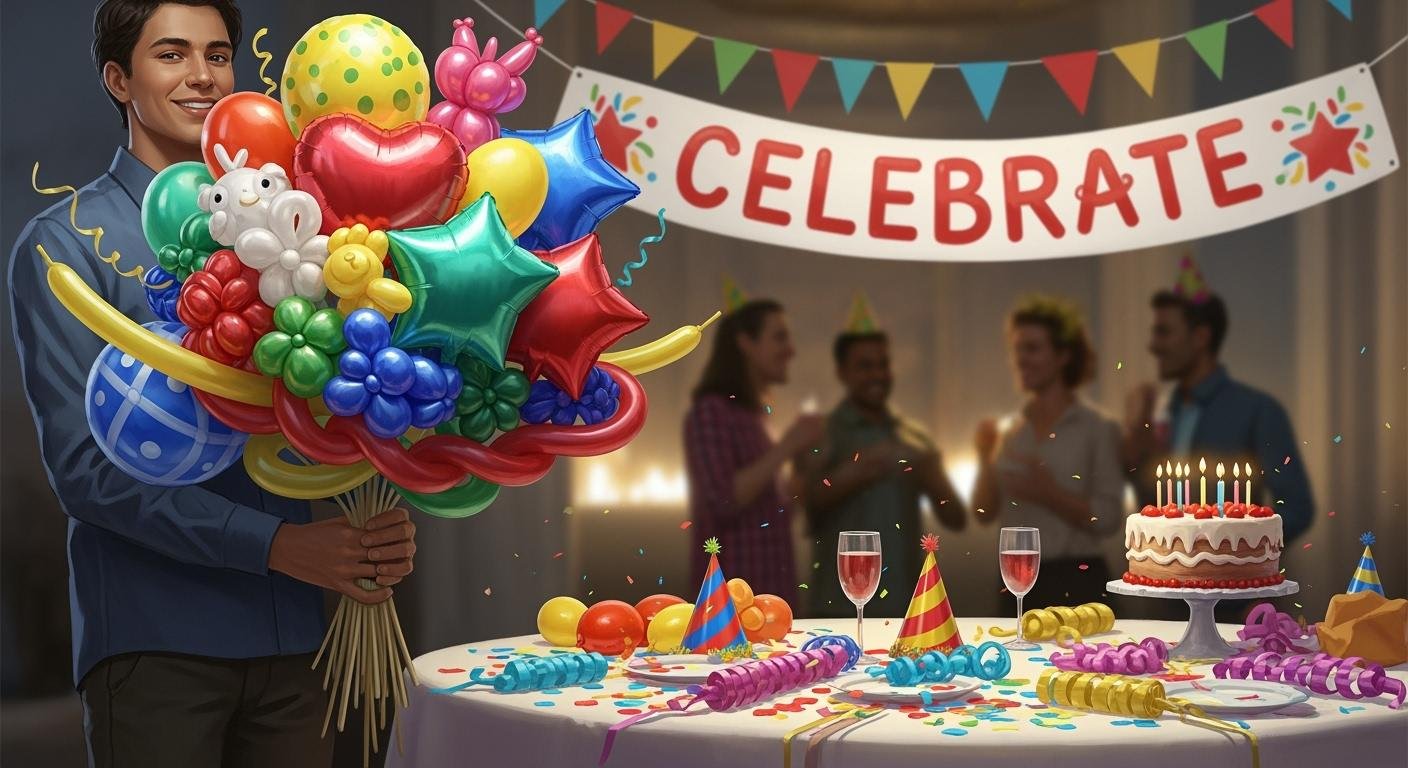
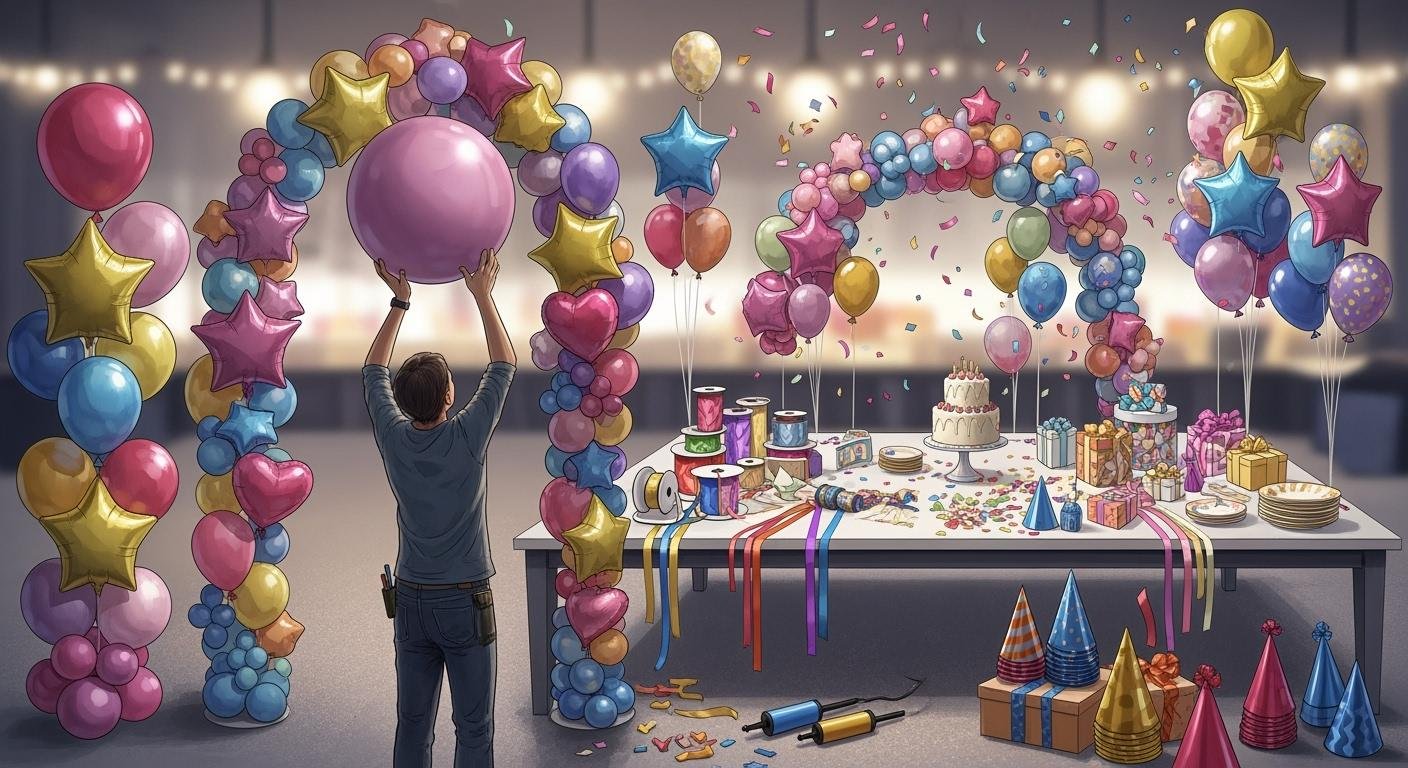
Balloon arches are a fantastic way to make events fun. They add both color and style to any celebration. Whether it’s a birthday, wedding, or work event, an arch for balloons can really make a statement. Balloon arches can frame doors, decorate photo spots, or serve as a stunning centerpiece.
Did you know balloon decorations are becoming more popular worldwide? In 2023, the market was worth $1.2 billion. By 2032, it might grow to $2.0 billion. This growth is driven by people’s desire for unique and beautiful event decorations. An arch for balloons is leading this trend. Social media plays a role too, as people love sharing photos of impressive balloon designs.
Creating your own balloon arch is easier than it seems. It’s a fun way to express your creativity and style. Give it a try and see how an arch for balloons can transform your event into something amazing!
Key Takeaways
Balloon arches bring excitement and beauty to any party or event.
Pick good materials, like latex or foil balloons, so your arch looks nice and stays longer.
Match the colors to your event theme. Use gradients or bold colors for a big effect.
Use tools like a balloon pump and glue to build your arch faster and easier.
Add decorations like plants, lights, or ribbons to make your balloon arch stand out.
Choosing Materials for the Perfect Balloon Arch
Making a great balloon arch starts with picking good materials. The balloons, tools, and extras you use will decide how nice and strong your arch looks. Let’s check out the basics!
Types of Balloons
Latex vs. Foil Balloons
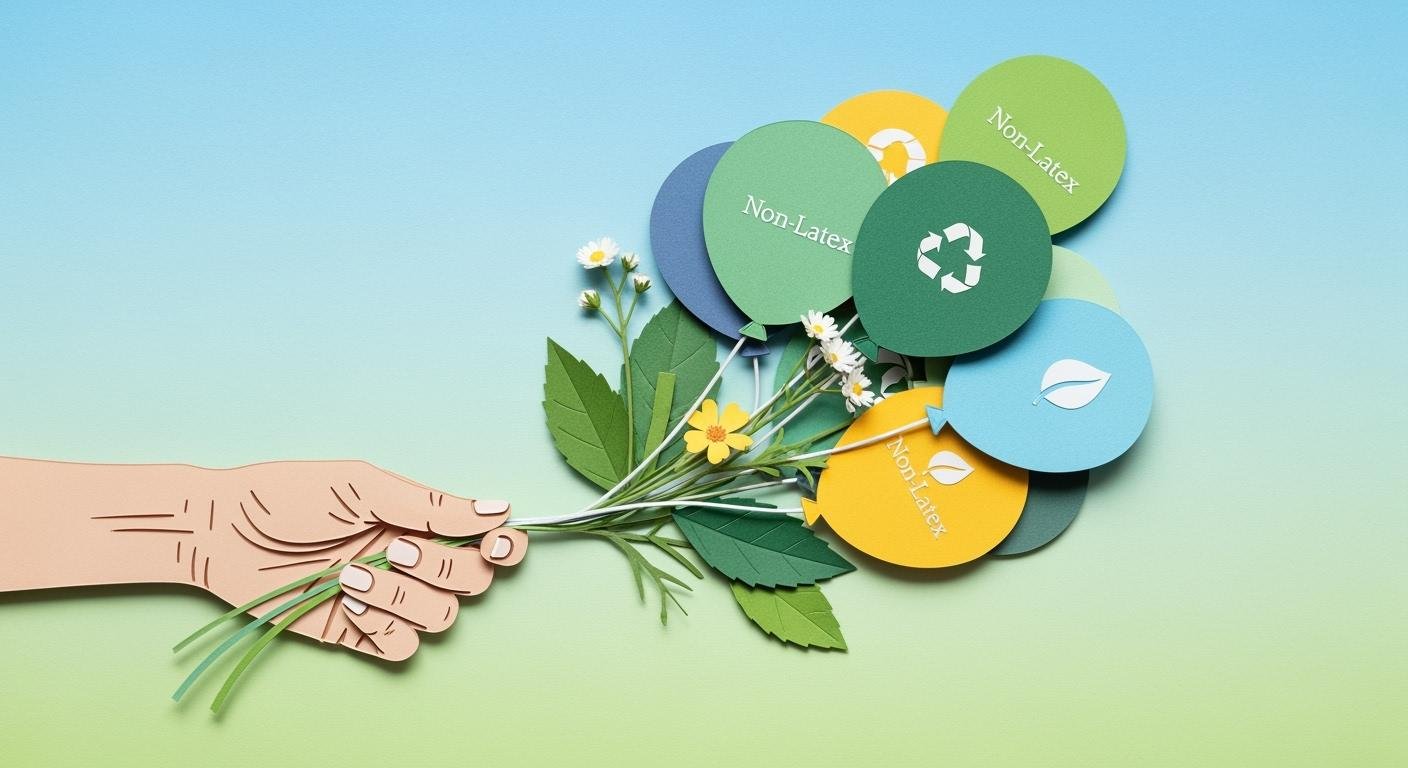
There are two main types of balloons: latex and foil (also called Mylar). Latex balloons are stretchy, cheap, and break down naturally, so they’re popular for detailed designs. But they pop easily and only last 12-24 hours. Foil balloons are shiny, tough, and can last up to two weeks. They’re great for custom designs but aren’t as flexible and don’t break down naturally.
Feature | Mylar Balloons | Latex Balloons |
|---|---|---|
Durability | Lasts up to two weeks | Lasts 12-24 hours |
Appearance | Shiny, metallic surface | Matte or semi-glossy |
Eco-Friendliness | Non-biodegradable | Biodegradable |
Balloon Sizes and Shapes
Using different balloon sizes and shapes makes your arch look cool. Round balloons give a classic style, while long or heart-shaped ones make it special. Mix small 5-inch balloons with big 18-inch ones for a balanced and fun design.
Essential Tools for Balloon Arches
Balloon Pump or Inflator
Blowing up balloons by hand is tiring. A balloon pump, either manual or electric, saves time and effort. It’s super helpful when you need to inflate lots of balloons.
Balloon Strip or Arch Kit
A balloon strip or arch kit makes building your arch easier. These tools hold balloons in place and help you make it look neat. They’re great for beginners.
Adhesives (Glue Dots, Tapes, or Clips)
Glue dots, tape, or clips are key for keeping balloons and decorations in place. They fill gaps and make your arch look tidy and complete.
Optional Accessories for Added Flair
Weights and Stands
If your arch is outside, weights or stands are important. They keep it steady and stop it from falling over in the wind.
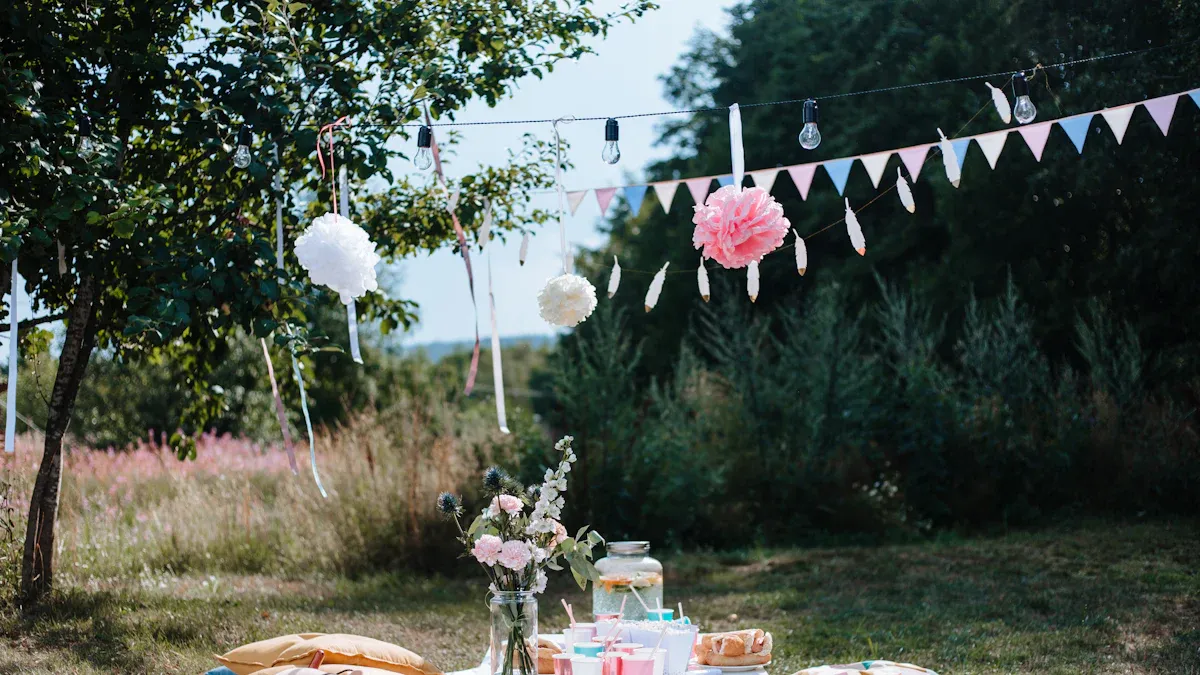
Decorative Add-ons (Greenery, Lights, Ribbons)
Add extra style to your arch with decorations. String lights, greenery, or ribbons can make it look amazing. These details help match your arch to your event’s theme.
Accessory Type | Benefit |
|---|---|
Weighted Bases | Keeps the arch stable, especially outdoors. |
String Lights | Adds a magical glow to the design. |
Greenery or Flowers | Brings a natural and elegant touch. |
Ribbons | Adds color and movement to the arch. |
By using the right tools and decorations, you can make balloon arches that are pretty and strong. With these materials, you’re ready to create an arch that will impress everyone!
Designing Your Balloon Arch for Maximum Impact
Picking a Matching Color Scheme
Matching Event Themes
Choosing colors is a fun part of making balloon arches. Match the colors to your event’s theme and feel. For example:
Soft pastel colors are great for weddings or baby showers.
Bright colors like red, yellow, and blue suit birthdays or kids’ parties.
Tropical events look amazing with pink, orange, and green balloons.
Matching colors to the theme makes everything look connected. It’s an easy way to make your decorations stand out.
Using Gradients or Contrasting Colors
To make your arch eye-catching, try gradients or contrasts. Gradients, like light blue fading to white, look soft and elegant. Contrasting colors, like black and gold, are bold and grab attention.
Matching colors creates a smooth and pleasing look.
Contrasts make certain parts stand out more.
Smart color choices can turn a simple arch into something amazing.
Picking the Best Arch Style
Classic vs. Organic Arches
You can choose from different styles. A classic arch is even and neat, perfect for formal events like weddings. Organic arches are uneven and playful, great for casual parties or trendy photo spots.
Freestanding vs. Wall-Mounted Arches
Freestanding arches can go anywhere, like at entrances or outdoor spaces. Wall-mounted arches save space and work well in smaller areas or as photo booth decor. Think about your event space to pick the best style.
Planning the Space and Size
Measuring the Space
Before building, measure where the arch will go. This helps it fit well without being too big or small. For example:
Small arches are good for dessert tables or photo booths.
Big arches make a statement at entrances or stages.
Deciding Arch Dimensions
Think about the venue size and event type when choosing the arch size. Use this table to help plan:
Consideration | Details |
|---|---|
Size and Shape | Small arches fit tight spaces; big ones suit large areas. |
Event Type | Classic arches work for formal events; organic ones are fun for casual parties. |
Materials | Use strong materials like metal for outdoor arches. |
Stability | Add weights to keep the arch steady in windy weather. |
Big spaces may need larger balloons, while small spaces need compact designs. Always leave room for guests to move around and enjoy the decorations.
Pro Tip: Don’t block important views. Place your arch where it won’t hide key parts of the venue.
By planning colors, style, and size carefully, you can make a balloon arch that amazes your guests and transforms your event space.
Step-by-Step Guide to Crafting a DIY Balloon Arch
Preparing the Balloons
Inflating Balloons to the Correct Size
Start by inflating your balloons. Use a hand pump or an electric inflator to save time and ensure consistent sizes. Overfilling balloons can make them pop, so leave a little space for flexibility. For a perfect balloon arch, mix different sizes—like 5-inch, 10-inch, and 12-inch balloons—to create depth and variety. If you’re transporting balloons, store them in large bags to prevent damage.
Pro Tip: Inflate balloons in a cool, shaded area to avoid heat-related popping.
Grouping Balloons by Size and Color
Once inflated, group your balloons by size and color. Tie two balloons together at their knots, then twist two pairs to form a cluster of four. Repeat this process for all your balloons. This step makes assembling the arch easier and ensures a balanced look. For your first DIY balloon arch, stick to a simple color scheme to keep things manageable.
Building the Arch Structure
Attaching Balloons to the Strip or Frame
To assemble the arch, attach your balloon clusters to a balloon strip or frame. Start with the larger balloons as the base, then add smaller ones to fill gaps. If you’re using a strip, push the balloon knots through the holes, spacing them evenly. For a freestanding arch, secure the frame with weights or stands before adding balloons.
Creating Layers for a Full and Balanced Look
Layering is key to creating a balloon arch that looks professional. Alternate colors and sizes as you go to avoid a flat appearance. Use smaller balloons to fill any gaps and add texture. This step gives your arch a full, polished look that will wow your guests.
Quick Tip: Use glue dots to attach extra balloons or decorative elements for added flair.
Securing and Positioning the Arch for Stability
Anchoring the Arch
To secure the arch, use weighted bases or sandbags, especially for outdoor events. If you’re working indoors, a sturdy frame or wall-mounted hooks can keep the arch in place. A strong foundation ensures your arch stays upright throughout the event.
Adjusting the Shape and Placement
Once the arch is anchored, step back and check its shape. Adjust any uneven sections by repositioning balloons or adding more clusters. Place the arch where it complements the venue, like framing an entrance or highlighting a photo booth. This final touch ensures your balloon arch becomes the centerpiece of the event.
Remember: A well-placed arch transforms any space into a festive and memorable setting.
Adding Creative Decorative Elements
Adding Greenery or Flowers
Greenery or flowers can make your balloon arch look amazing. These natural touches add freshness and elegance to your design. You can tuck fake ivy or eucalyptus leaves between balloons for a lush look. Real flowers, like roses or baby’s breath, bring color and a classy feel.
For a tropical style, use palm leaves or monstera plants. They look great with bright balloons and give a fun, summer vibe. For a romantic theme, soft pastel flowers are perfect. Attach these items with floral wire or glue dots to keep them secure during the event.
Tip: Don’t overdo it with greenery. A few accents can make your arch look neat and stylish.
Balloon arches with greenery or flowers are great for photos. They add depth and make the arch more interesting. Whether at an entrance or on a stage, these extras make your event feel special.
Adding String Lights or Ribbons
String lights and ribbons can make your balloon arch even better. Fairy lights add a soft glow, perfect for evening events or weddings. Wrap the lights around the arch or weave them through the balloons for sparkle. Battery-powered lights are best since they’re easy to hide and don’t need plugs.
Ribbons add movement and texture to your arch. Pick ribbons that match your event colors. Satin or organza ribbons look fancy, while shiny ones feel festive. Tie them to balloons or let them hang down for a playful look.
Pro Tip: Use both lights and ribbons for a stunning design. The mix of sparkle and flow makes your arch stand out.
These decorations make your diy balloon arch unforgettable. They turn a simple arch into a showpiece everyone will love. Whether it’s your first diy balloon arch or you’re following a guide, these creative ideas will make your arch the star of the event.
Troubleshooting and Practical Tips for Balloon Arches
Solving Common Issues
Stopping Balloons from Popping
Popped balloons can ruin your arch, but you can prevent it. Use strong latex or Mylar balloons to avoid easy breaks. Don’t overfill balloons; leave some space for air. Overfilled balloons pop faster, especially in hot weather. Keep your arch away from sharp things and sunlight. Heat weakens balloons, making them more likely to burst. For outdoor events, choose Mylar balloons. They handle heat and moisture better than latex ones.
Fixing Gaps or Uneven Spots
Gaps or uneven areas can make your arch look untidy. To fix this, work on smaller sections at a time. Mark the middle of each section to place balloons evenly. Start with big balloons, then fill spaces with smaller ones. Use glue dots or tape to hold balloons in place. Step back often to check the shape and make changes. Careful balloon placement makes your arch look neat and balanced.
Ensuring Durability and Longevity
How Long Balloon Arches Last
Balloon arches last different times based on materials and location. Latex balloons last 12-24 hours, while Mylar balloons can last two weeks. For outdoor events, Mylar balloons are better since they resist heat and moisture. Indoors, latex balloons work fine but keep them away from heat. Use strong bases like PVC pipes or weights to keep your arch steady and lasting longer.
Storing and Moving the Arch
If you make your arch early, store it properly. Inflate balloons and keep them in big, breathable bags to stop sticking or popping. For moving, use a light frame that’s easy to carry. Secure balloons with tape or clips so they stay in place. At the venue, check the arch and fix anything out of place. This keeps your balloon arch looking perfect.
Time-Saving Strategies
Preparing Balloons Early
Getting balloons ready early saves time on event day. Inflate and group balloons by size and color the day before. Store them in a cool, shaded spot to avoid heat damage. This is helpful for beginners making their first diy balloon arch. It gives you more time to focus on building the arch later.
Using Pre-Made Kits
Short on time? Pre-made balloon arch kits are super helpful. These kits include everything, like balloon strips and glue dots. They make the process simple and give you a professional look with little effort. Kits are great for beginners or anyone wanting a quick diy balloon arch.
Pro Tip: Combine early prep with a pre-made kit for the best results. This method saves time and ensures your arch looks amazing without stress.
Making a beautiful balloon arch needs good materials and planning. Use these tips to create an arch that amazes your guests. Try different colors, shapes, and decorations to make it unique. It’s a fun way to show your creativity!
For big or detailed designs, hiring a pro helps a lot. Here’s why:
Professionals save time, so you can enjoy the event.
They mix balloon sizes and colors perfectly for a great look.
Experts handle tricky parts, making it less stressful for you.
Whether you do it yourself or hire help, balloon arches make events special. Get your balloons and start creating! 🎈
FAQ
How many balloons do I need for a balloon arch?
The number depends on the size of your arch. For a small arch, you’ll need around 50-75 balloons. Larger arches may require 100 or more. Always have extra balloons on hand for adjustments or replacements.
Can I make a balloon arch without a frame?
Yes, you can! Use a balloon strip to hold the balloons together. Attach it to walls or other surfaces with hooks or tape. This method works well for smaller arches or wall-mounted designs.
How do I add balloons to fill gaps in my arch?
Use glue dots or tape to attach smaller balloons to the arch. Focus on areas with visible gaps. This trick adds depth and makes your arch look fuller and more polished.
How long will my balloon arch last?
Latex balloons last 12-24 hours, while foil balloons can last up to two weeks. Keep your arch indoors and away from heat or sharp objects to extend its lifespan.
Are balloon arch kits worth it for beginners?
Absolutely! Kits include everything you need, like balloon strips and glue dots. They simplify the process and help you create a professional-looking arch, even if it’s your first time.
Tip: Check out balloon arch faqs online for more tips and tricks to perfect your design!


One Response